2026
/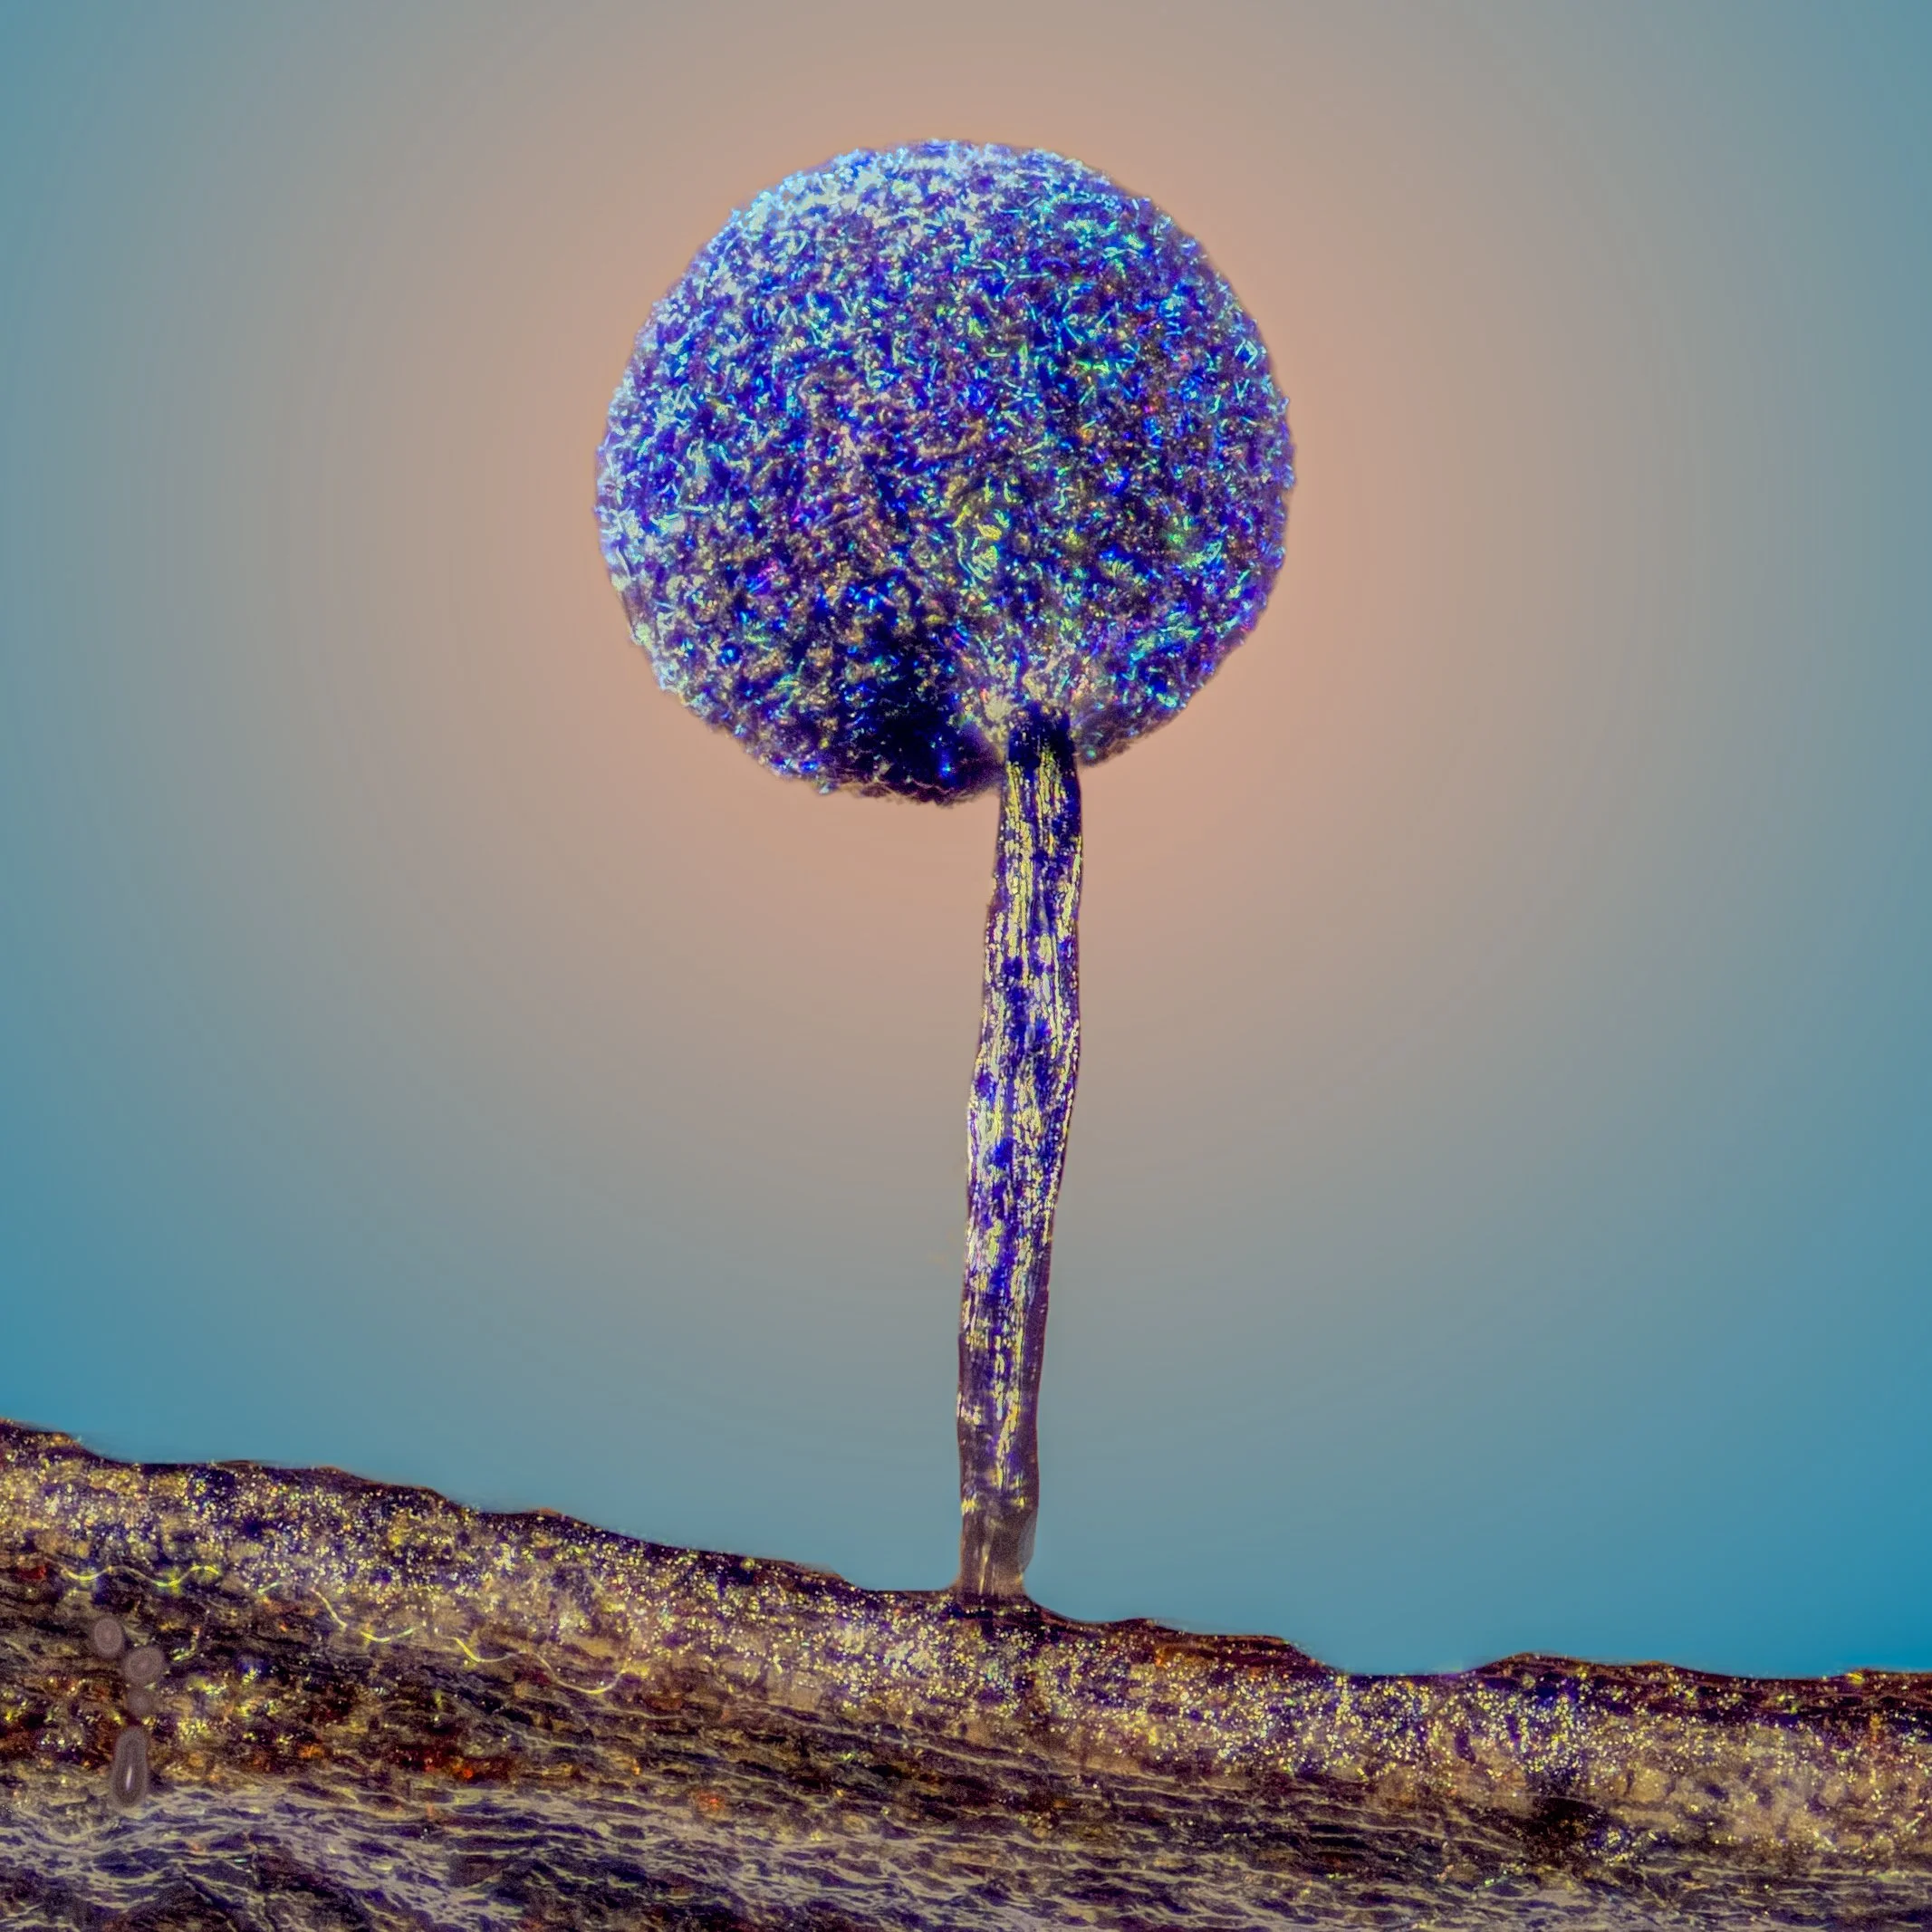
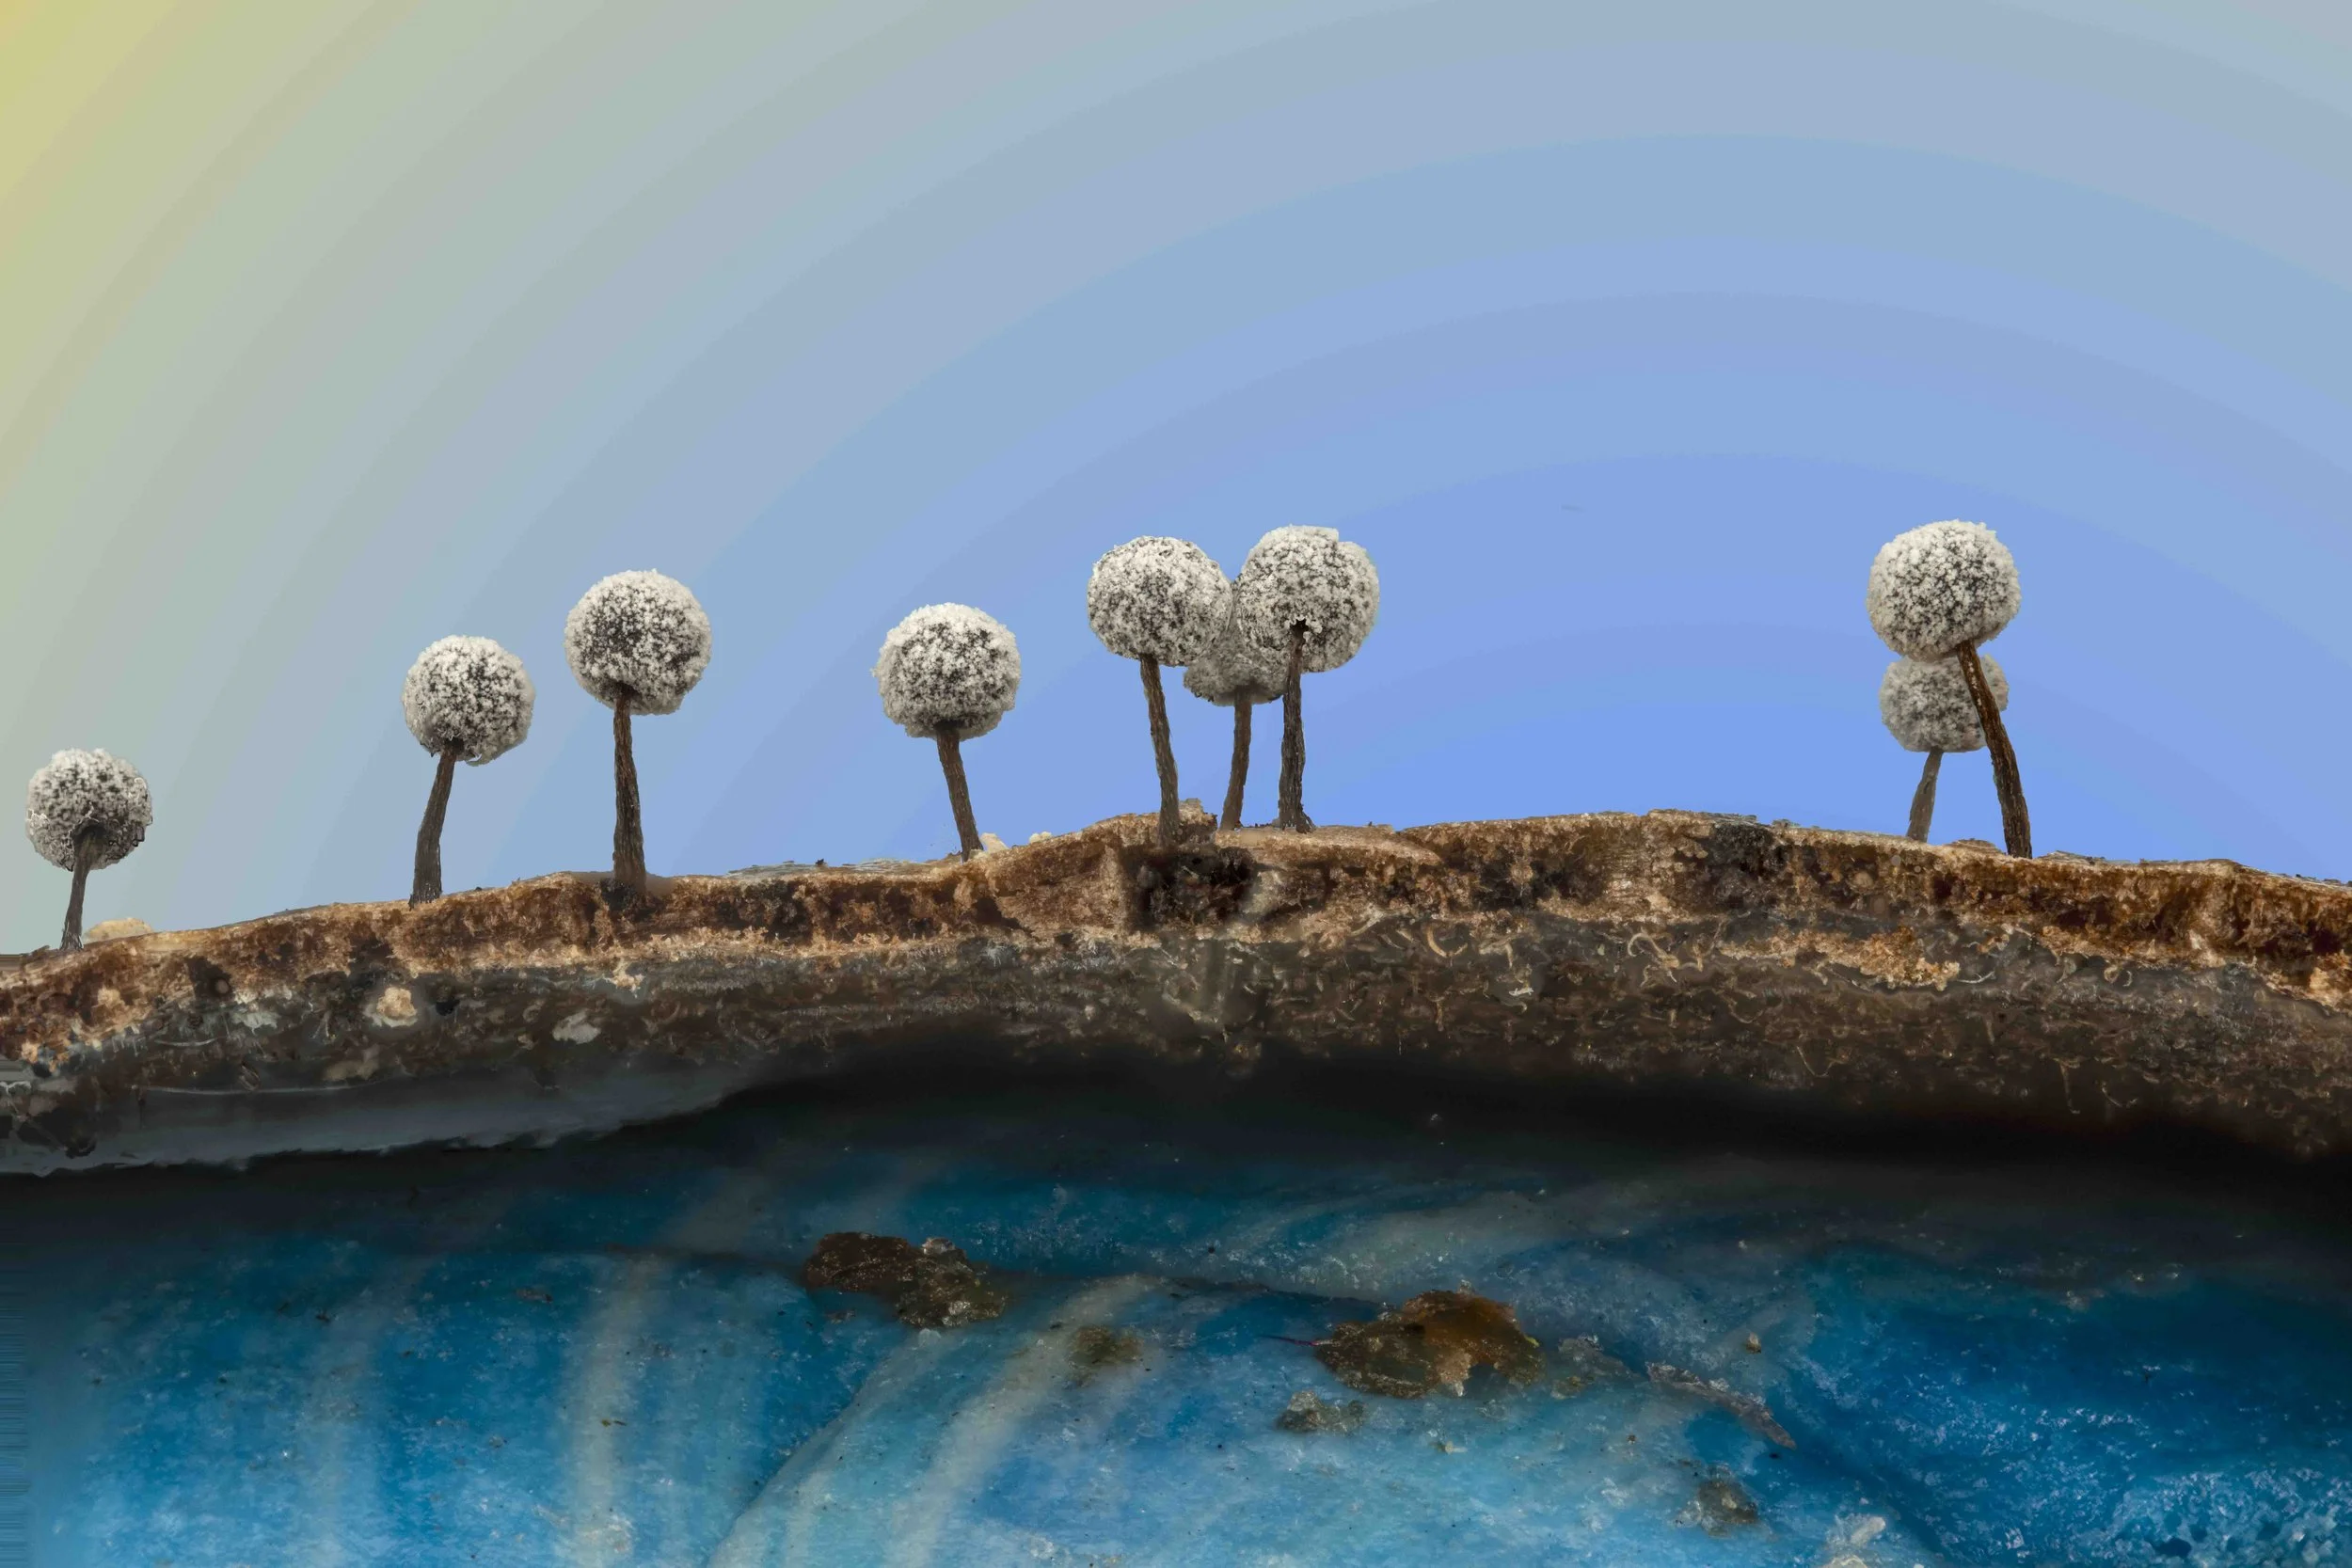
Lamproderma
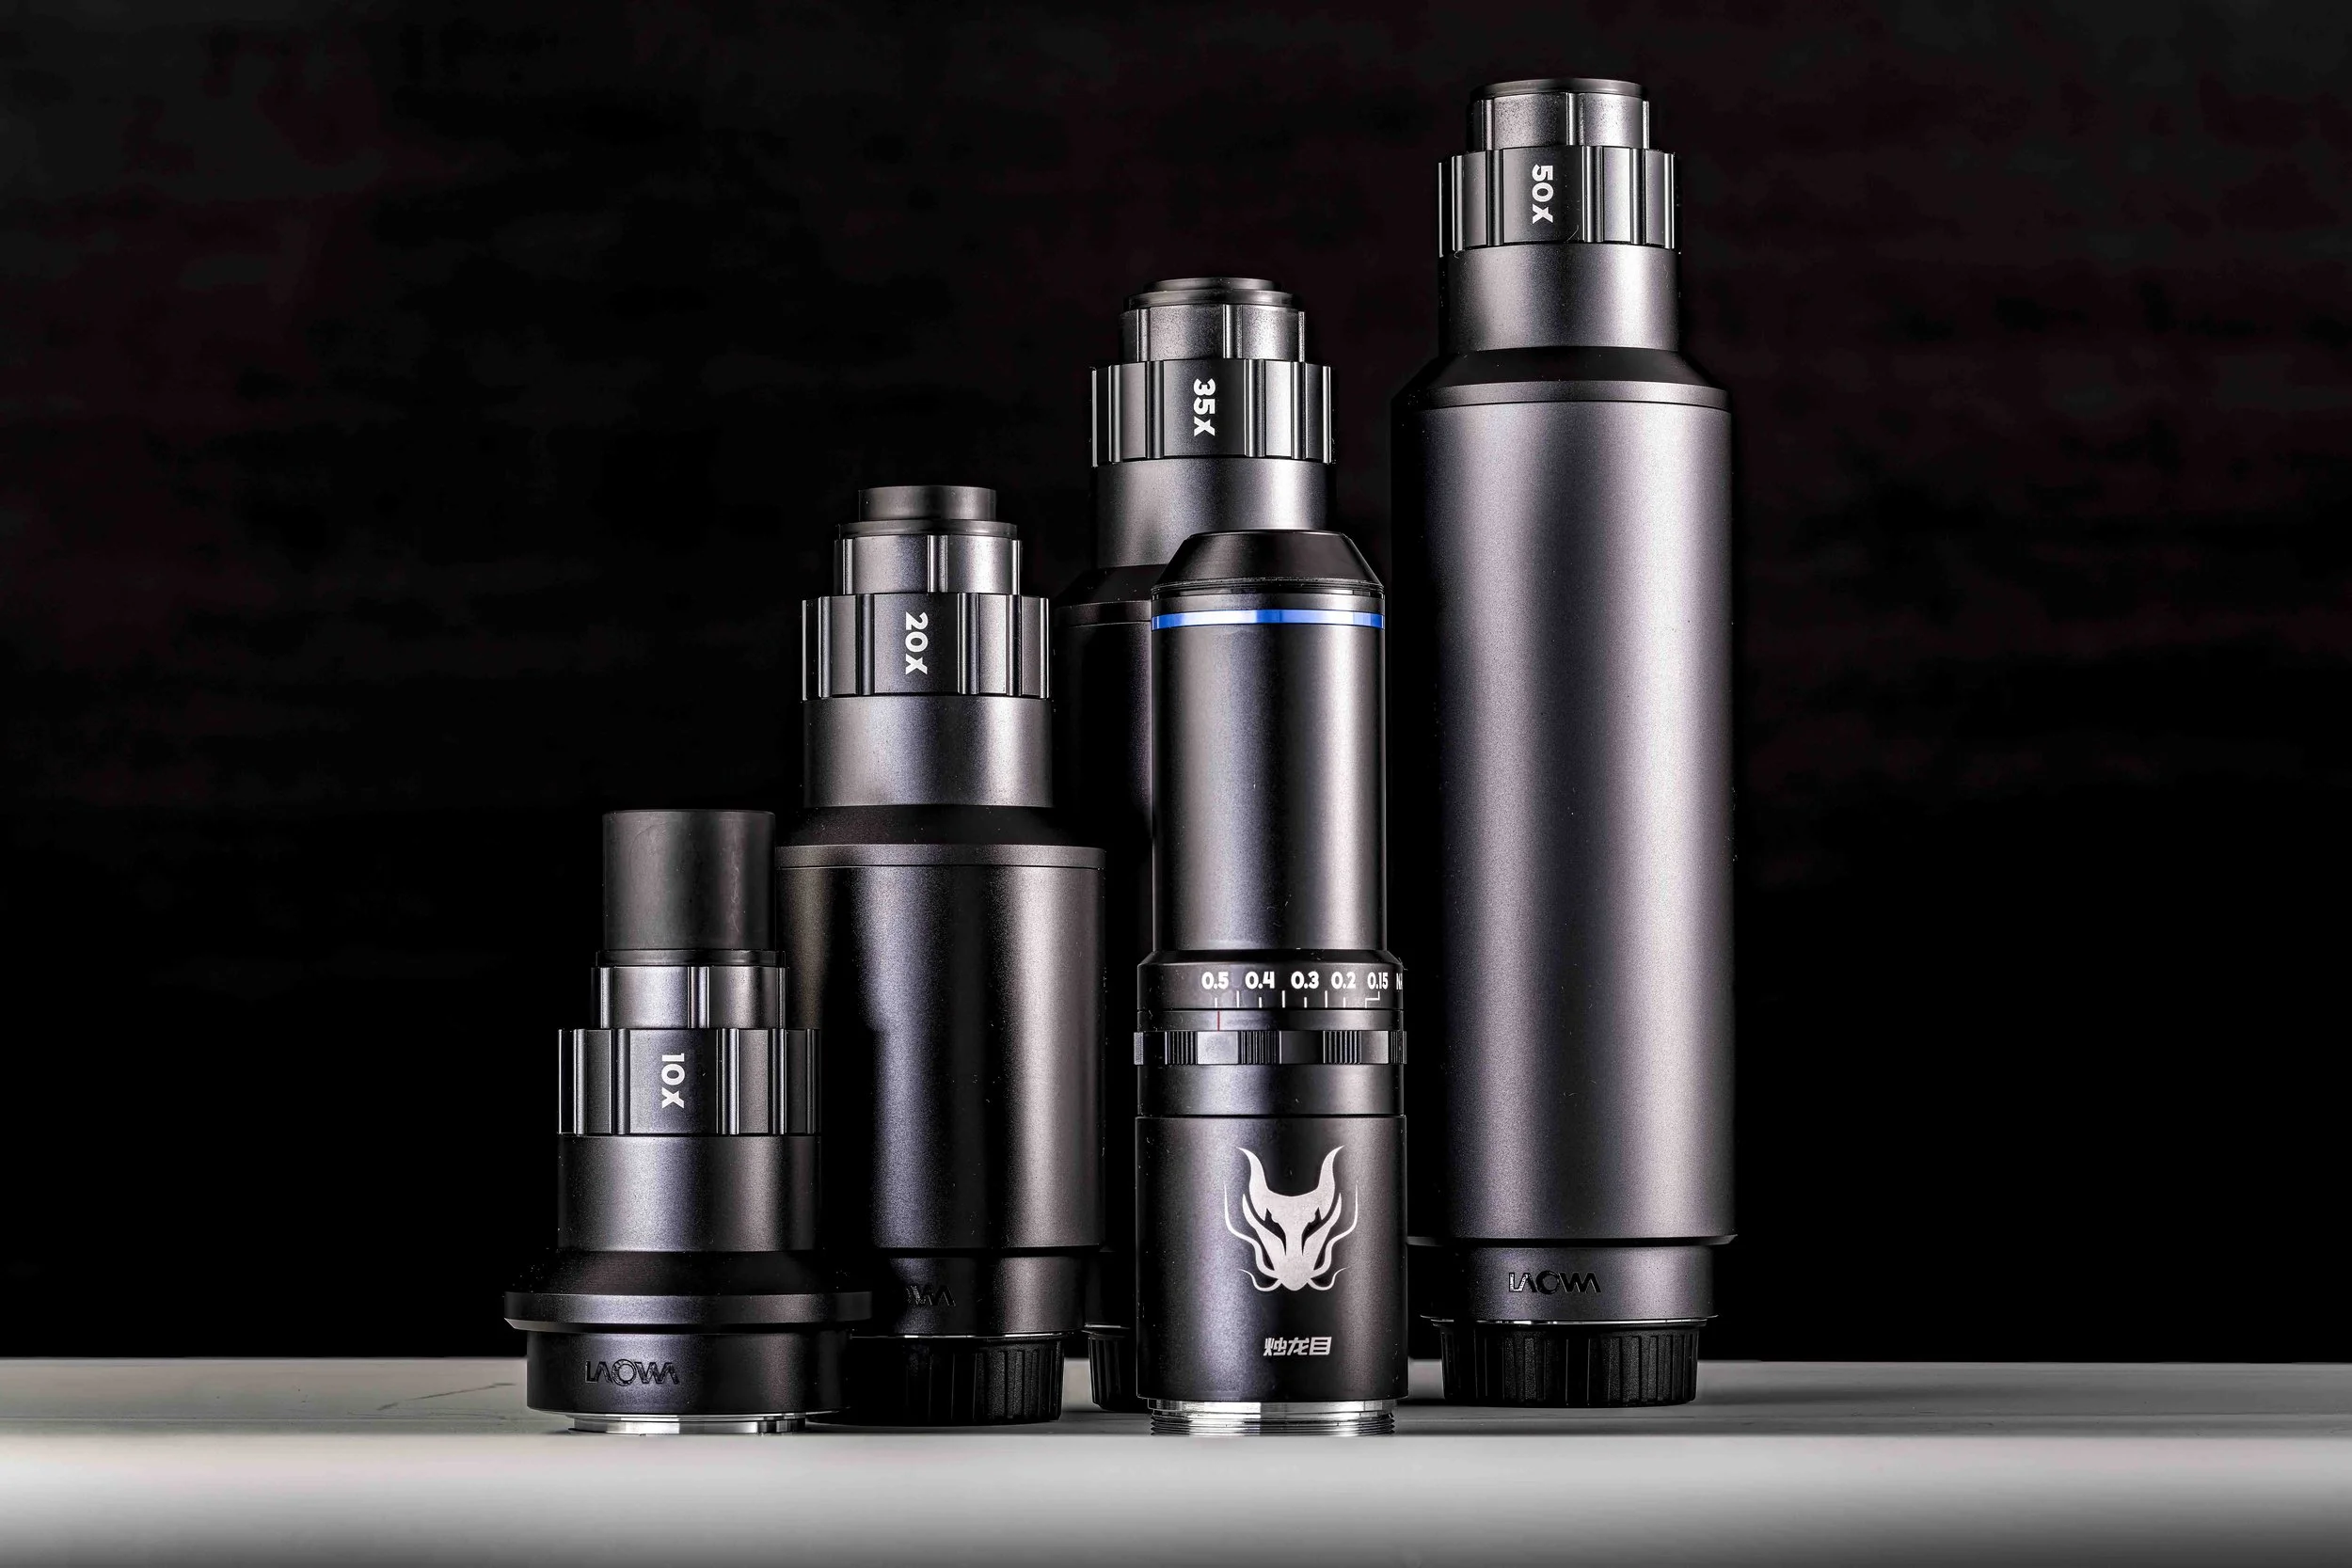
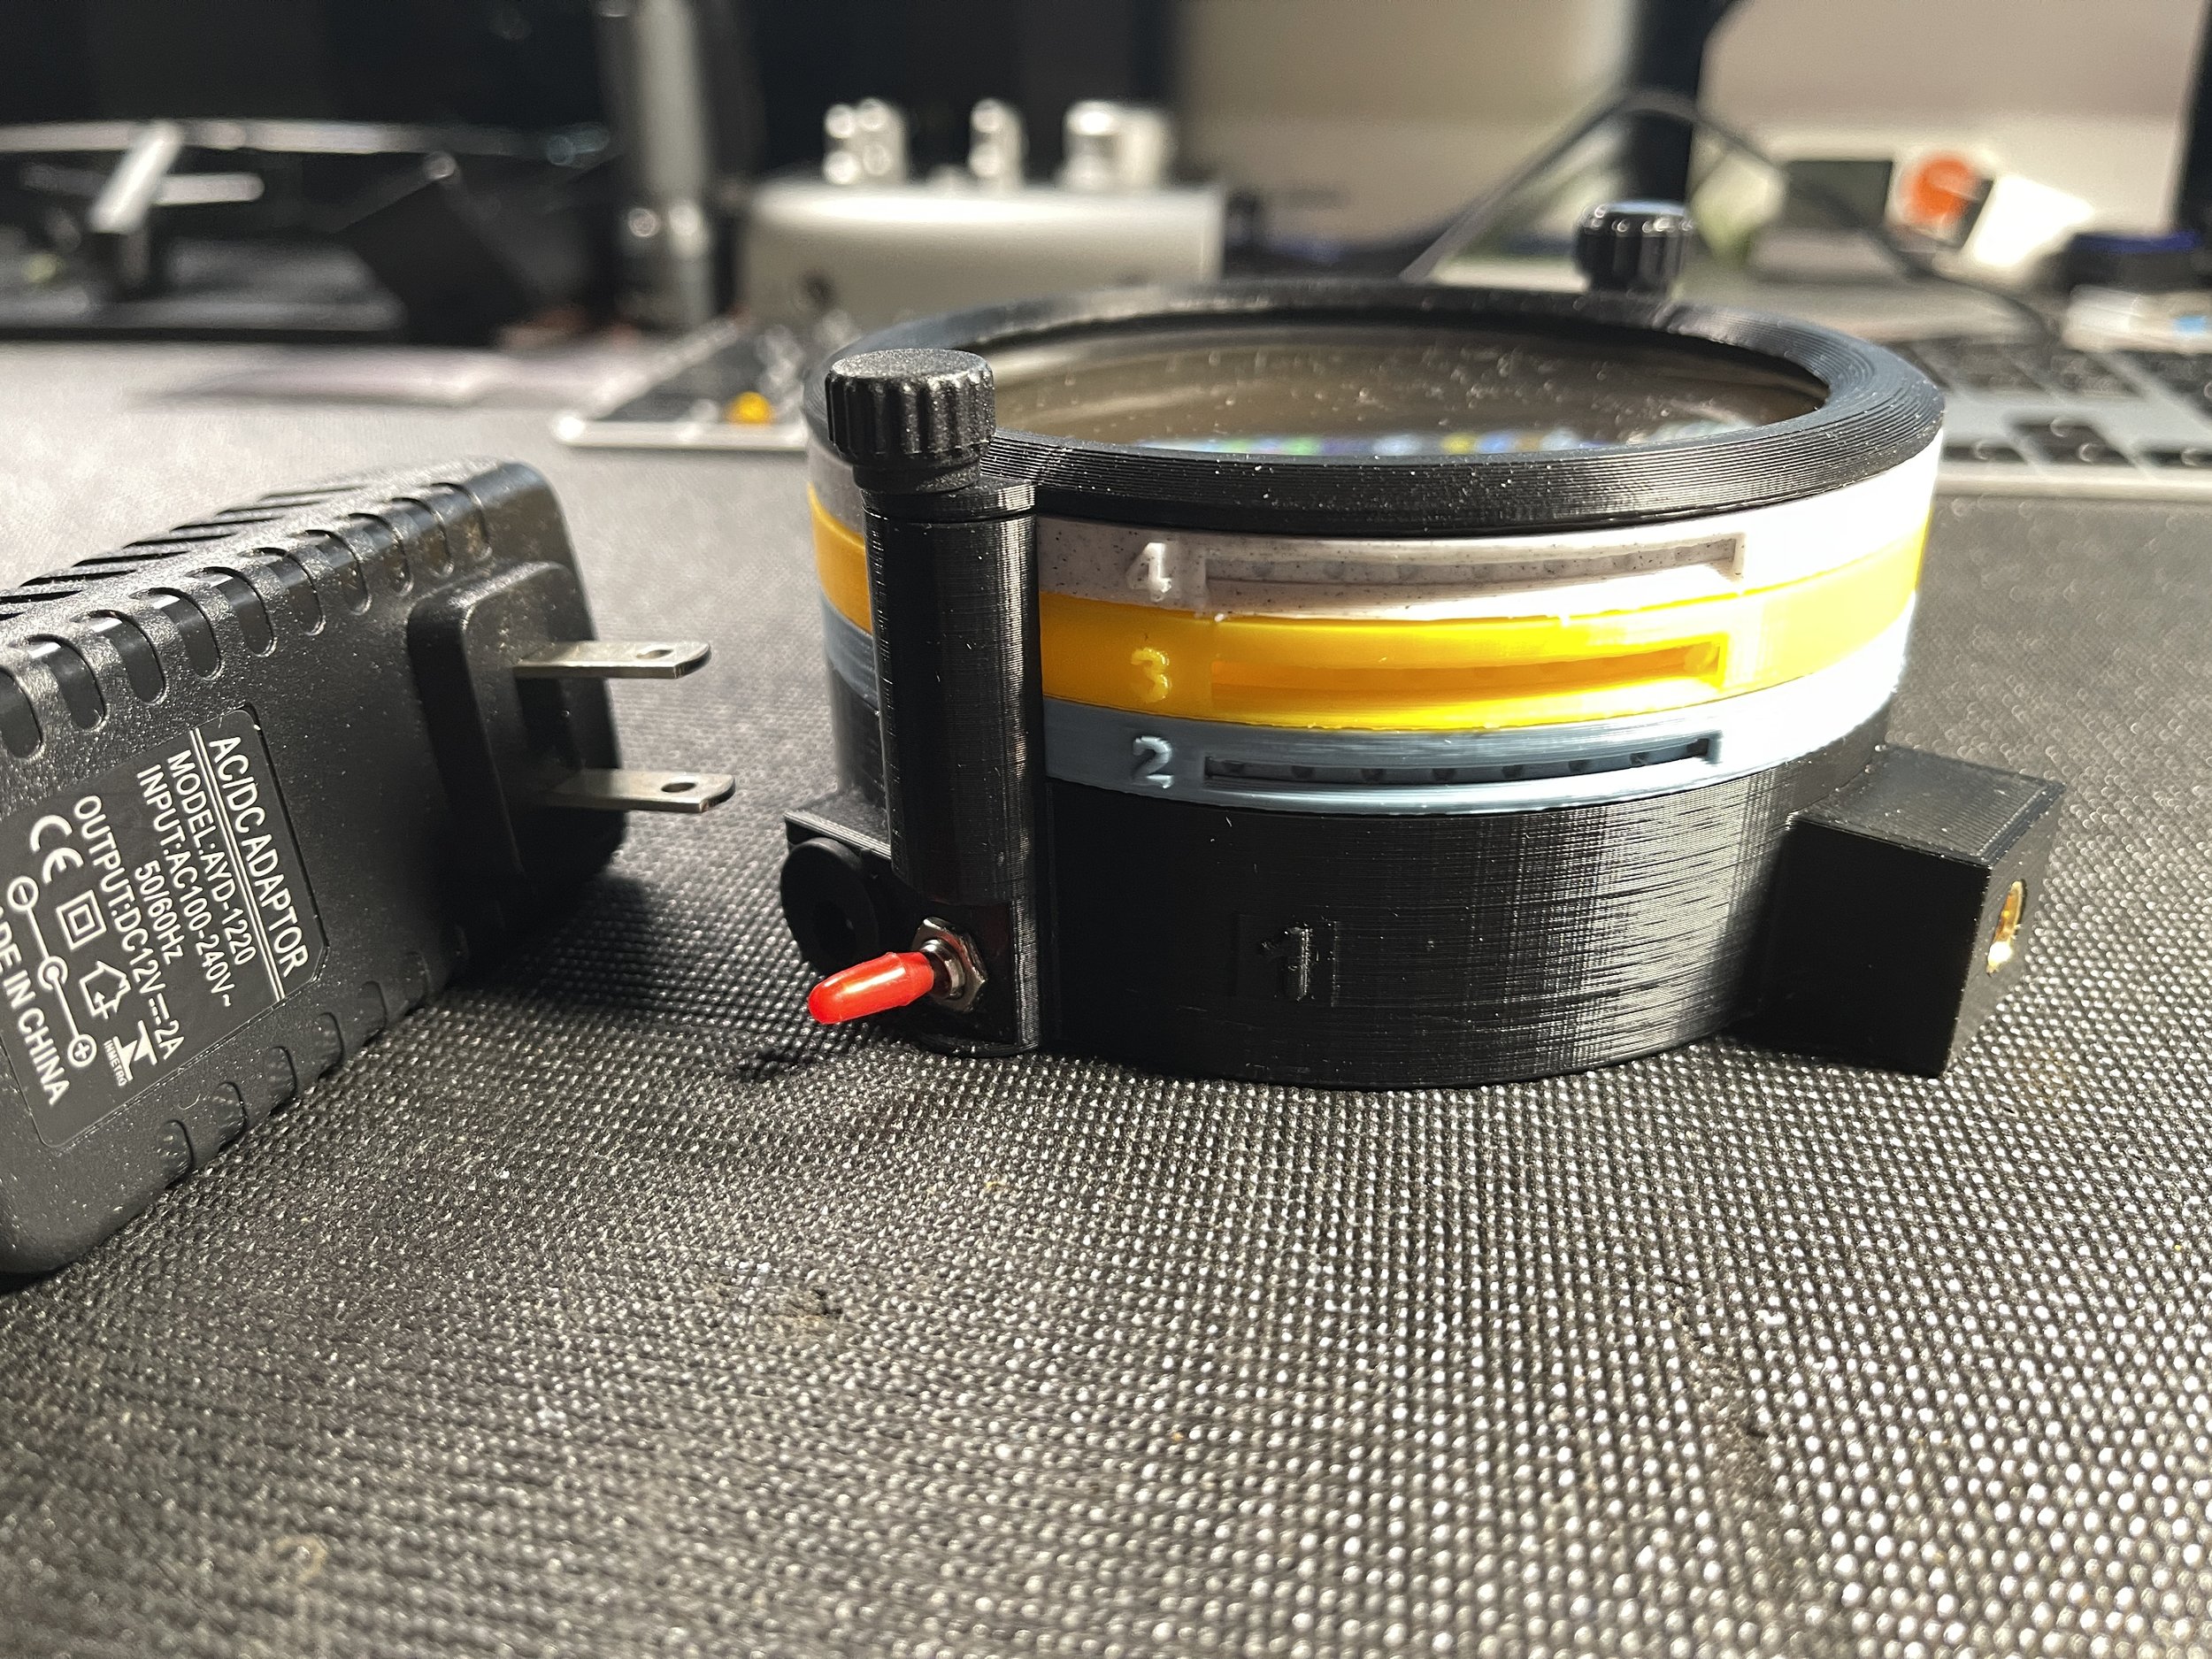
In Tuesday’s livestream I am going to share with you the design of my studio diffusion frame for use with microscope objective based lens systems. It is compact and very effective. You will probably want to make one. As I will be sharing the 3D print files, you will be able to do so, but you will need a couple of other things. Here they are…
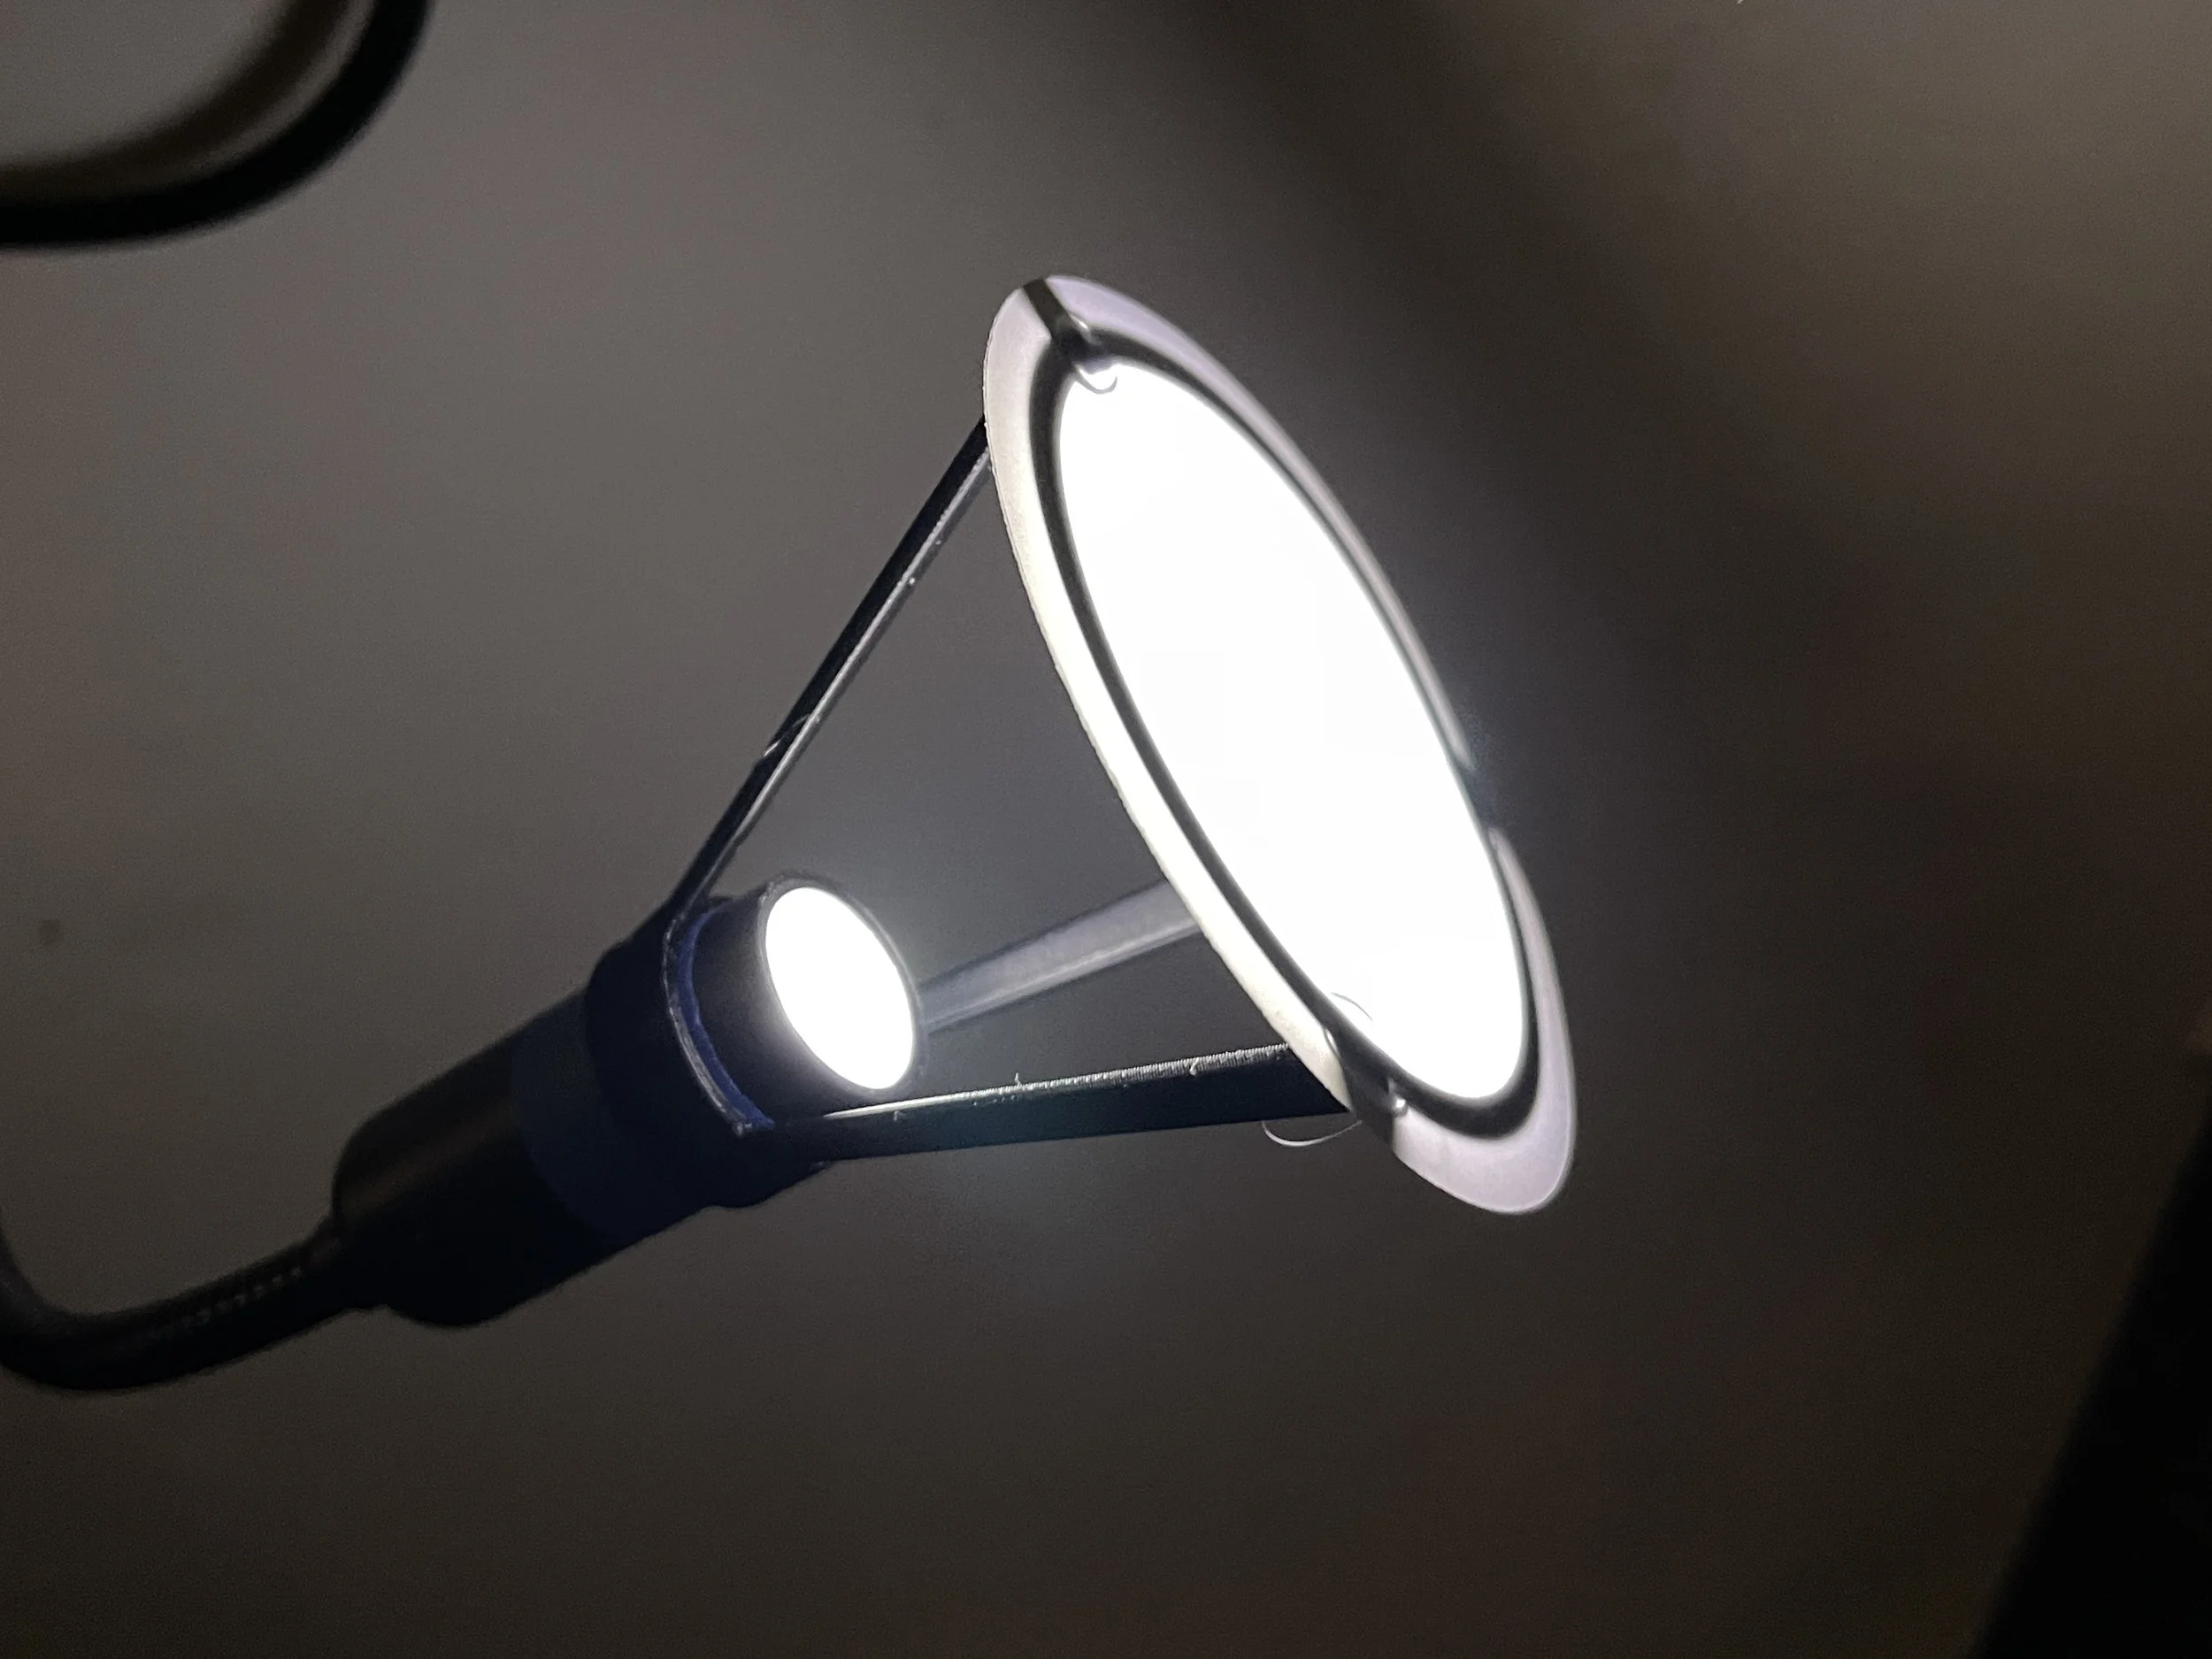
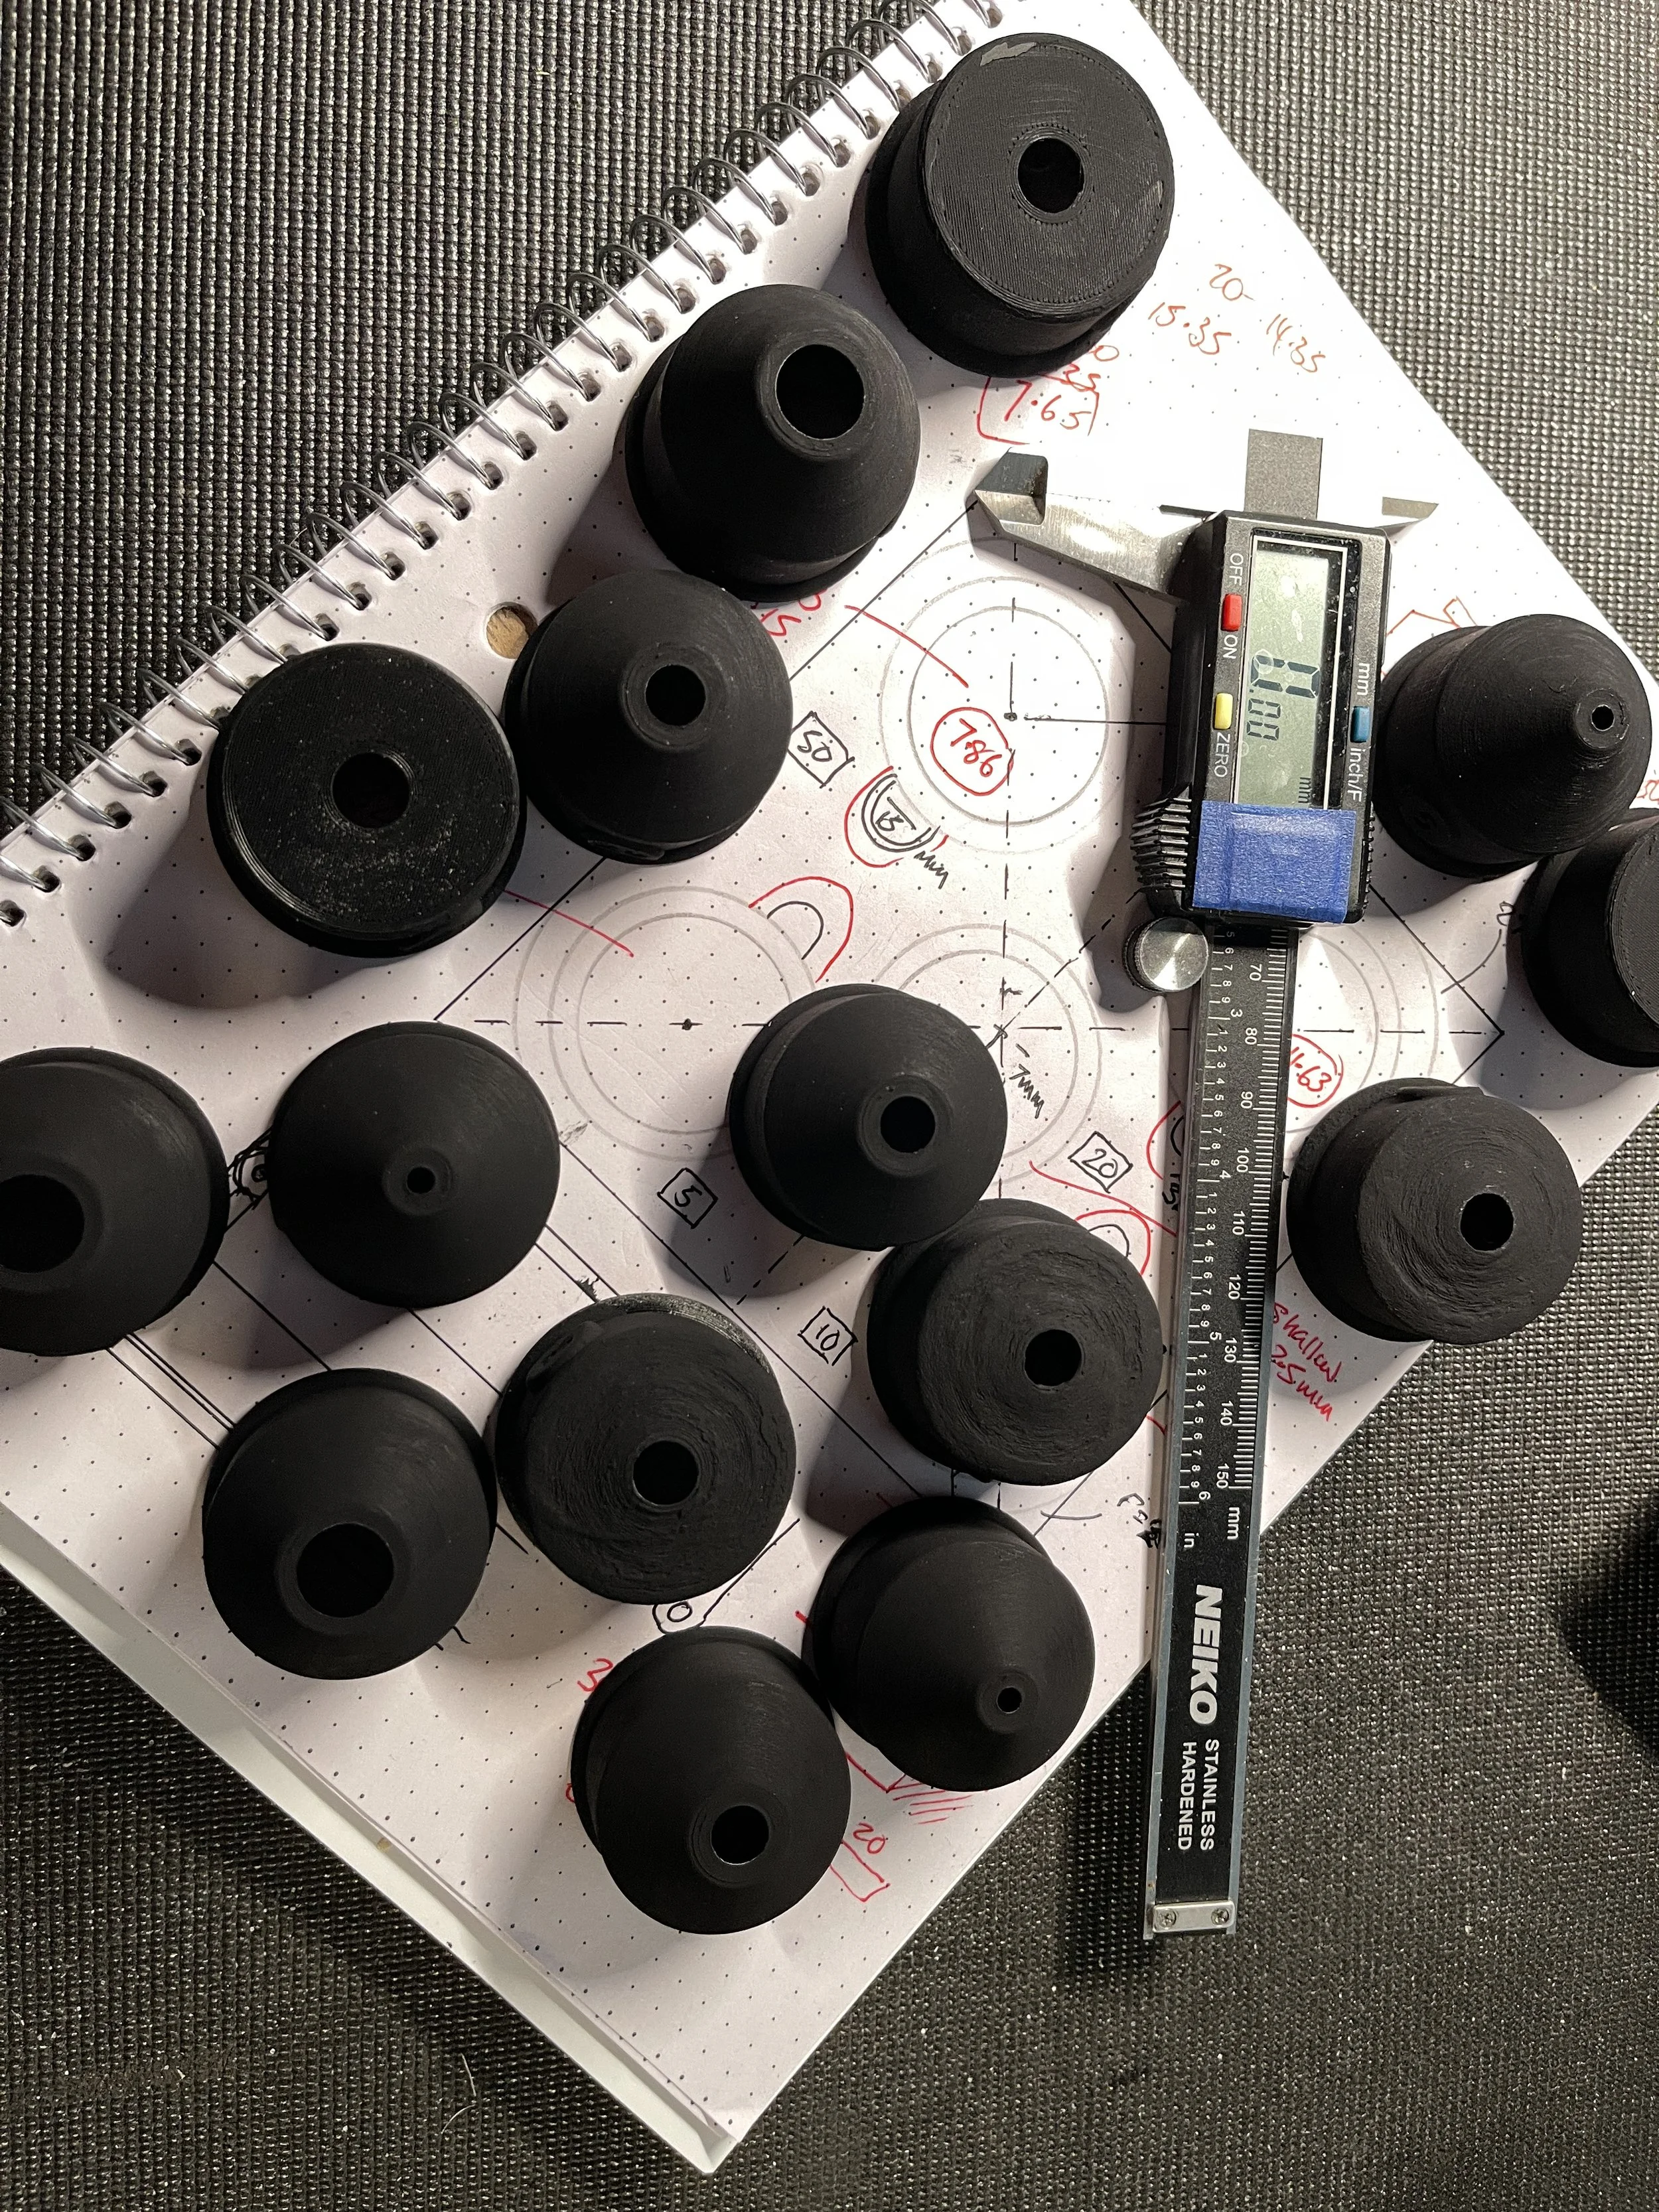
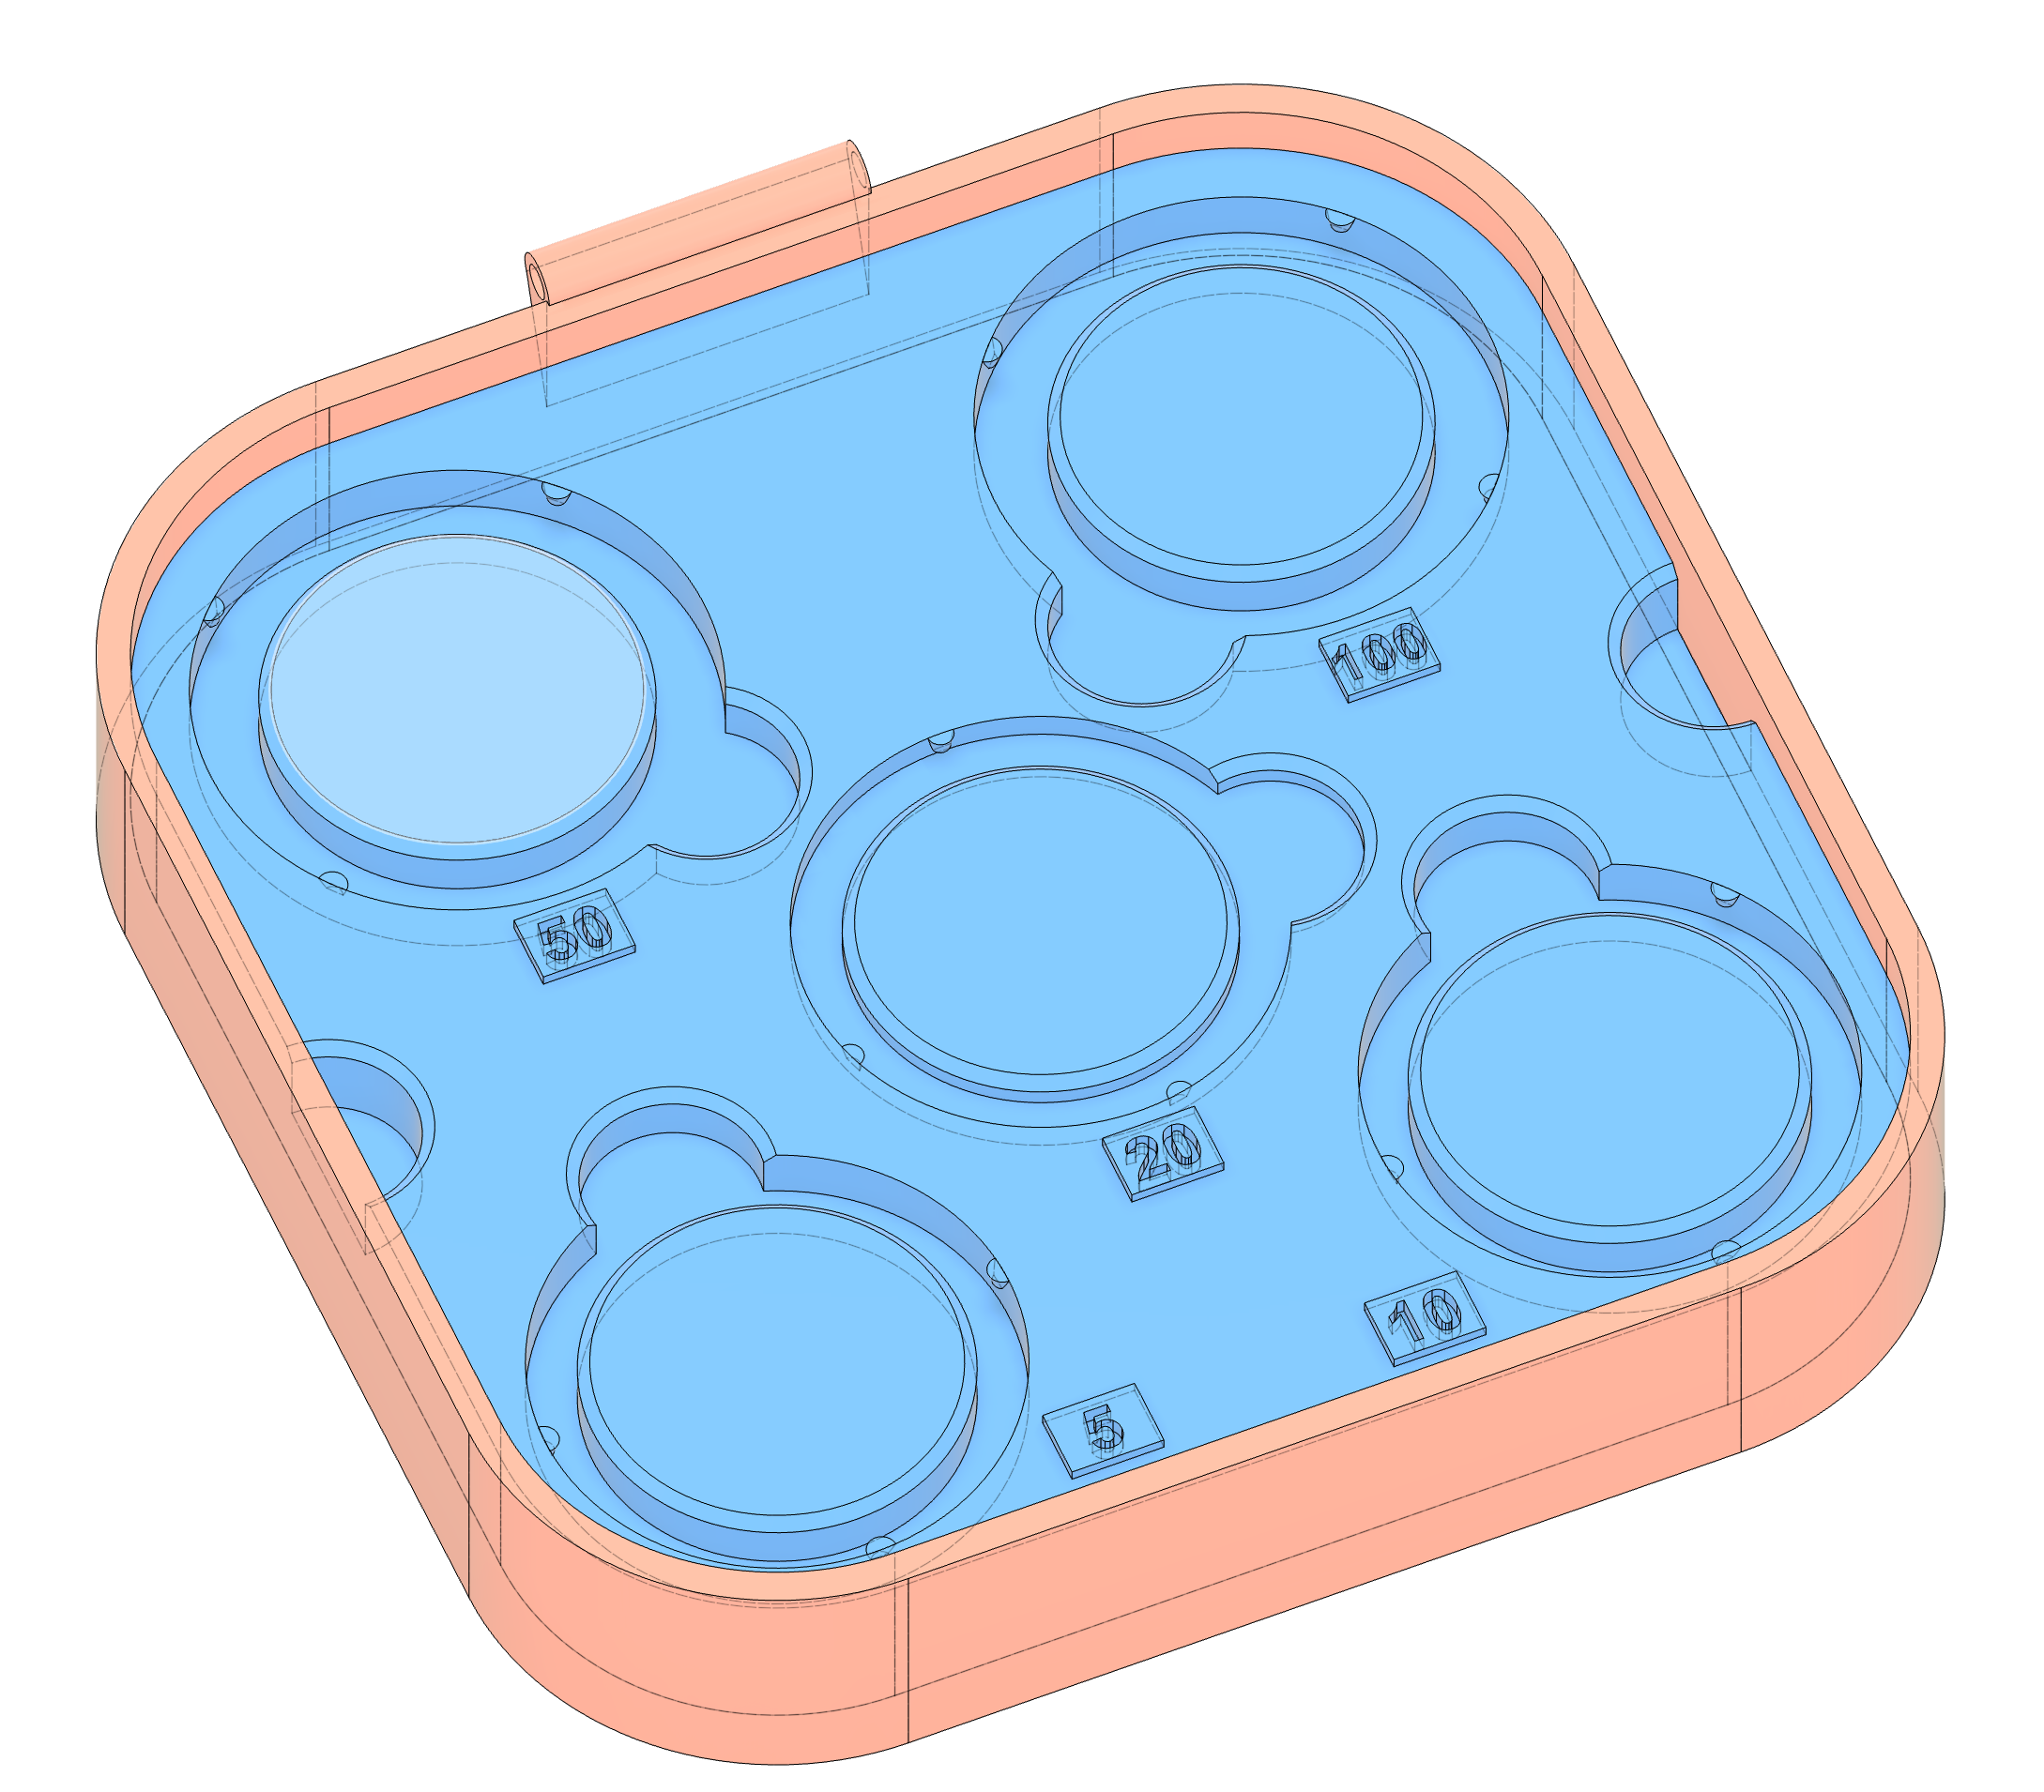
single layer diffuser frame
Affiliate Links (as an Amazon Affiliate, I may earn a small fee from purchases completed using these links, at no cost to you)
Glocusent macro light - https://amzn.to/4ptyt90
Renian Diffusion Material - https://amzn.to/4ppjEEs
Boswell hot glue gun - https://amzn.to/45uLGXP
NT Circle Cutter - https://amzn.to/4jrFfe0
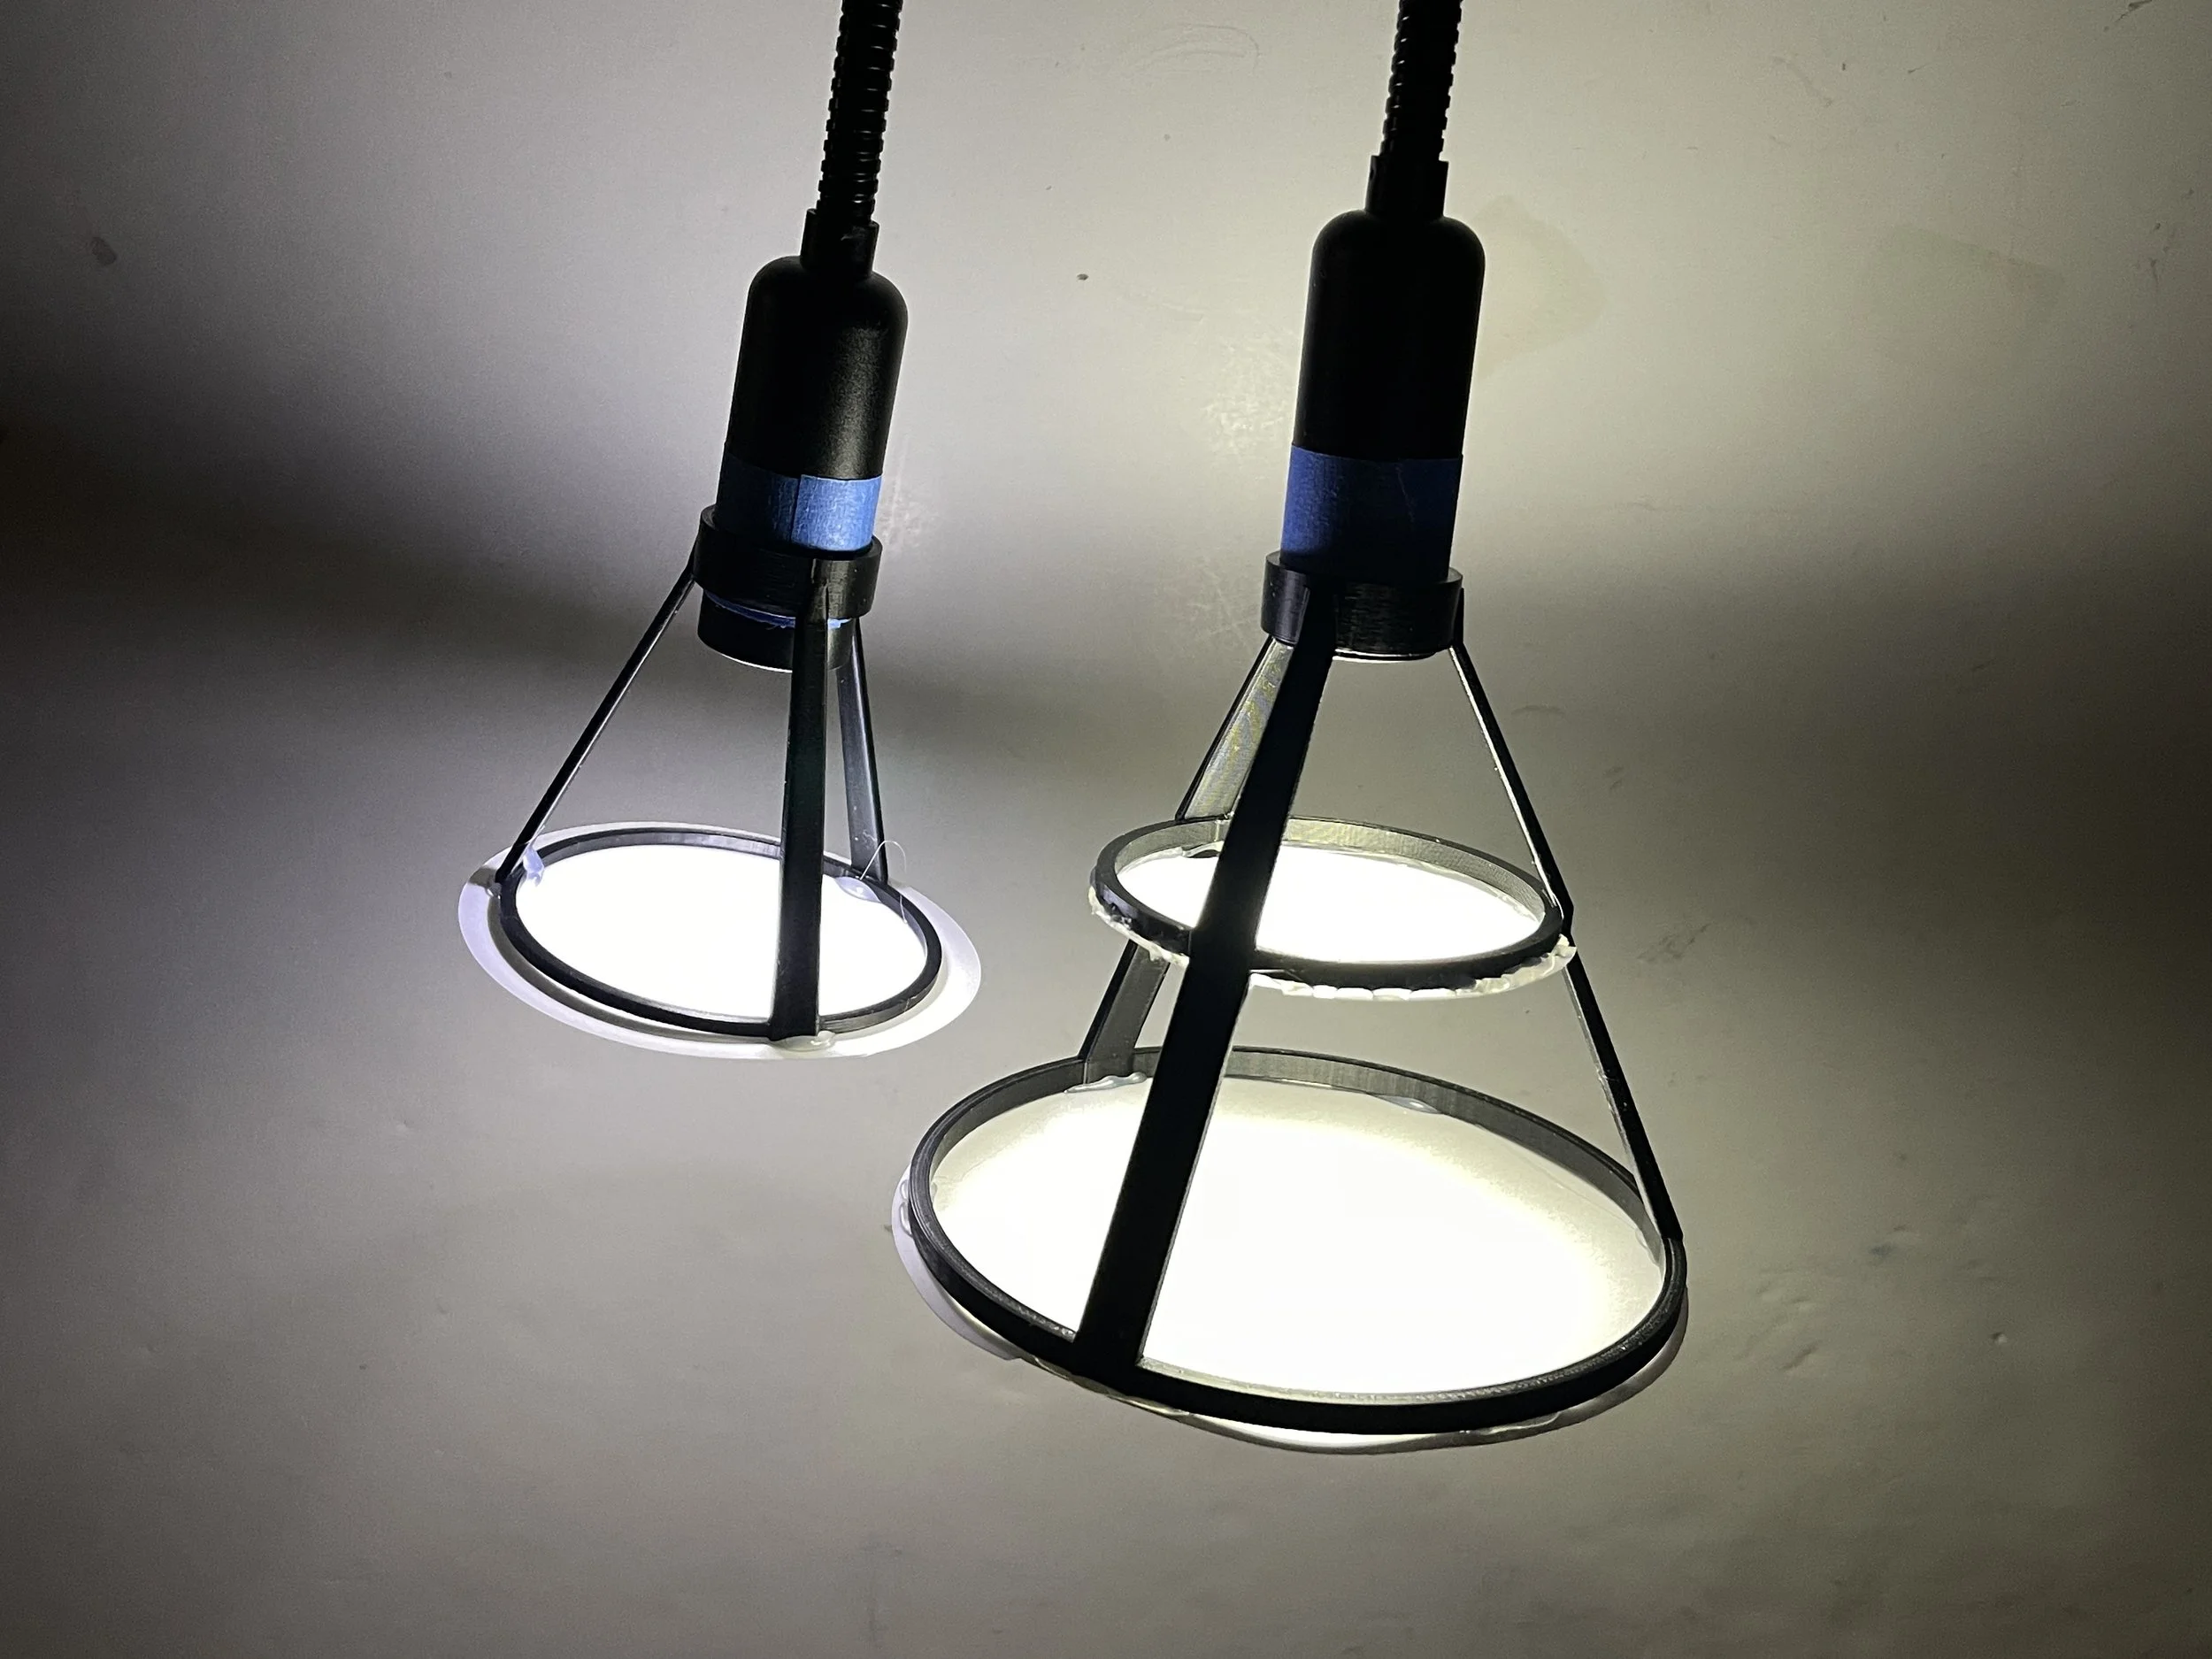
two styles of lamp diffuser
What follows are not exactly New Year’s Resolutions, because these changes will be open to revision or reversal in the event they don’t yield the anticipated benefits, but they are proposals that share some of the characteristics of “resolutions”. By this I mean that the changes have been designed to improve the product that I am delivering to you, and making meaningful improvements is seldom a comfortable process. We all like to stay within our comfort zones, because change feels risky and difficult, and real change is never welcome or comfortable. One of the main reasons that so many of our resolutions don’t last until the second week in January is because of the expectations, held both by our selves and by our friends, co-workers, and loved ones, that these are permanent resolutions. When we announce a resolution to quit smoking, we don’t mean we are planning to quit smoking until January 7th. We are broadcasting our intention to stop smoking forever. This kind of expectation, baked into New Year resolutions, is why they generally have such dismal success rates. When the outcomes are limited to complete success or total failure, there is little room for the kind of incremental improvements that can actually yield long-term, durable results.
Some other hallmarks of the New Year resolution is that it is emotionally driven, poorly planned, over-advertised, and unrealistic.You might even find that some resolutions are conceived and announced during a moment of intemperance, the office party, for example, only to be regretted and walked back, long before the first tub of ice cream must be resisted. The changes that I am proposing at the beginning of 2026 have been carefully thought through, researched, and discussed with trusted advisors. They are intended to yield specific, measurable results that will improve the viewer’s experience of my content while maintaining the viability of the channel and potentially providing the resources necessary to grow the business. I am going to share with you my plans for 2026, but not all at once. Some initiatives are still in the planning phase, while others are being implemented as I write. One or two of them have already been introduced, and on these I will give an update.
An important part of laying out my plans is so that I can ask for your feedback and opinion on the various changes, after all, they are going to affect you as much as they will me. The first change is going to be in how I communicate with you. I am going to change the format of my weekly blog posts to be more useful to the viewer. Interestingly, I have already broken this new rule in the first blog post of the year (this one) - not a very promising start! The change is that I will make all my announcements up front, at the top of the post. I have been putting them in or after the post, because that is where they seemed to fit. But I have realized that they will only fit there if you are reading the post, which provides the context for the upcoming content. But many are not doing so and only want to find a link or hear what the upcoming content is about. So to make it easier for everyone, all that stuff will be presented at the top of the page. The content, article, images, etc. will follow.
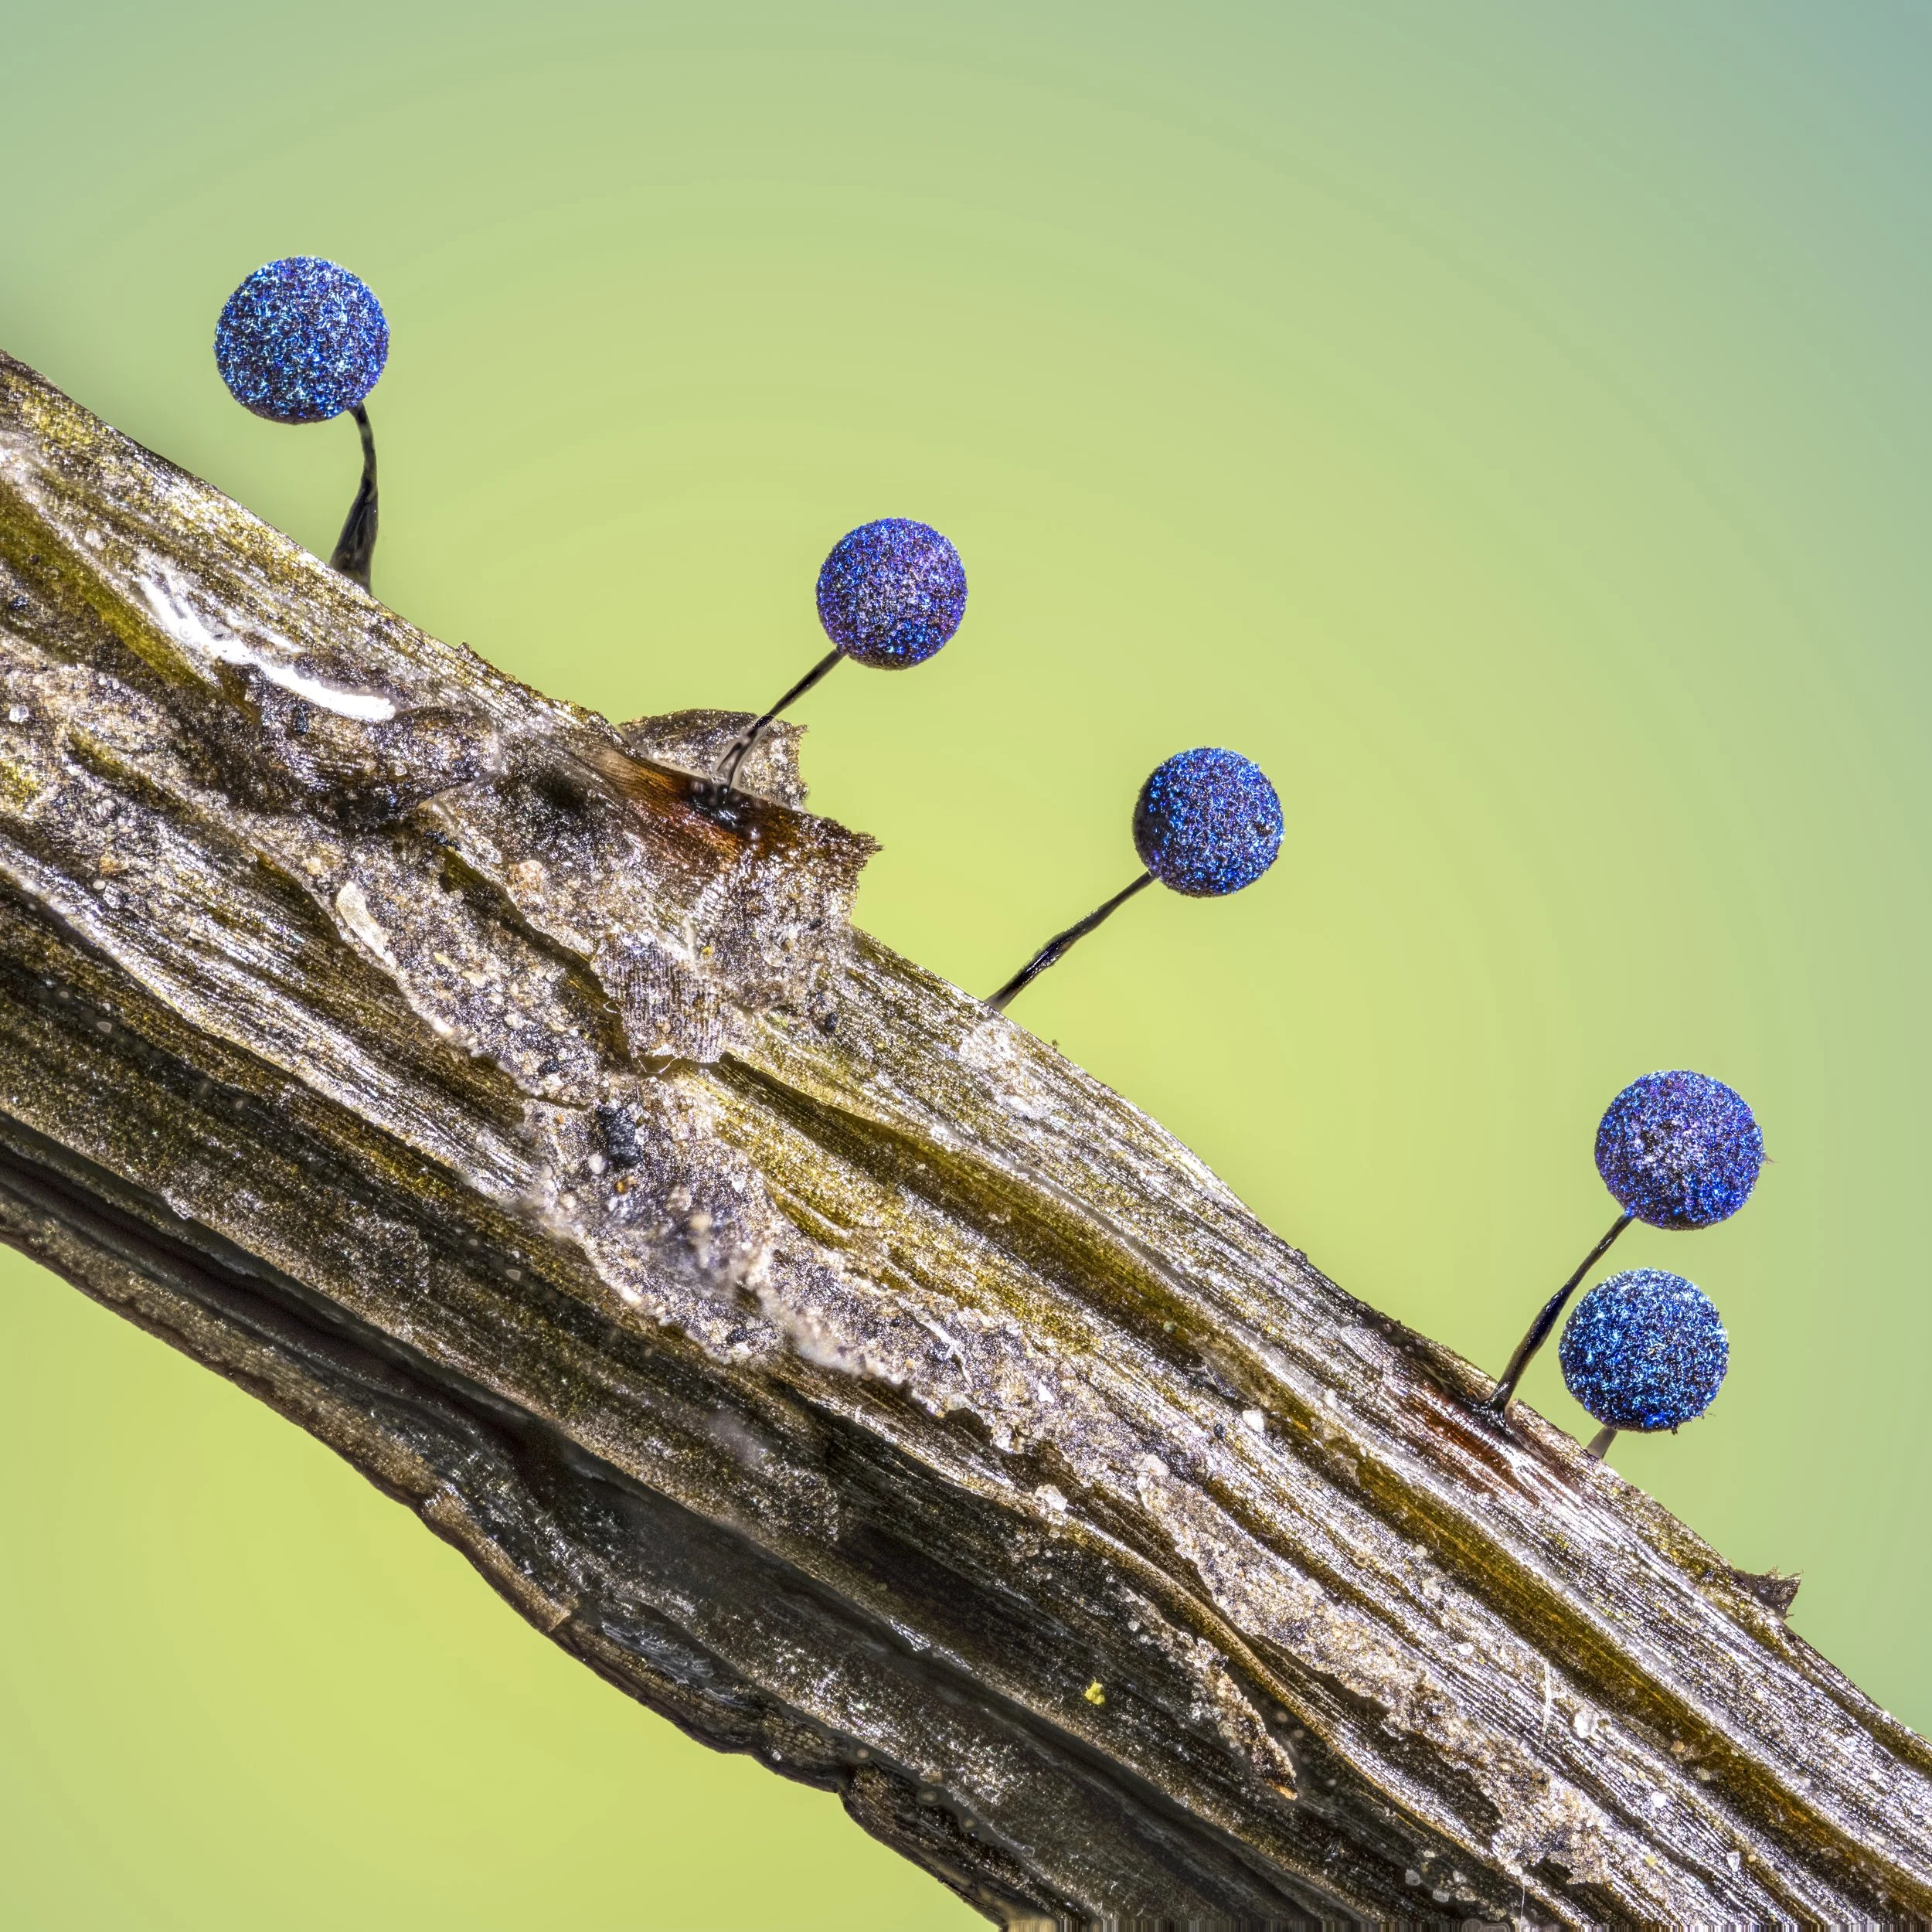
lamproderma scintillans
For this week, just imagine that what you just read will come after what you are about to read…
This week on the AWP channel
Tuesday morning - December Competition Results Video release on YouTube - Link: https://youtu.be/PLZgsGRW_-E
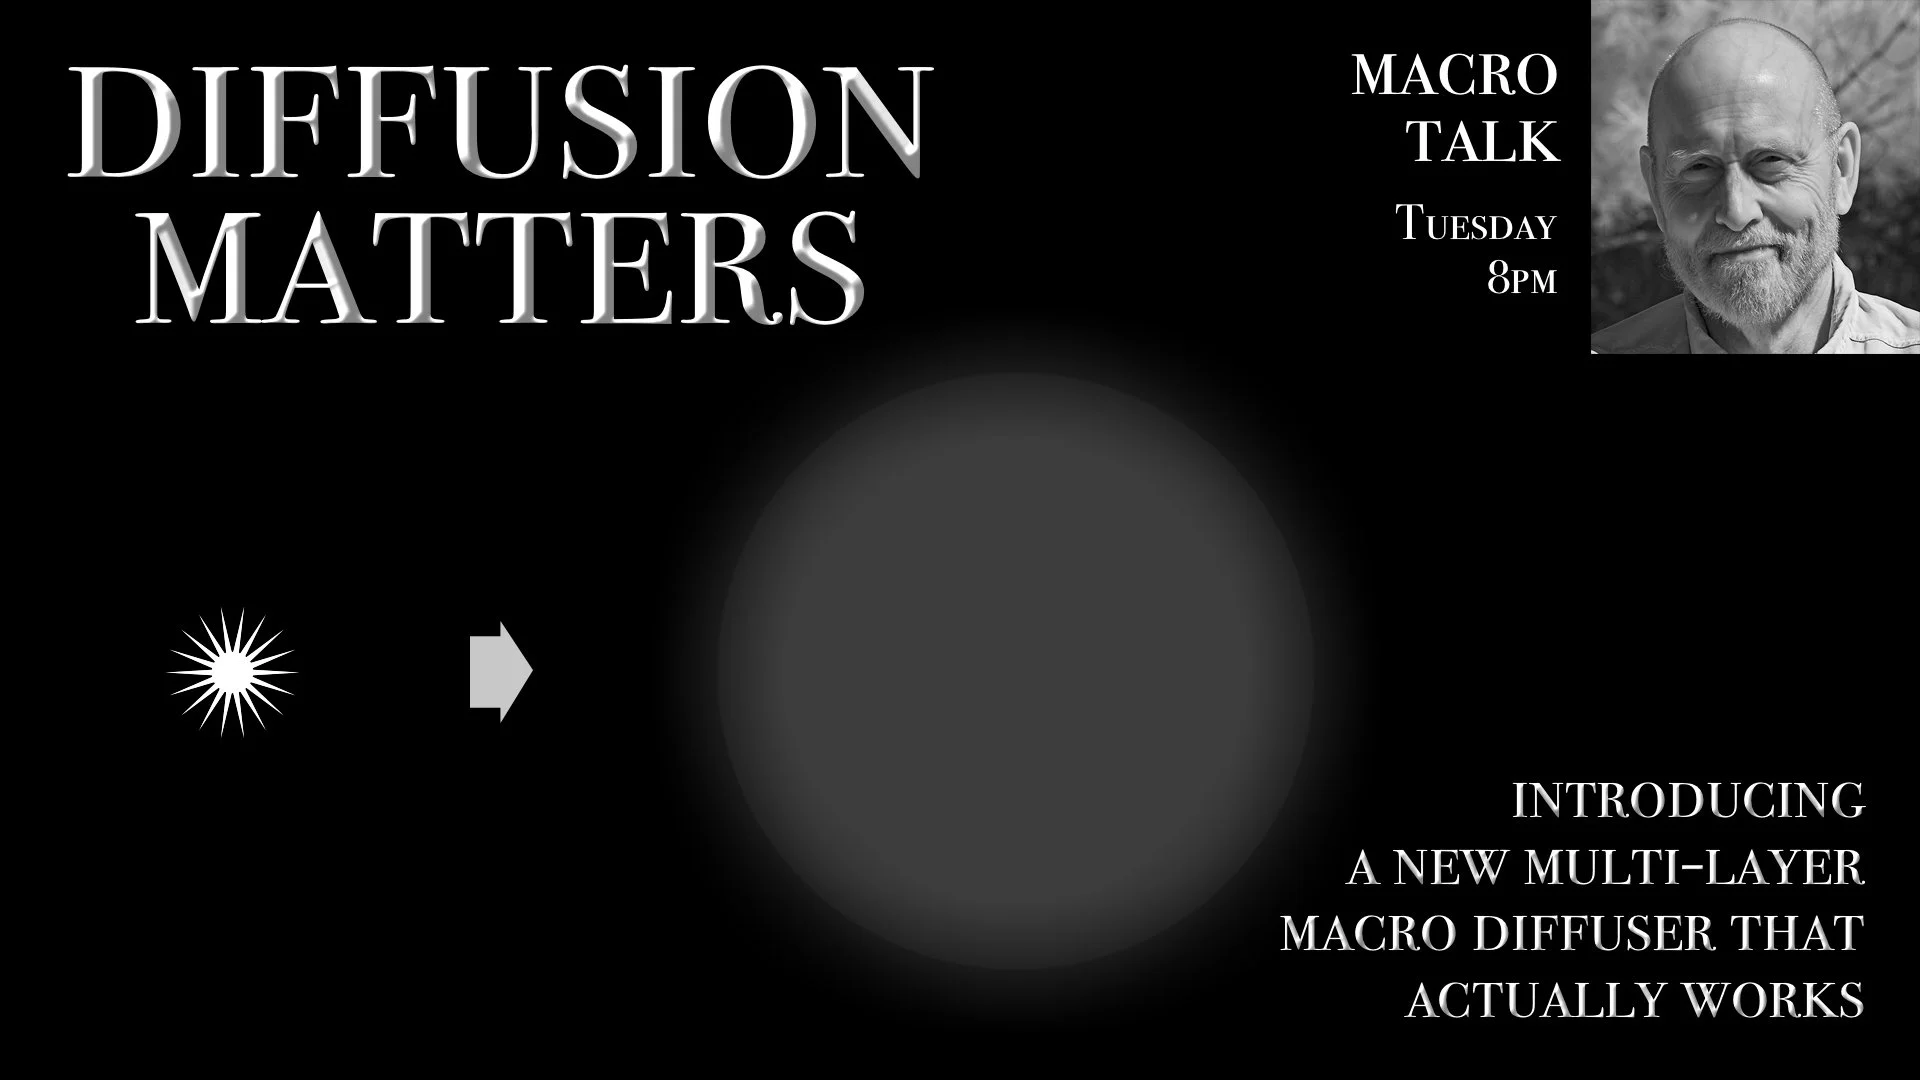
Tuesday at 8PM - Macro Talk - Macro Diffusion - the right way. Link: https://youtube.com/live/3PnhFAJwBDo?feature=share
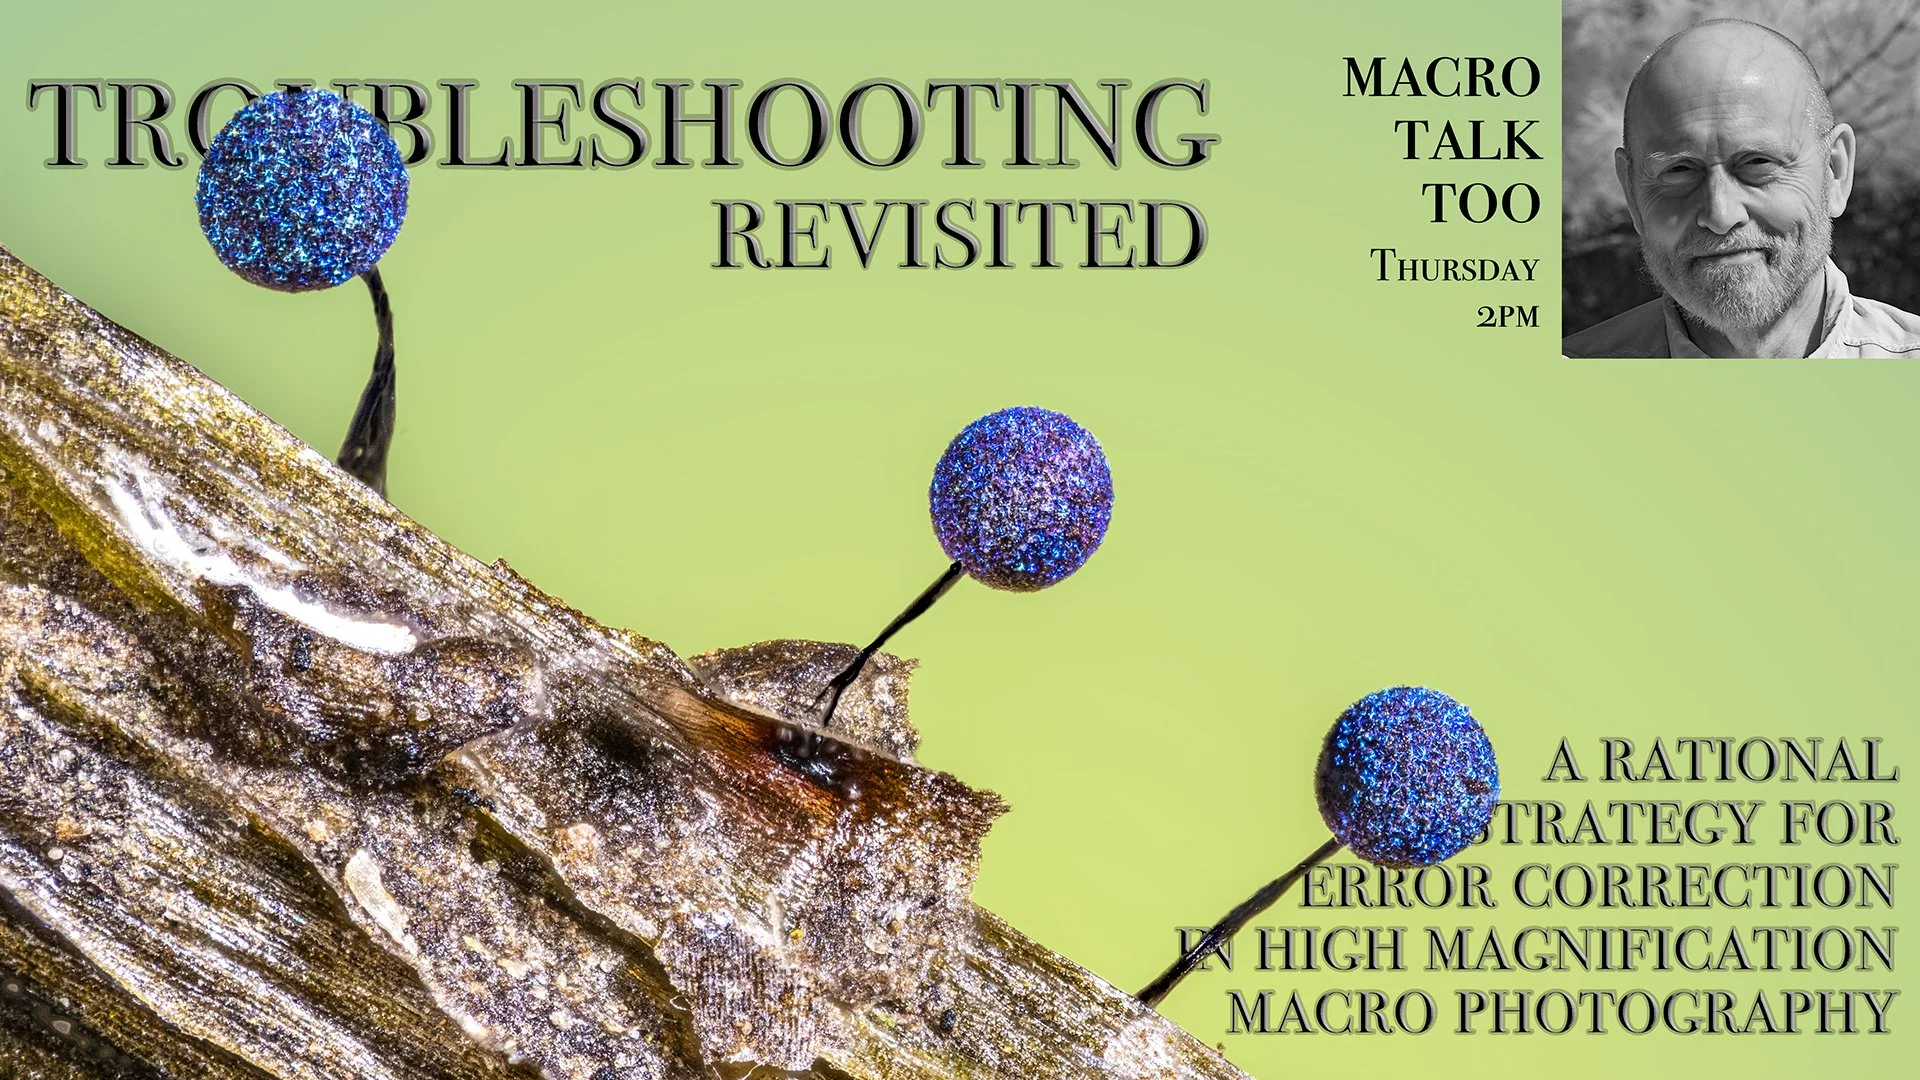
Thursday at 2PM - Macro Talk Too - Troubleshooting revisited - Link: https://youtube.com/live/gru0JDGI-A4?feature=share
Friday at 2PM - Crystal Art with Harold Hall - Zoom Invite: Allan Walls is inviting you to a scheduled Zoom meeting.

The highlands in winter - for no particular reason
Topic: Crystal Art with Harold Hall
Time: Jan 9, 2026 02:00 PM Central Time (US and Canada)
Join Zoom Meeting
https://us02web.zoom.us/j/6916802815?pwd=TS9tZi9ZL1NXeVUvOUF4eTg5YjdlZz09&omn=89605431899
Meeting ID: 691 680 2815
Passcode: 678122
Join instructions
https://us02web.zoom.us/meetings/89605431899/invitations?signature=4J7CNeO3-TmO11EDcUHk-lTJNejsutjIW1jdpVaEX7w

Saturday 10AM - AfterStack with Bud Perrott - Zoom Invite: Allan Walls is inviting you to a scheduled Zoom meeting.
Topic: AfterStack 38
Time: Jan 10, 2026 10:00 AM Central Time (US and Canada)
Join Zoom Meeting
https://us02web.zoom.us/j/6916802815?pwd=TS9tZi9ZL1NXeVUvOUF4eTg5YjdlZz09&omn=86052186857
Meeting ID: 691 680 2815
Passcode: 678122
Join instructions
https://us02web.zoom.us/meetings/86052186857/invitations?signature=yI6ZqKf_RhJL5IEAjVvZYAGdMF2QONmmbRerXSsWsFg
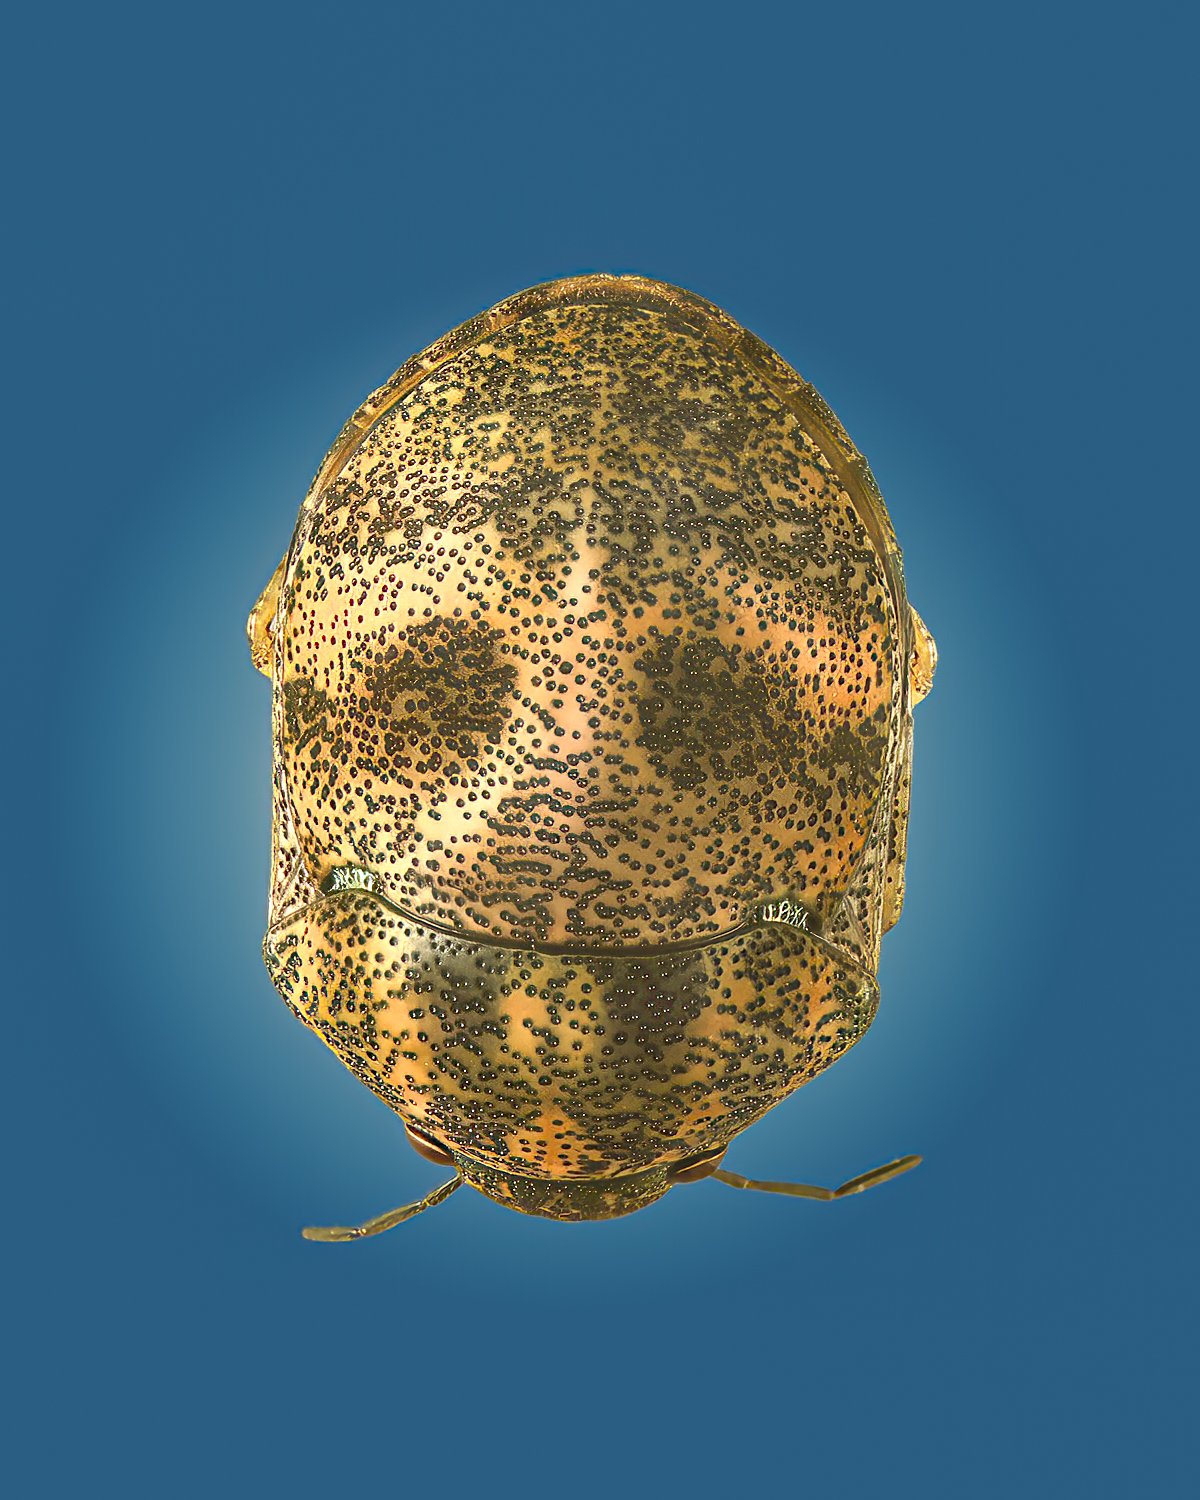
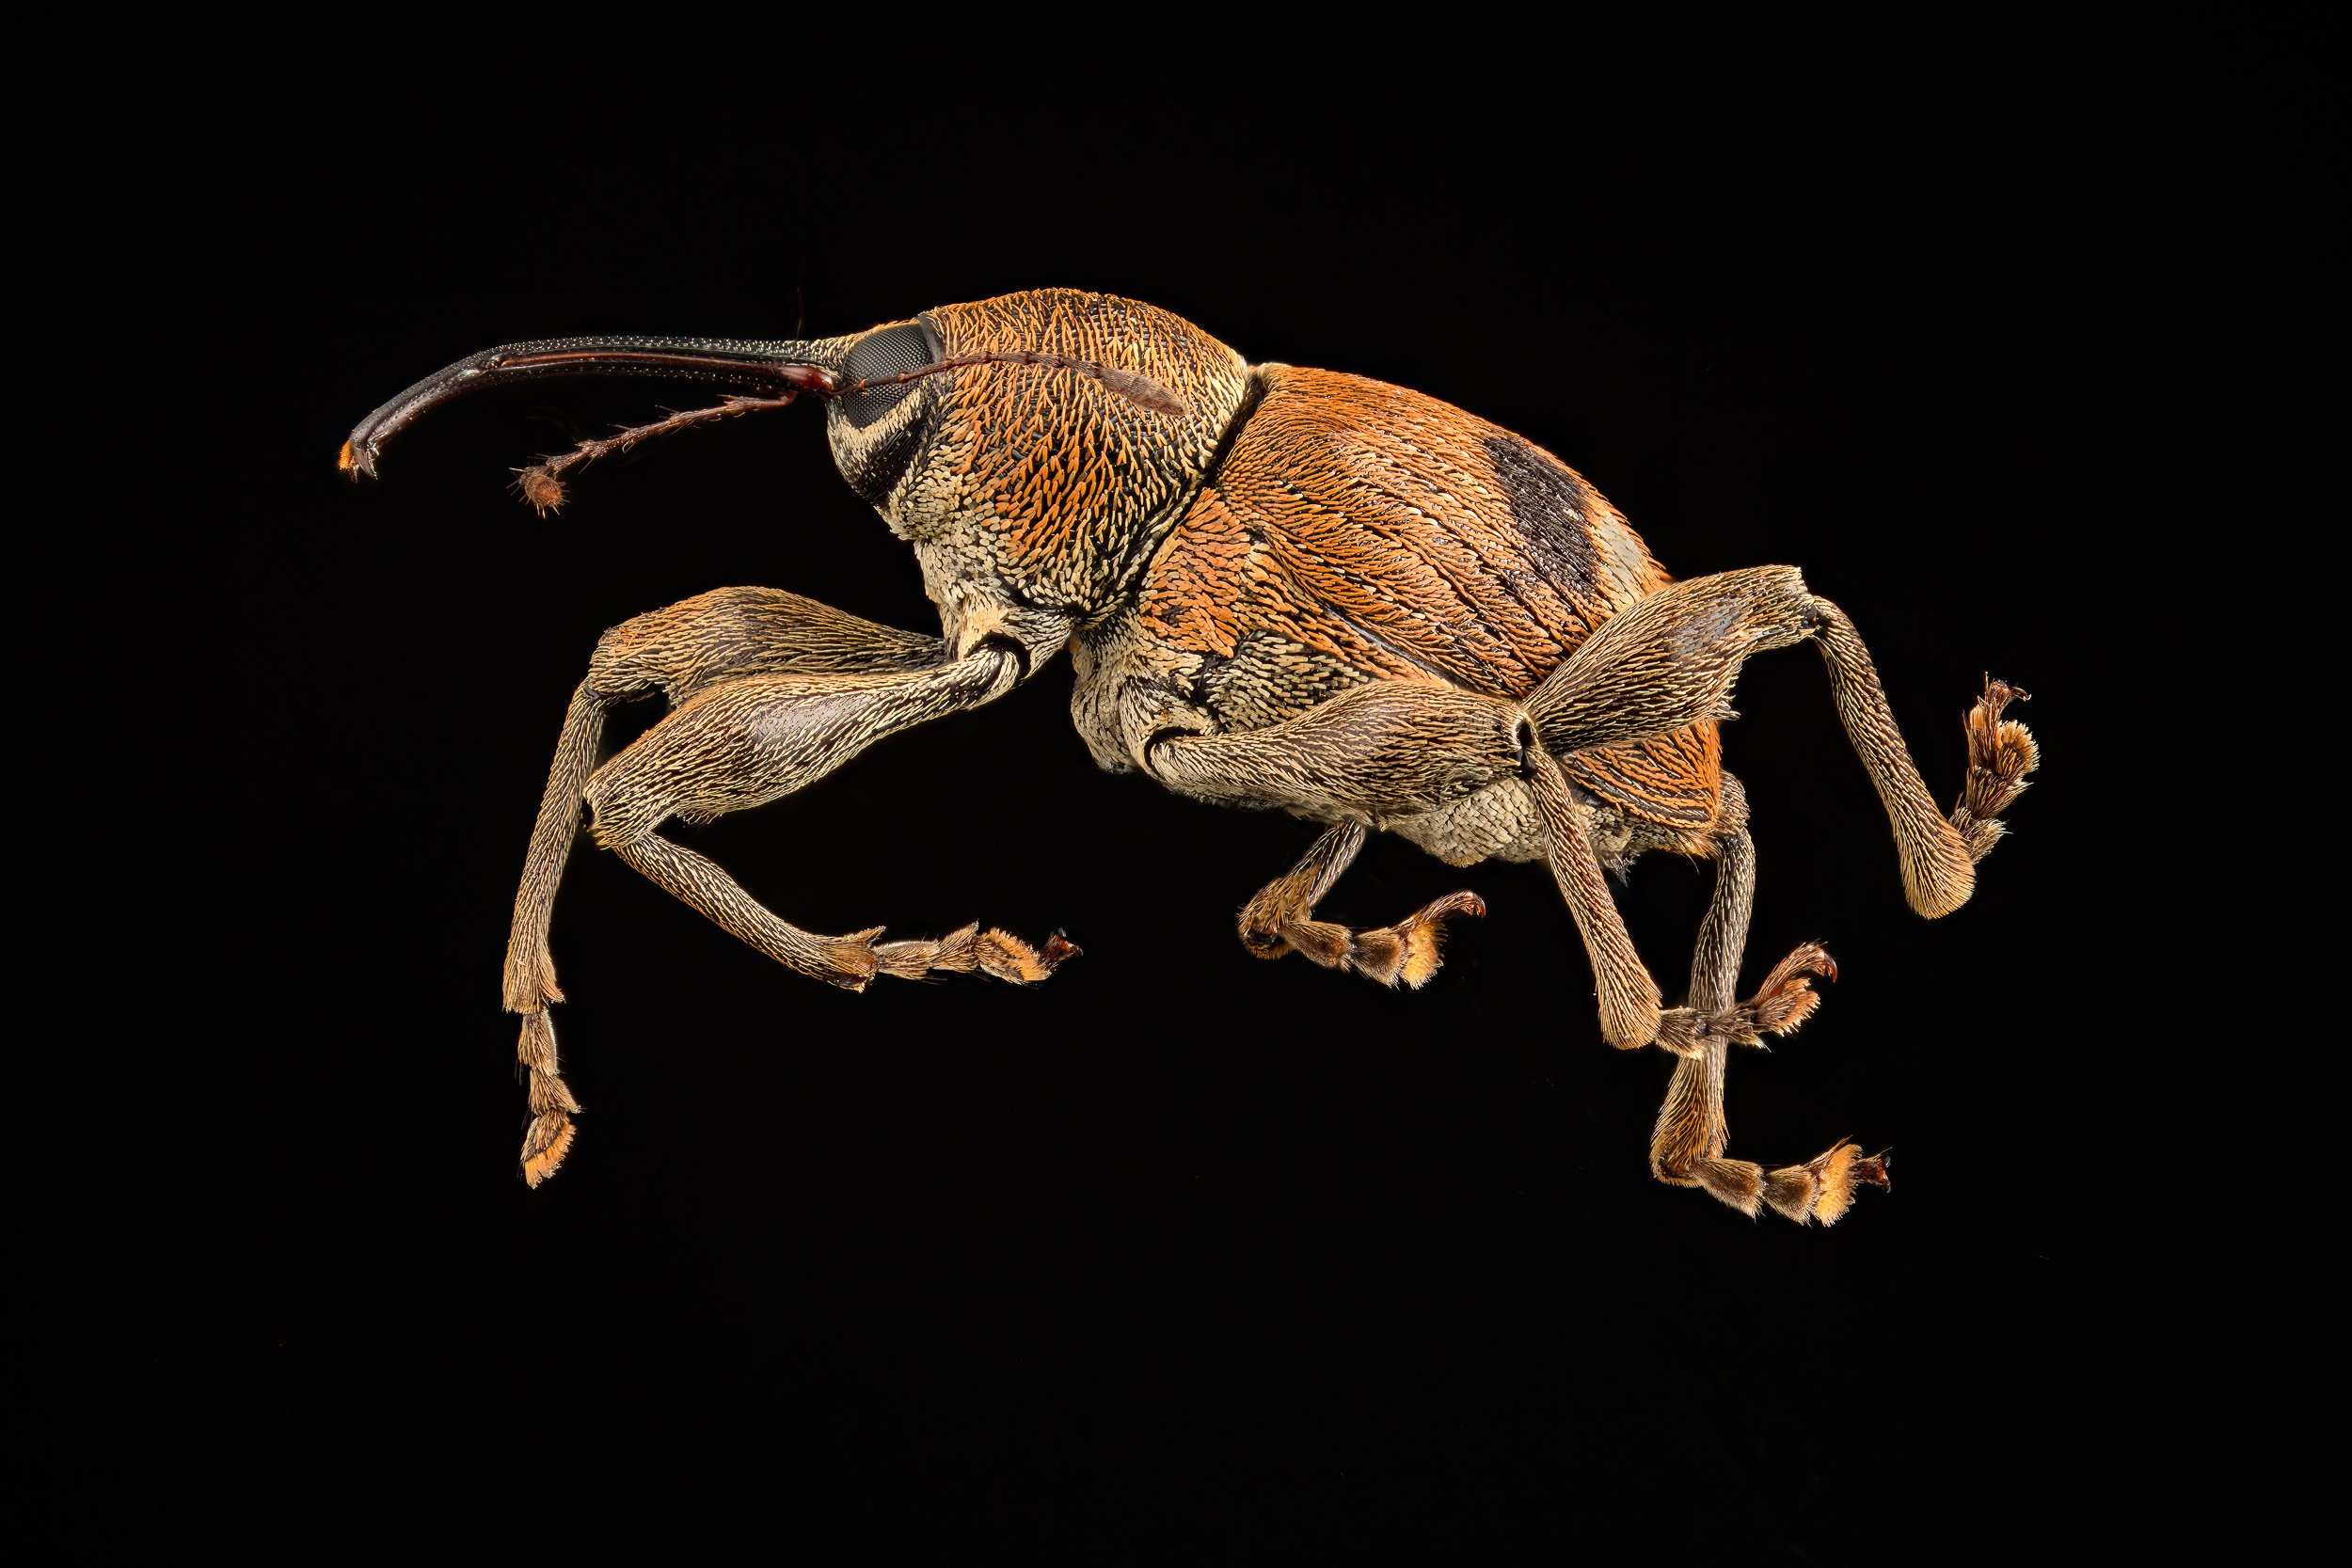
A very strange looking beetle
***
In my next post I am going to give an update on my AI assistant project and introduce you to a very exciting concept, suggested by one of my friends. This idea is a way for viewers to support the channel, while cleaning out old, unused gear, helping me produce fresh educational content, raising some revenue for the channel, and giving viewers the opportunity to purchase gear they have always wanted, but at thrift shop prices. I will explain everything very soon - stay tuned!

a moth
This month’s macro competition is titled “Winter”. The rules are back to normal - 2 entries unless you have won the contest in the last 12 months, when you will only be able to submit one. The pictures need to be close up or macro images at 1:2 (half life-size of greater) and they must communicate the idea of wintertime. How you do that is up to you. I will announce the Guest Judge for this month as soon as I can find a way to coerce him/her into accepting the challenge.

condylostylus species
Finally, I am looking for a couple of volunteers to take on a task with me. It is not too difficult and can be done in small chunks when you have the time. It is a very short term commitment and I will be most appreciative for the assistance. If you want to know more, I will schedule a zoom meeting for any interested folks, probably within the week, and I will explain everything.

overwintering pseudoscorpion
Thanks and I wish you all a happy and productive 2026!