

When Mitutoyo Met Raynox - a love affair for the ages
/What is it about this combination…
… of a top of the line, industrial inspection microscope objective and a low cost, consumer closeup lens that so excites the macro photography community?

The tiny wasp that we photographed first
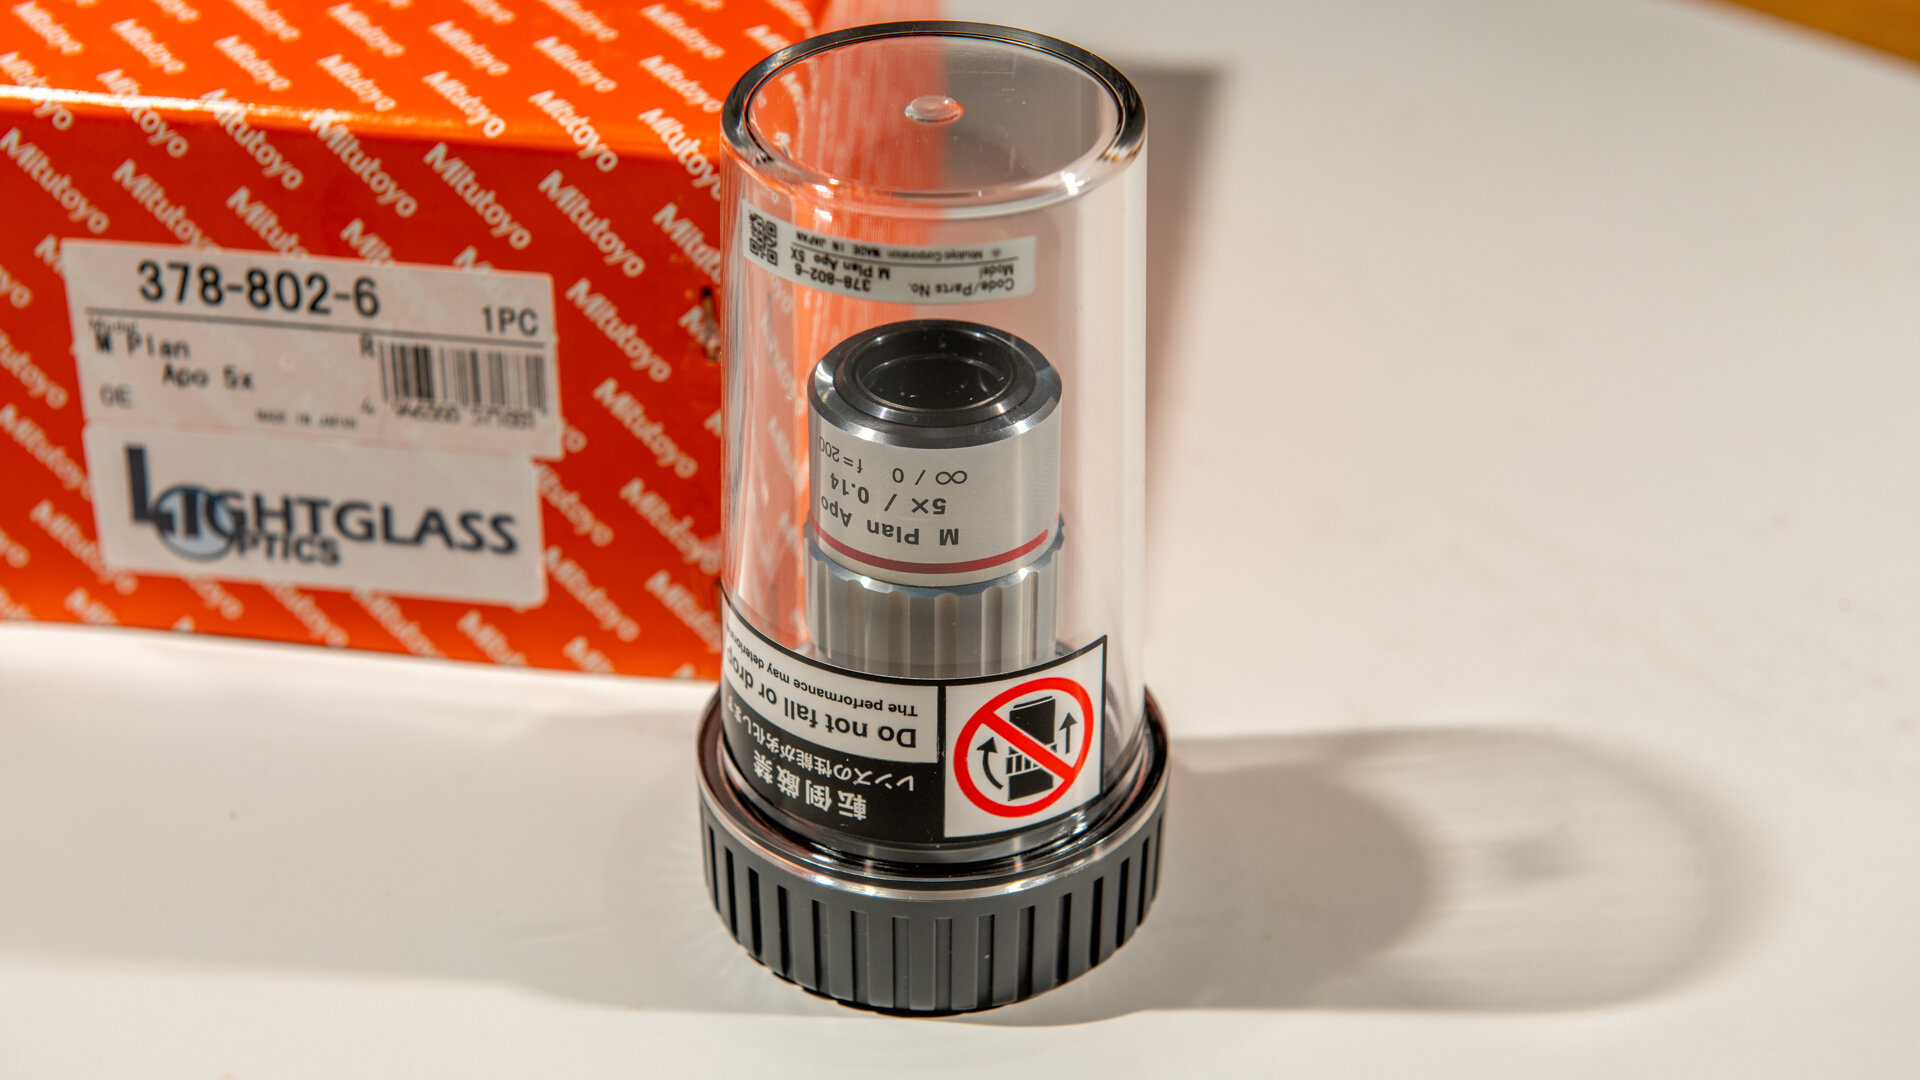
Image quality, as always, is the number one reason that we will gladly hand over almost $1,000 for this pair of lenses. And it could be worse, price-wise. A lot worse. The next best objective sells for close to $7,000 and the top of the line relay lens is the $500 ITL200 from Thorlabs. You could also spend $700 for the ML-4, Mitutoyo’s own relay lens. The truth is, we would spend that much if one of these lenses gave us a little more oomph. But they don’t, and that’s why we macro photographers have such an enduring love for the Raynox DCR-150. It is the best and it is the cheapest - and that doesn’t often happen in MacroWorld.
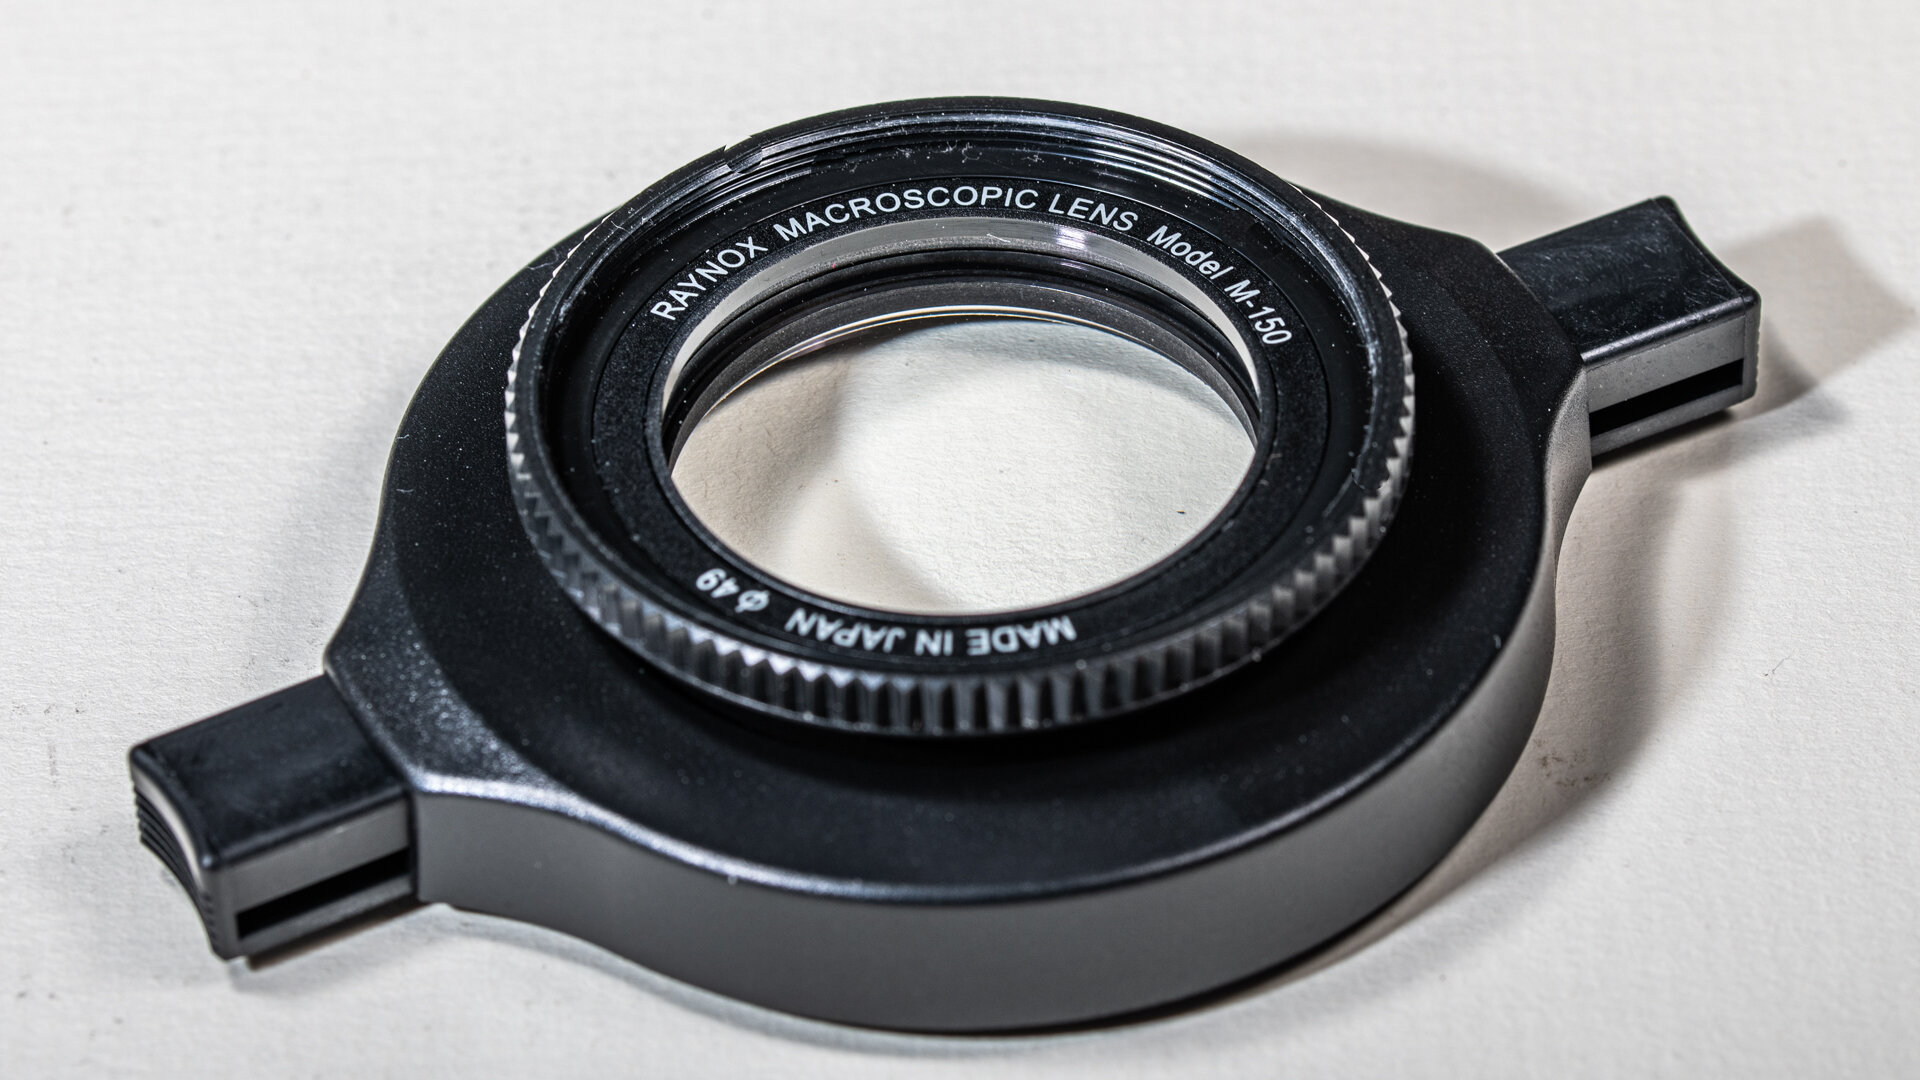
The happy couple, shown above are a very well matched pair, even though they might not seem so at first. The Raynox, for example has a focal length of 208mm, not the 200mm preferred by the objective. There is a useful lesson in this passing observation. When we are using or talking about lenses, it is very easy to fall into the trap of thinking that a number like 208 means exactly 208. It might, but it might not. To know for sure we would have to do a considerable amount of integral mathematics and get some missing information from the manufacturer. This is because in the real world the physics and mathematics of optical systems are not simple. Nor are they particularly tidy, and they certainly don’t lend themselves to tight little formulae that we can do in our heads. The lesson to take home is that optical systems are difficult for non-experts to understand and the numbers that we throw around as if they were cold hard facts, are anything but. The focal length of a lens, for example is never much more than a rough estimate. We should use focal lengths and magnification ratios as rough guides, SWAGs is what we called them in medicine (Scientific Wild-Ass Guesses, in case you are interested!). The correct way to use them is as a starting place, a place to start experimenting, or a place to go back to when you get lost.

A very tiny beetle at 5X with the Mitutoyo and Raynox
It is in this context that I am going to offer a few recommendations. I have done many years of experimentation with these and countless other optical systems, and always with one goal in mind - to find the best way to use these optics and to take the best possible images. I cannot make up my mind between two popular configurations and I use both of these methods about equally. I wish I could could give you some specific guidance like “use the Raynox in reverse for high contrast, or low light, or saturated colors”, but I can’t. I just have not nailed it down yet. I will, because I keep pretty good notes and eventually, if I take enough pictures, a pattern will emerge, I am certain. Don’t misunderstand what I am saying here… these two configurations are equally reliable if you look at the number of quality images I get from each, but for any given photograph, one method will always be better than the other. The trouble is, you have to shoot the same image using both methods to gather the data that will eventually tell us which to use under certain conditions. Until then, you just have to pick one and go with it.

A leaf hopper
In order to make my work as easy as I can, the lens arrangement requires only one section to be reversed, using the same adapters. It is a simple matter to remove the lens assembly, separate the from the rear sections, reverse the rear part and reassemble. Of course you will need to make a slight adjustment to your bellows or extension tubes - this would be a great reason to invest in a 20mm helicoid, especially if you prefer to use extension tubes.
This is the first, or Raynox forward orientation.

The “Raynox Forward” or 208 arrangement
To use the Raynox in the forward facing orientation you will need to build two sections. The rear section consists of 4 parts, terminating in a male F-mount bayonet at both ends. Understand that you can do this any way you wish, I just find this way particularly simple. At the bottom, where the whole thing attaches to the bellows or extension tubes, is a 42mm F-mount adapter. As the butt of the Raynox has a 43mm thread, we then need an M43 to M42 adapter ring. That screws onto the Raynox at the back and onto the filter thread at the other end is mounted a 49mm F-mount reversing ring. This is the “back” section that will be reversed when we switch to option number two.
The bayonet of the F-mount is seated into a BR-3 - a unique Nikon adapter that has a hundred different uses in macro photography. It has a 52mm female thread at the other end. I like to use a longer infinity space than most so to the 52mm BR-3 thread I mount a series of step down rings that go from 52mm down to 26mm, the correct mount for the objective. Note that the thread pitch of the Mitutoyo is very slightly tighter than the pitch of the adapter, but not enough to make a difference. This whole thing then needs to be mounted onto the bellows or extension tubes and you need to make sure the distance between the sensor plane of the camera and the line between the M42-M43 adapter and the Raynox is as close to 208mm as you can get. Tighten everything down, and you are ready to take pictures.
Option number two is very easy to set up now…

Reversing the back segment
Because the mount at either end of the back segment is the same, it takes only a few seconds to reverse the Raynox and everything else stays the same, except the bellows extension. Now the measurement is 200mm an that is between the sensor plane and the end of the scalloped ring on the filter end of the Raynox.

Raynox reversed at 200mm a 2mm jumping spider
So that is all there is to it - the setup, at least. There are a million other details that need to be attended to, but I am going to let you watch me go though every step of that in this not-short (long) video. There is a lot to getting everything right, so take your time and watch the bits I went over too fast twice, if you need to. Then go and take the best macro photographs of your life!
So that is it for the educational part. Now for the shopping bit. Some of the following links are affiliate links - meaning I may make a few cents if you buy something from Amazon using one of these links. You don’t pay any more, but I get that bit closer to paying the rent.
There are loads of things you will need but the important ones are the objective and the Raynox. The objective can be bought at half price from Lightglass Optics - my favorite optical surplus warehouse on the entire internet. Call Jeff McDowell at 505-235-9468 and tell him you want one. Do it now. He is not a patient man and he has been sitting by his phone all day waiting for you to call. It would be better for all concerned if you just do it.
To get a set of the best bellows ever made (Nikon’s PB-6) go to eBay and search. You should pay about $200 for a mint condition set.
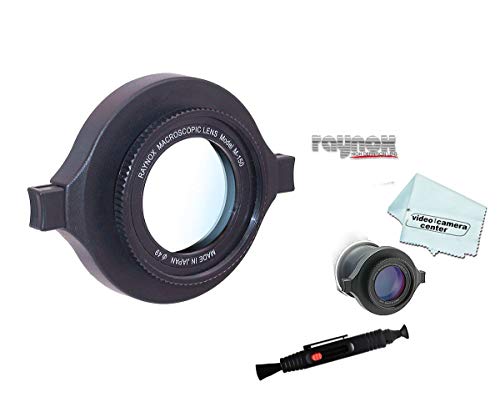
For everything else you can use these links. The Raynox is the DCR-150 but you might want to get the DCR-250 while you are there. I will be using that lens with a 10x objective in an upcoming video.

You are going to need extension tubes unless you have bellows but they do not need to be expensive or wired. It is just the tube you need. This selection of adapters will be all you need for most jobs.

These are for Canon, but get the ones for your camera. In extreme macro there is no reason to spend $100 for the fancy ones - objectives don’t have autofocus!
What are you using for a microscope? The best purchase I ever made in macro photography was the dirt cheap Amscope binocular microscope I bought. I used it till it was falling apart, after paying less a nice night out for it. It is absolutely all you need for prepping bugs. I have a fancy scope now, but I still keep the other one handy, just in case!


If I had a job, and didn’t have a microscope, I would get one of these - low power but built to last. All you will ever need to knock the dirt off your bee’s knees.
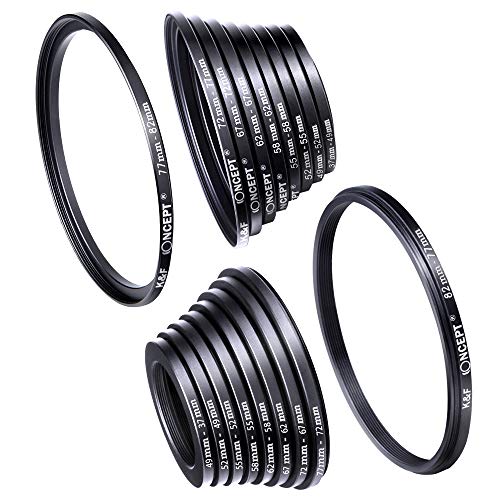
Oh and you will need a few special adapters, these could help.


Use this one above in case you can’t find a 49mm reversing ring (like I can’t right now!).