Retouching - The Other Half of Focus Stacking
/Retouching doesn’t get the attention it deserves…
… when the subject of focus stacking comes up. But if a macro photographer is serious about maximizing the quality of their final images, this is one step that simply cannot be omitted. I will explain why this step is so necessary, the impact it will predictably have on your final images, and I will share with you my own retouching workflow.
But to put our discussion in some meaningful context, here are a few pre-retouch focus stacking outputs, and the final image after retouching - please note that I use “retouching” to describe the post-stack compositing workflow, which is different for the final “editing” of the image, which is done in Photoshop and/or Lightroom and consists of color correction, exposure balancing, removal of distractions, and so on.


If you click on the image to view at full size, you will see that each of the images on the left are the pre-retouch Pmax outputs, the pictures in the middle are the best Dmap stacks, and the remaining images are post-retouching. The differences between them are subtle, but it is the subtle improvements that yield the most pleasing final images. To make my point, let us break one of these processes down a little further.
I was lucky enough to come across a minute chalcid wasp during a recent outing. The creature was dead but relatively clean and very fresh. It was a difficult photograph to make because of the amount of fine detail, the translucency of the subject and the challenges posed by its tiny size. I secured the insect to the side of a 4-0 insect pin (the pin was wider that the insect - and these are the smallest pins I have ever seen) and took a total of 350 focus stacked images using a standard 5:1 setup based on the Mitutoyo M-Plan Apo infinity corrected, long working distance microscope objective.
After importing the images into Zerene Stacker, a slabbing run was performed and this resulted in about 40 Pmax outputs. For those unfamiliar with the slabbing process, Zerene breaks the stack of images down into sub-stacks, known as “slabs”, the size of which are user-defined (in this case I ran sub-stacks of 13 images with a three-image overlap). After all the slabs had been stacked the resulting Pmax images were first stacked using the same Pmax algorithm. This was the Pmax output from that process:

The Pmax output from stacking the sub-stacks
As is typically seen with outputs from this process, the details are well preserved but come at the cost of a fairly flat image with poor reproduction of the surface textures and color. We need all that detail. I then ran a series of Dmap stacks of the same 40 slabs, changing the estimation radius between each and looking for the best possible Dmap image. The best Dmap image will be the one with the least amount of artifact, or at least the image with the artifact that will easiest to remove later. The Dmap image I decided to use was stacked with an estimation radius of 30 and a smoothing radius of 15.

The best of the Dmap outputs
As you can see, the detail is still acceptable, but the colors are richer, the textures more apparent, and the little creature looks considerably more vital. We have, however, accumulated some loss of detail artifact around the pin, the second and third proximal femora, and on the ventral plates of the abdomen. I want to keep the richer colors and textures, but I also want the detail from the Pmax image. To combine these outputs into a single image is the process of retouching.
To retouch, we select the best base image, almost always the best Dmap output, and then select the second, or “source” image. As the retouching tool is applied to the base image, the corresponding pixels from the source image are “cloned” into the composite image. This can be a pixel for pixel swap if we use the “Pixels” brush, or we can apply a darkening or lightening effect (very similar to how the blend modes of the same names work in Photoshop) by using the “Darken” or “Lighten” brushes. By far the most useful brush is the default or “Detail” brush. Unique to this stacking software, the Details brush is able to evaluate the area of application and deploy an adaptive lightening/darkening process that often yields results that seem nothing short of magical. Hats off to the inventor of Zerene Stacker, the intrepid Rik Littlefield, for coming up with this most elegant and practical retouching device.
Sometimes we get lucky and the retouch takes just a minute or two and can be done from the Pmax alone, while at others it is a hard slog that requires we go back to the individual slabs in search of pixels, and on occasion we have to use parts of the original source images to complete the work. This one wasn’t too bad, but I did spend a couple of hours going through all of the slab outputs to get what I needed.

The retouched image, but not the final result
There are, of course, some things that the retouch workflow cannot help us with and in almost every case a trip over to Photoshop is required. Zerene does not allow us to edit the image so it is not the right program for removing distractions, correcting colors, improving exposure, balancing geometry, and a hundred other possible tasks. In this case there were quite a few little (and some big) adjustments to get to the final image.
The final image - a chalcid wasp
It takes a lot of patience to photograph subjects like this, and even more to edit 350 high definition RAW files down to one final picture, so it helps if you find this kind of challenge rewarding. I certainly do.
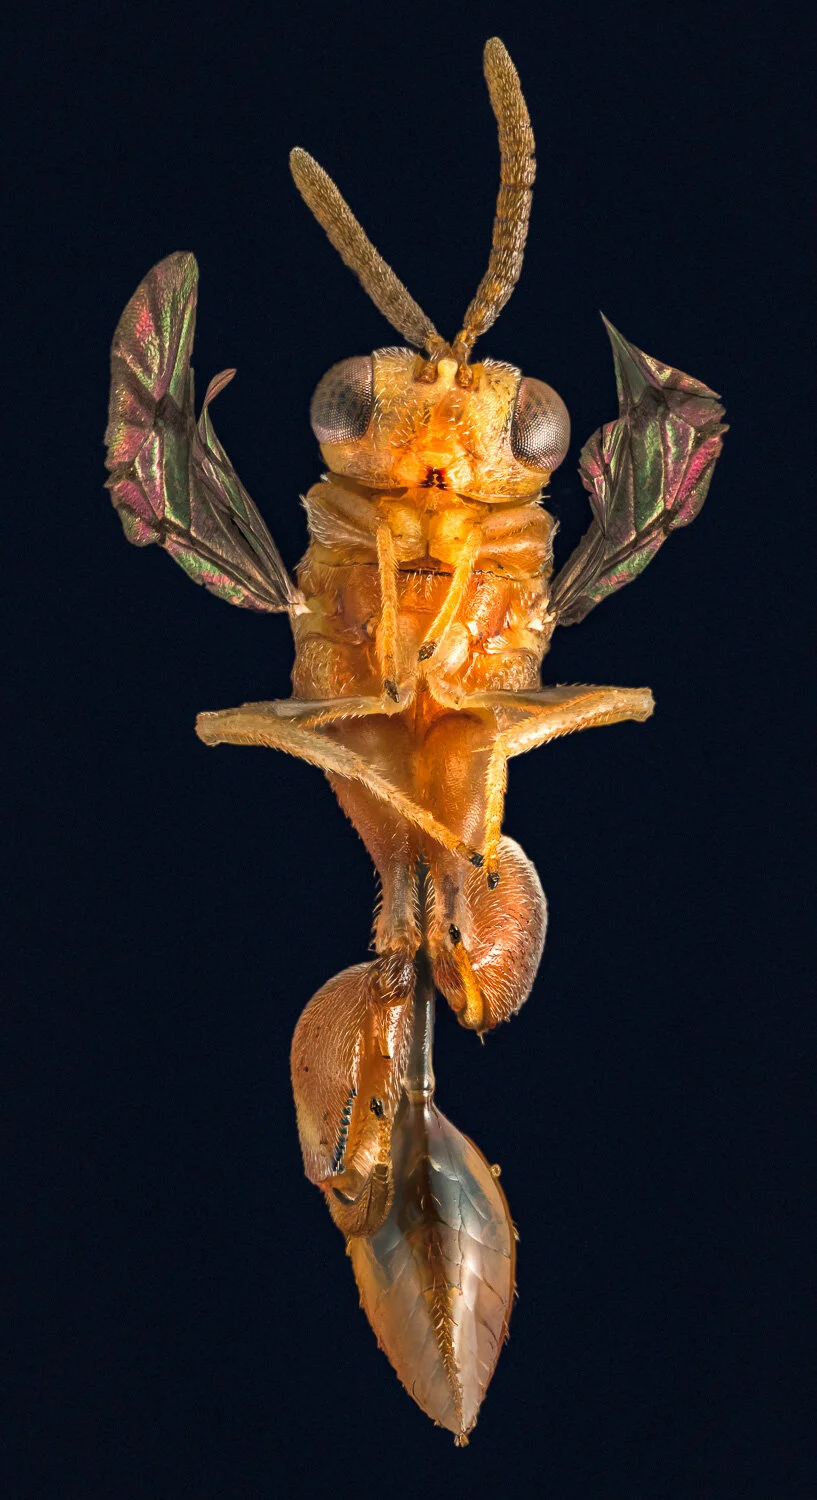
I will wrap up with one more example and a couple of final images. Sometimes, maybe even most of the time, there is not all that much retouching to do. Time spent in cleaning and positioning subjects can often be time saved both in retouching and clean-up editing. Some insects can yield a very high quality Pmax output, that has most of the color and texture of a Dmap image, but all the detail the Dmap lacks. This ichneumon was one such example. Posing and cleaning were very difficult, given the tiny size (3mm) and delicate appendages, but thanks to the remarkable properties of my Mitutoyo M-plan Apo 5X objective, the resulting Pmax image was

the tiny wasp suspended from the tip of a #0000 insect pin - the Dmap image
You need to look closely but there is a tiny amount of artifact where the left forelimb crosses the leading edge of the left hindwing, and even less where the left third appendage drops behind the abdomen. I was disappointed with the poor positioning of the right third appendage which I somehow let slip behind the pin and abdomen.

Retouching complete, and a little editing to reposition the offending appendage
As I was retouching the Dmap image with a mostly pristine Pmax, I noticed that the leg that was lost behind the abdomen on the right side had also caused a hint of transparency. Because of this, and because this image was shot for the purposes of this article (and art), I decided to replace the right third appendage with a horizontally inverted and slightly rotated clone of the opposite appendage. I would ever do that in an image without disclosing the manipulation, but it did result in a more aesthetically appealing ichneumon.
Just one more. This is an example of how easy it can be for one to miss the forest for the trees in the intense concentration of retouching. I spent a couple of hours photographing and focus stacking this minute plant bug, going over every pixel to clean up the considerable artifact. When I was finally happy with the result I saved the file and exported a copy for use in an upcoming video. A friend saw the image and asked how the creature came to be without most of its right antenna. Retrieving the specimen I had a quick look under the microscope to confirm there were still two antennae. Now when I look at the picture I can see the remnants of the antenna where I had carefully removed most of it by mistake, thinking it was artifact around the right forelimb and proboscis. This is a good example of why it is often a good idea to walk away from a difficult case and look again later, with fresh eyes. Lesson learned. Again.

A 3mm plant bug - post-retouch
Focus stacking is a highly technical process, arguably one of the most labor intensive photographic methods ever devised, and it is not for everyone. But over the years I have observed (anecdotally) a very interesting relationship between the amount of effort one invests in an image and the perceived quality of the final output. If, as a hypothetical, we were to plot “invested effort” on the X-axis of a simple graph, and some measure of “perceived image quality” on the Y-axis, I believe that we would see that a high level of proficiency can be achieved with relative ease by most photographers. I have a strong inclination to believe that the curve very quickly flattens when further effort is expended, beyond that required to reach proficiency, yielding ever smaller increments of improvement.

Whether or not the dogged pursuit of these ever-diminishing returns comes at a personal cost is an interesting question, but beyond the scope of this discussion. It would be illuminating to know if, had we not been in the grip of a rampant viral pandemic, I would have left my house during 2020? We will never know.
***
If you find the idea of retouching your focus stacked images appealing, and would like to know a little bit more about how this process is done, I encourage you to watch this video in which I describe the slabbing and retouching workflow in my own studio.
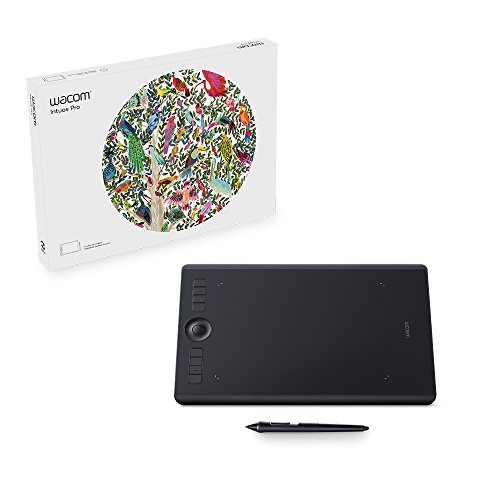
There is of course no substitute for lots of patient practice and making sure you have the right tools. Retouching is just one of the editing processes that have become easier since acquiring a tablet. I use the Wacom Intuos Pro and prefer the medium size for just enough surface area to edit comfortably on a large monitor, but a small enough footprint to leave it on my desk when I’m not editing. I have had mine for years without any issues and can recommend the device without reservation. The following is an Amazon Affiliate link, meaning that purchases made using this link may result in my making a small commission, at no cost to you.