

Ten steps for setting up your camera for great macro photography
/Greetings All….

This post is for those of you who love looking at super-closeup images and are thinking about giving macro photography a try, but really don’t know where to begin. I will take you through the 10 steps for setting up your camera for macro photography, and will explain the reasoning behind each of the settings.
All you are going to need to get started is a basic, entry level DSLR or mirrorless camera that accepts interchangeable lenses and has a connection for accessories (a hot shoe). You will want to have an inexpensive speedlight and a small diffuser like Altura’s speedlight soft box. The most important part of the setup is the lens and I would recommend that you borrow or rent a true macro lens with 1:1 magnification. You could also use a reversed prime lens (I love Nikon’s 50mm f/1.8, which has a manual aperture, is crazy-sharp, and costs under $100, brand new) or an extension tube placed between your camera and a lens you already have, but for the sake of this discussion, I will assume you can get your hands on a macro lens.
FIXED SETTINGS
Let’s begin with the basic settings. These are settings which will not change during shooting so, once you have entered them into the camera, you can just forget about them.

Nikon’s entry level DSLR, the D3400, with Nikon’s AF-S 85mm Micro Nikkor lens - a fantastic macro lens for cropped-frame Nikon DSLRs
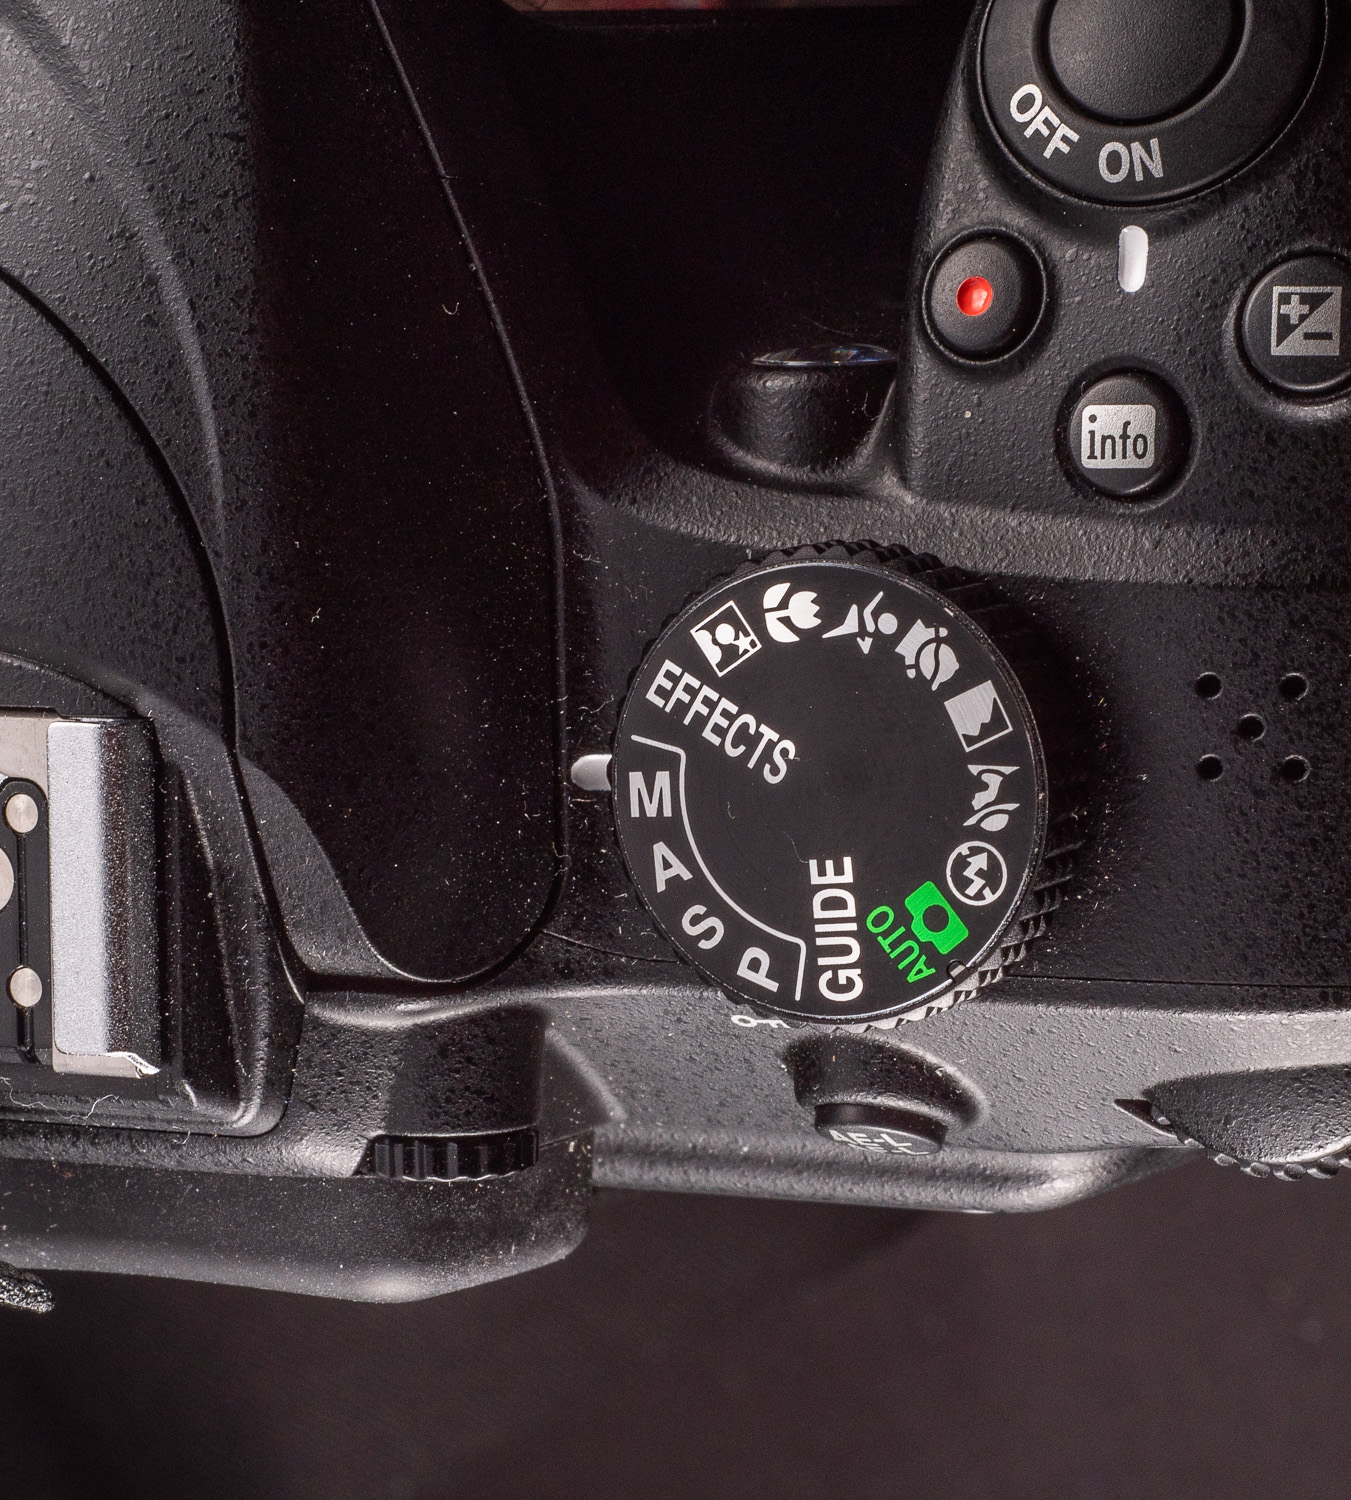
Mode
This is the dial that allows you select the camera’s mode of operation. If you are just starting out, your dial may be set on AUTO. This is the setting that tells the camera to make whatever changes it needs to to give you a well exposed photograph. It basically turns your camera into a point-and-shoot. This setting is essentially worthless for closeup photography. There is actually a CLOSEUP setting (the little flower symbol) on this dial, but it has very limited utility when using flash for extreme closeup work.
#1 Set your camera to “M” or manual.
In manual mode, you are taking complete control over your camera’s operations. It will feel a little daunting at first but, trust me, it will be worth it in the long run.
ISO
The ISO refers to the sensitivity to light of your camera’s sensor. The higher the number, the more sensitive your camera becomes to light. This is a setting you would change if you wanted to capture images in a low-light situation. Modern DSLRs have astonishing low-light performance, opening up all kinds of opportunities for indoor and nighttime shooting. But a high ISO comes with a price, and that price is called “noise”.
The “M”, or manual mode setting on the Nikon D3400
As your ISO setting increases, the sensor will begin to interpret detail where none exists, usually in the darker areas of your image, resulting in an unappealing granular appearance in parts of the picture. We are going to be tightly controlling the lighting by using flash very close to the subject, so we are going to simplify matters by setting a low ISO and leaving it there. This does not mean that there aren’t times when a higher ISO can be very handy in macro photography. There are plenty of such circumstances. But for the purposes of getting your camera ready for macro, we are going to work around a fixed, low ISO and rely on aperture, shutter speed, and flash power to manage exposure (exposure settings are discussed in detail, below).
Depending on your camera, there may be a dial for changing the ISO or you may need to go into the menu (under the “shooting” sub-menu - the one with the camera icon) to do so. In that menu, select an ISO of 100 (or lower, if your camera will let you). We definitely don’t want our camera to butt in and start fiddling with the ISO while we shoot, so turn “auto ISO” off in the ISO sub-menu.
#2 Set your ISO to 100 and turn off “auto ISO”.
FOCUS
There are times that autofocus may be useful in macro photography but, most of the time, it is not. It is one thing to use autofocus to get a razor sharp human eye at f/1.4 when shooting portraits. But is altogether a different matter to ask your camera to nail focus on 0.5mm compound eye, in a composition with next to no ambient light. More often than not, even using single point AF-S autofocus, your camera will struggle to perform at this scale. Even in experienced hands, reliance on the camera’s autofocus leads to a lot more near-misses than hits. Most macro photographers will turn autofocus off and use the manual focus ring on the lens to put the subject in the right focal range. Then the photographer sways very slightly backwards and forwards, releasing the shutter at the instant when the part of the subject that she wants captured with the sharpest possible detail (usually the eye) comes into focus. This technique is not as easy as it may sound. It takes quite a lot of practice before this “body-focusing” method becomes second nature. But believe me when I tell you that this is the single most powerful technique to master if you want to increase your keeper:junk ratio in macro photography.
#3 Turn off your camera’s autofocus and set your lens to manual focus (if the lens is equipped with a switch to toggle between M and M/A, put it to M)
IMAGE QUALITY
This one is another set-and-forget parameter. You will need to go into the camera menu to find the image quality settings. With Nikon cameras, the image quality sub-menu is found on the first page of the shooting menu (look for the camera icon). In this menu you select the type of image file that you want the camera to create when saving the data from the sensor. If you are new to DSLR photography, you are probably shooting JPEG images. These are compressed and processed images that can be saved with varying degrees of compression ranging between 1:4 (Nikon’s FINE setting) and 1:16 (the BASIC setting). These files are relatively small (more compression = smaller file), so you can store more of them on your card.
But there are major drawbacks to using these compressed image formats. The way in which JPEGs are processed while still in the camera significantly limits the options for editing the images once they are downloaded onto your computer or tablet. We don’t always have to post-process, or edit, extreme closeup images and it is a noble goal to nail every shot perfectly in the camera. For most of us humans, however, it just doesn’t happen this way. We need to be able to tweak white balance, add a little sharpening, remove some haze, or make any one of the dozens of enhancements available in Lightroom or Photoshop. You can’t do that with a JPEG. We need a format that contains all the image data, without compression.
The preferred format is known as RAW. When you set your camera to capture RAW images, it records essentially all the data collected by the camera’s sensor. Because RAW files are not compressed, they are considerably larger, take up more space on your cards and on your computer’s hard drive, and take longer to download. But the beauty of shooting in RAW is the enormous amount of flexibility you gain in post-production. Images captured in this format allow you bring out hidden details from the darkest and lightest parts of your images - details that are compressed out of existence in JPEG formats. Without going into all the technical reasons for using this format, suffice it to say…
#4 Set your image quality to RAW (and invest in a couple of high-capacity, fast SD cards)

An underexposed image of a minute black fly that was salvaged by recovering invisible details from the shadows during editing in Lightroom.
WHITE BALANCE
You have probably noticed that your camera offers both an “auto” setting and a number of white balance presets. These settings are used to adjust the appearance of colors under a variety of different lighting conditions. With modern DSLRs the white balance can be manually set to match the lighting conditions. There are settings for sunlight, clouds, flash, as well as for fluorescent and incandescent light, among others. When you select one of these presets, you are telling the camera to move the “white point” to the left or right along the spectrum of visible light so that all the other colors appear to our eyes as they would if shot in natural sunlight.
Flash produces a very short burst of light with a color temperature of around 5,000 Kelvin (depending on the flash), which happens to be very close to the temperature of sunlight. But it is nowhere near the temperature of incandescent light, which may have a temperature in the 3,000K range. This is a problem for the camera, which can only set the white balance for one temperature at a time. So when using flash in a composition with ambient light of another temperature, the photographer has a couple of choices. The first is to overpower the ambient light by increasing the output from the flash and setting the white balance to the higher color temperature of the flash. This gives a very dark background that some photographers like (me, for example) to highlight their macro subjects. Another option is to modify the color temperature of the flash so that it approximates that of the ambient light (3,000K in this example). This is accomplished by placing a color-tinted filter of transparent cellophane, known as a color gel, in front of the flash. In this case an orange gel would lower the temperature of the flash to that of the ambient light and the camera’s white balance could be set to 3,000K.
When we shoot outdoors, in the sunlight, the flash and the ambient light are often close to the same temperature of 5,000K. For this reason we are usually safe setting the white balance to “daylight”, “flash”, or if you have a higher-end camera, adjusting the temperature manually to around 5,000K.
As if this wasn’t complicated enough already, there is one setting you should steer clear of when doing closeup work with a flash. That is the “auto” setting. With this setting the camera can get confused over which light source to set the white balance by. It is true that most newer cameras will automatically switch to flash white balance when a speedlight is connected and turned on, but I have never been happy with the consistency of image quality using the auto white balance setting with flash. By the way, auto white balance is a pretty useful, if inconsistent, setting for many other types of photography. You decide.
So, after all that, what is the best approach to white balance for macro flash photography?
#5 Set your white balance to FLASH. Look for the setting with the lightning bolt symbol.
Going back to our last setting (RAW) for a moment, another advantage to shooting in RAW is that it gives you a white-balance-get-out-of-jail-free card. If you are shooting in RAW, most issues related to white balance can be corrected quickly and easily in either Lightroom or Photoshop (and any number of other editing platforms). But note that, even when shooting in RAW, correcting white balance in an image with several different color temperatures can be tedious and difficult.
OY! PAY ATTENTION! THIS NEXT BIT IS IMPORTANT!
VARIABLE SETTINGS
This second group of settings could also be called the exposure settings, and we should talk about all three of them together. Changing one of these settings will usually mean that you need to adjust at least one of the others. All three of the settings control the amount of light reaching your camera’s sensor. Normally I would include ISO in this group, but we are leaving the ISO at 100 for this setup so we can safely ignore it here.
Here are the parameters that we need to worry about when shooting macro outdoors and with a flash:
SHUTTER SPEED
APERTURE
FLASH OUTPUT
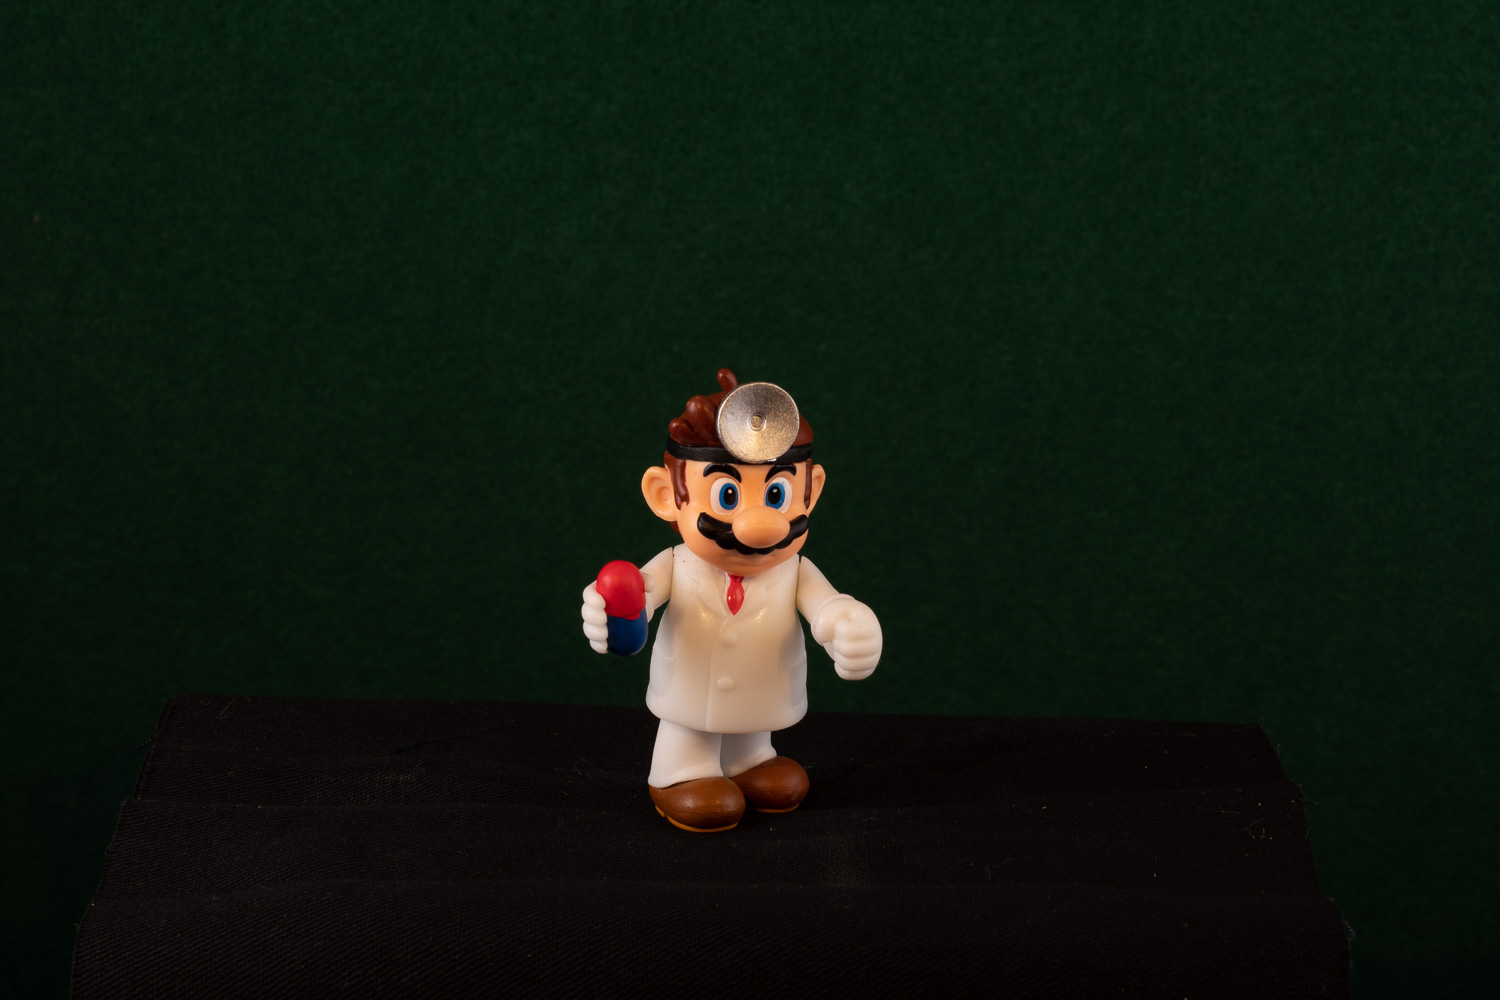
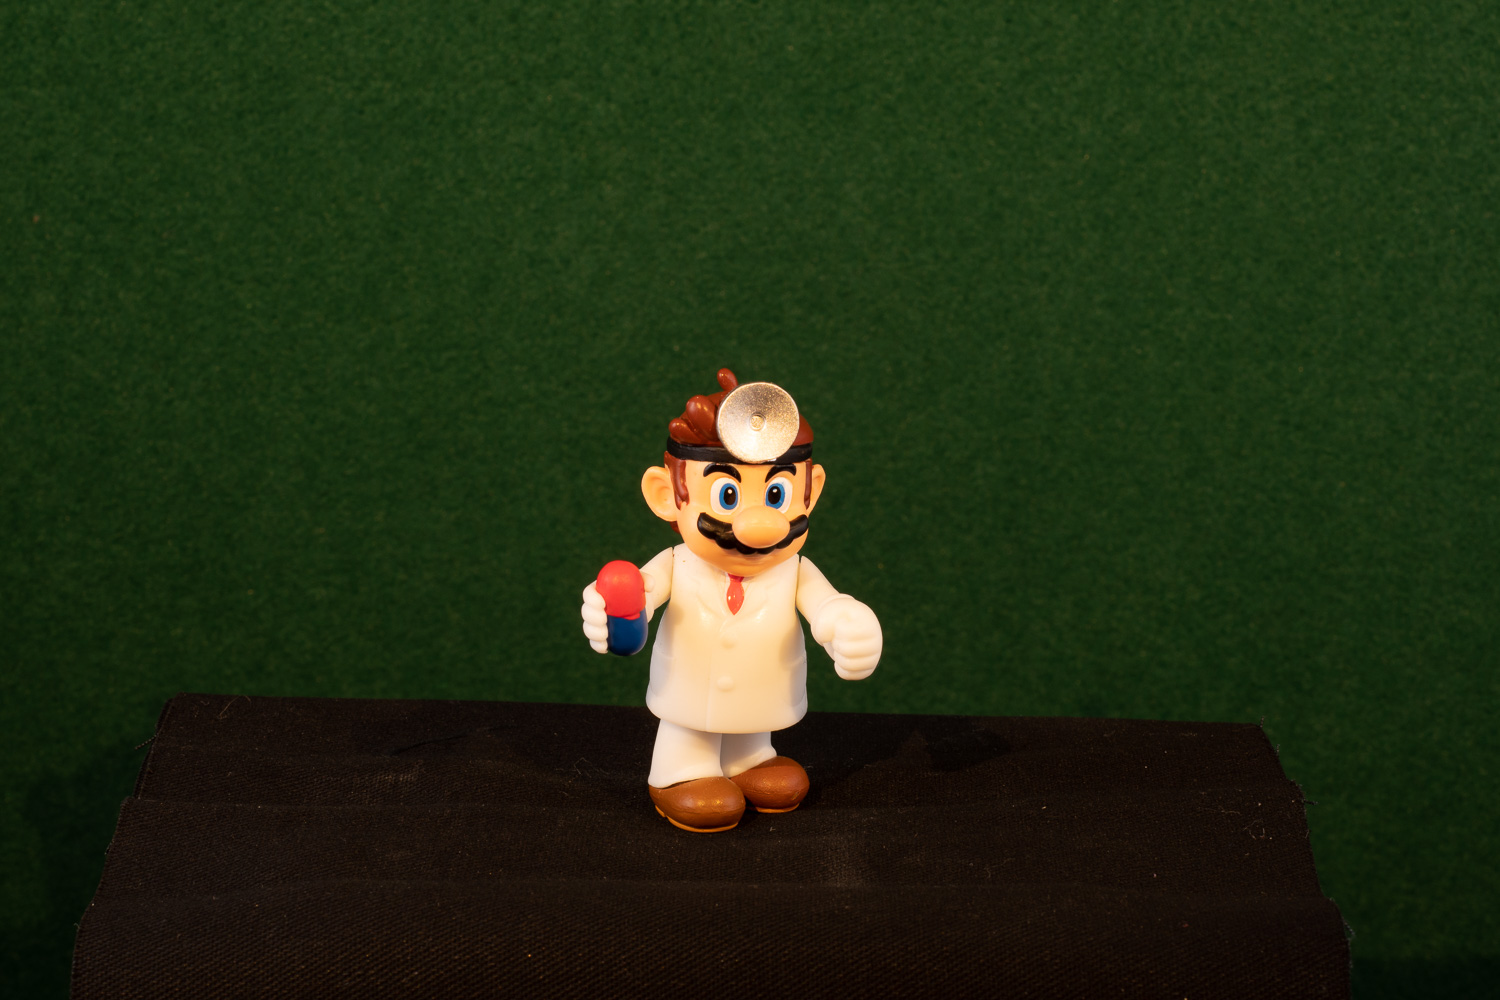
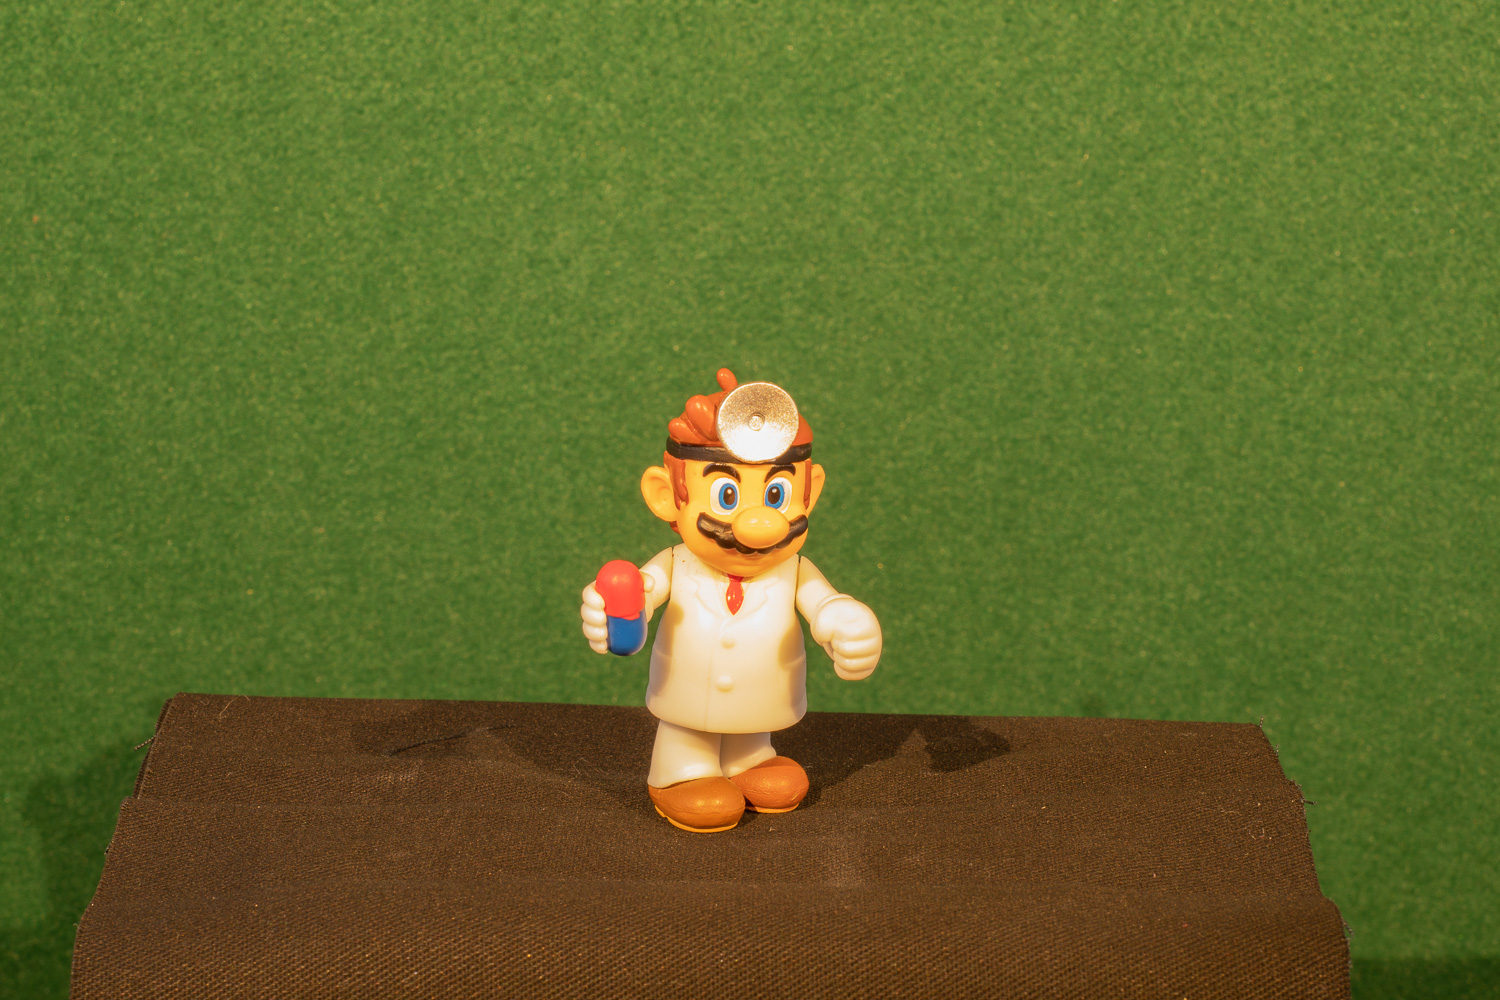
But first, allow me to introduce Dr. Donothing, my trusty assistant and a talented model, in his own right. I am going to be using the good doctor to demonstrate a couple of important principles related to exposure in macro flash photography.
The setup for these demonstrations is pretty straightforward. Dr. D will be standing in a tabletop lighting tent and holding up a rather large pill. That’s actually all he ever does, come to think of it.
Using the pill as my point of focus, I have taken a series of photographs using all the settings addressed above. The camera, with attached macro lens, is mounted on a sturdy tripod. I have used a single light source, a Godox TT600 speedlight, to illuminate the doctor and his pill. The speedlight is mounted above the camera, using an angled hot shoe adapter, and is connected to the PC port of the camera.

The good doctor and his enormous pill
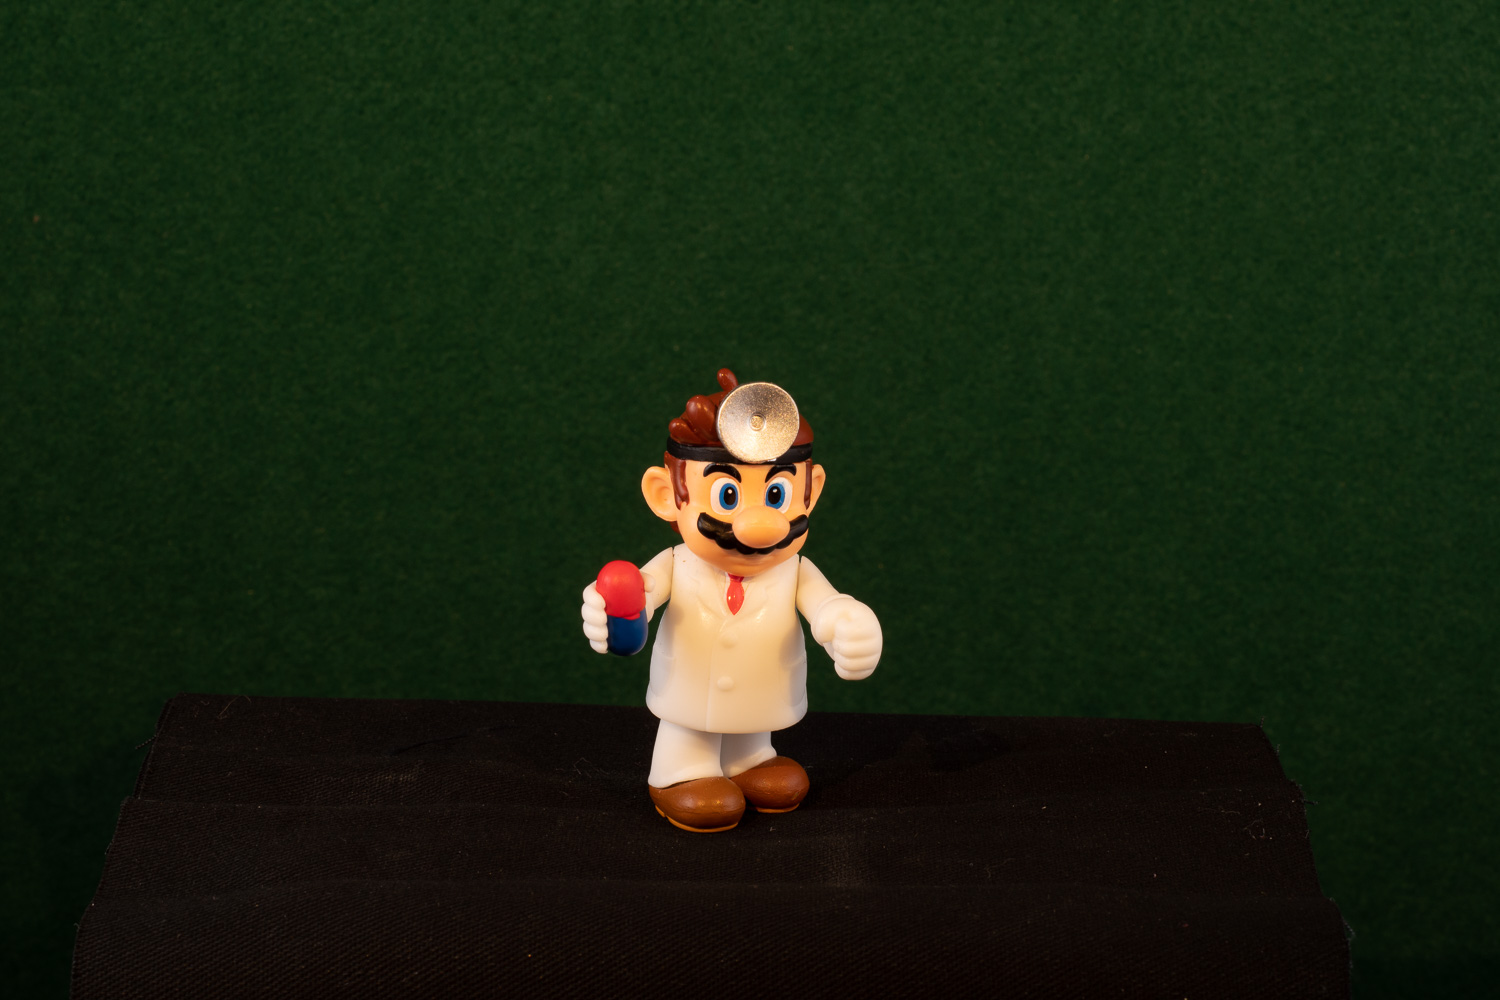
There is a second light source, a single LED, casting “ambient” light on a green backdrop of construction paper. The flash is set to 1/32 power (a typical flash setting for closeup insect photography in the field) and this is never changed during the demonstration. A small soft box is attached to the flash.
The idea here is that I will use two sets of images to demonstrate a critically important fundamental of flash photography. One that is commonly misunderstood.
That fundamental is as follows:
Use shutter speed to control the ambient light and use aperture to control the flash
Let’s address shutter speed first. The shutter speed, expressed a fraction of a second, is the length of time during which light is falling on the camera’s sensor (or film). Today’s shutters are engineering marvels that use two membraneous curtains, moving independently, to expose the sensor to light for as long as 30 seconds, (or even longer in bulb mode) all the way down to a mere 1/8,000th of a second (and even 1/32,000th of a second in cameras with an electronic shutter). In non-flash photography, it is the faster shutter speeds that allow us to freeze motion in our subject (1/1,000sec will freeze most birds in flight, for example). But once we introduce a flash, everything changes.
The flash from a speedlight is a very short-lived event. At full power the flash may last for as long as 1/400th of a second at full power, or as briefly as 1/20,000 of a second at low settings. Therefore, in a scene with very little ambient light, it is the flash duration that freezes motion, not the shutter speed.
DSLR and mirrorless cameras have a maximum shutter speed that can be synchronized with a flash source. Above this maximum “sync speed”, the short duration of the flash will freeze the motion of one or both shutter curtains as they traverse the front of the sensor, leaving an ugly black band at the top or bottom (or both) of your image. There is a way to get around this limitation by using a technique called “high-speed sync” in which the flash fires many times in rapid succession. Used repeatedly, this tends to overheat the speedlight and requires that you carry a medium-sized suitcase full of AA batteries (or one car battery).
The sync speed of most DSLRs is between 1/200 and 1/250 (at least for Nikon cameras - I believe Canon uses a shutter speed of 1/160, or thereabouts). What this means is that a lower shutter speed is going to have very little effect on the amount of light from the flash that strikes the sensor. That is because essentially all the emitted light from the flash is getting to the sensor at any speed below the sync maximum. So, why do anything with the shutter speed setting on the camera, you ask (between yawns)? Remember the first part of our mantra… shutter speed controls the ambient light?
For practical purposes, all the flash is going to get through the shutter at any shutter speed (at or below the maximum sync speed), but that is not true for the background or ambient light. We have to control that with shutter speed. As we allow the shutter speed to remain open longer and longer, we are allowing the sensor to collect more and more ambient light. In this way we can keep the lighting of our subject constant while lightening or darkening the rest of the image. By the way, there is theoretically no minimum shutter speed when using flash. Nikon does set 1/60th of a second as a somewhat arbitrary “minimum sync speed”, but that is only to prompt the user to select the point at which the flash discharges during the deployment of the 1st and 2nd shutter curtains by choosing one of two “slow sync” settings. TMI…. I know.
Paging Dr. Donothing……

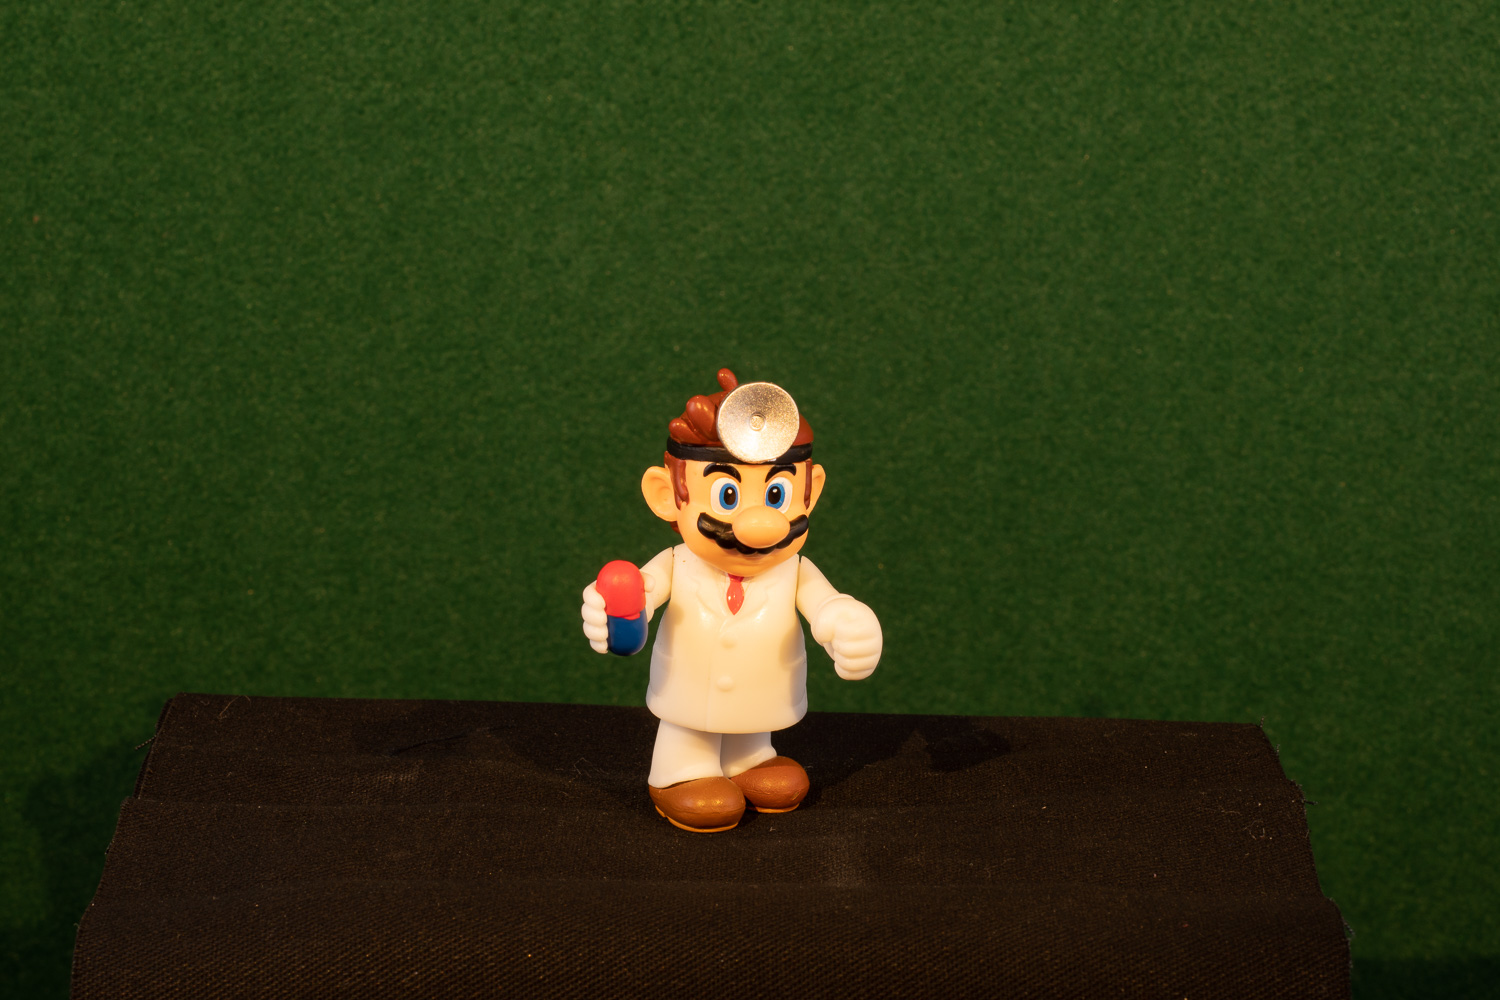
With the aperture fixed at f/14 (a good setting to maximize depth of field, without adding too much distortion) and the flash power constant at 1/32 power, the ambient light increases as the shutter speed drops. Notice that Dr. D.’s lighting remains pretty constant throughout.
What does this mean in the real world? Using a higher shutter speed allows you to isolate your subject against a dark background, a look I like with certain subjects. By using a lower shutter speed you can gather more of the ambient light to bring the background into the composition and add context to the subject.
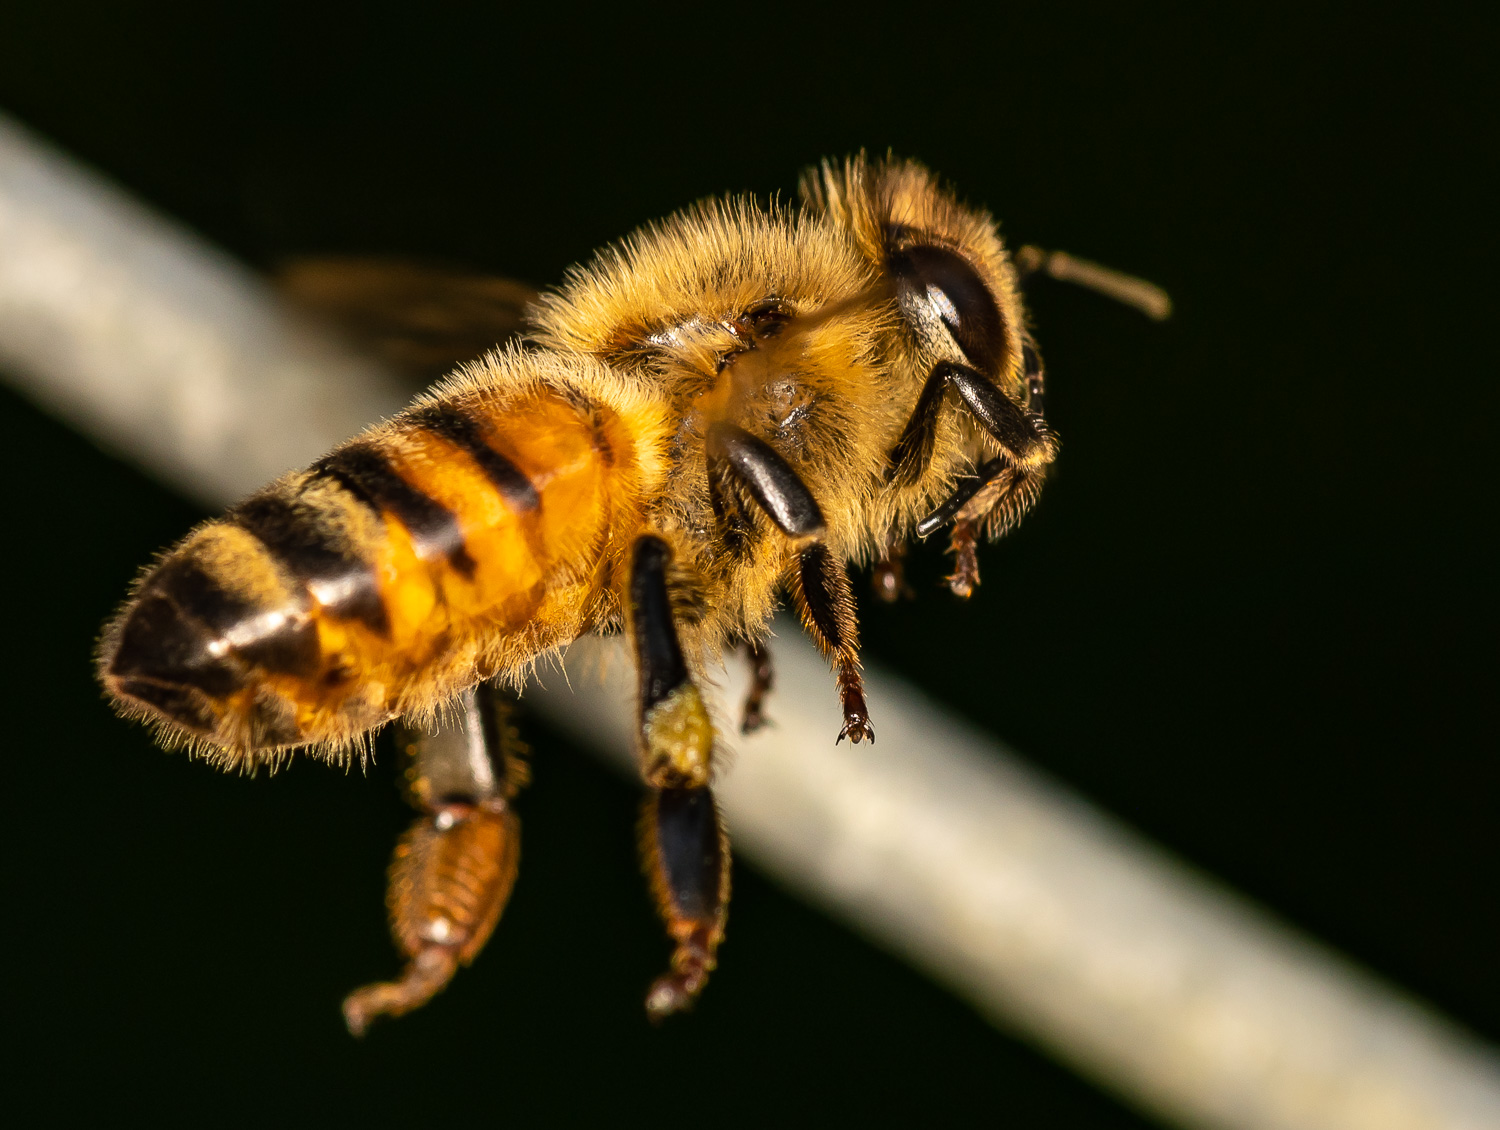
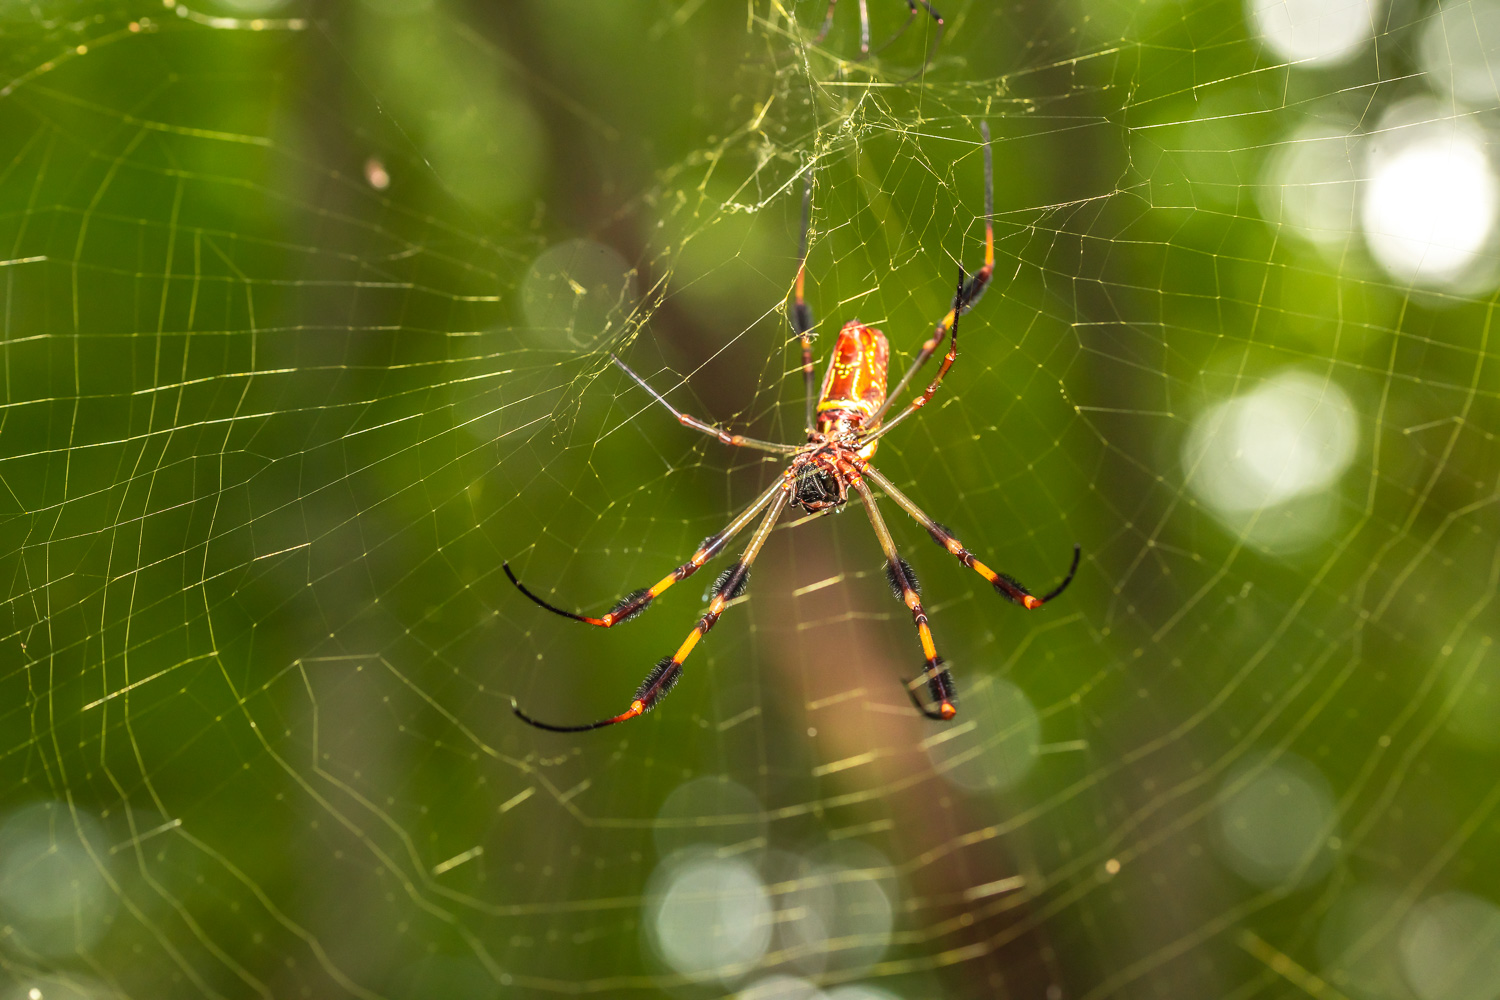
Shot at the maximum sync speed, the honey bee on the left is isolated by the dark background. The orb weaver on the right, shot at 1/100 of a second, reveals more of the background.
What about aperture?
As we enlarge the lens aperture we allow more light to reach the sensor.
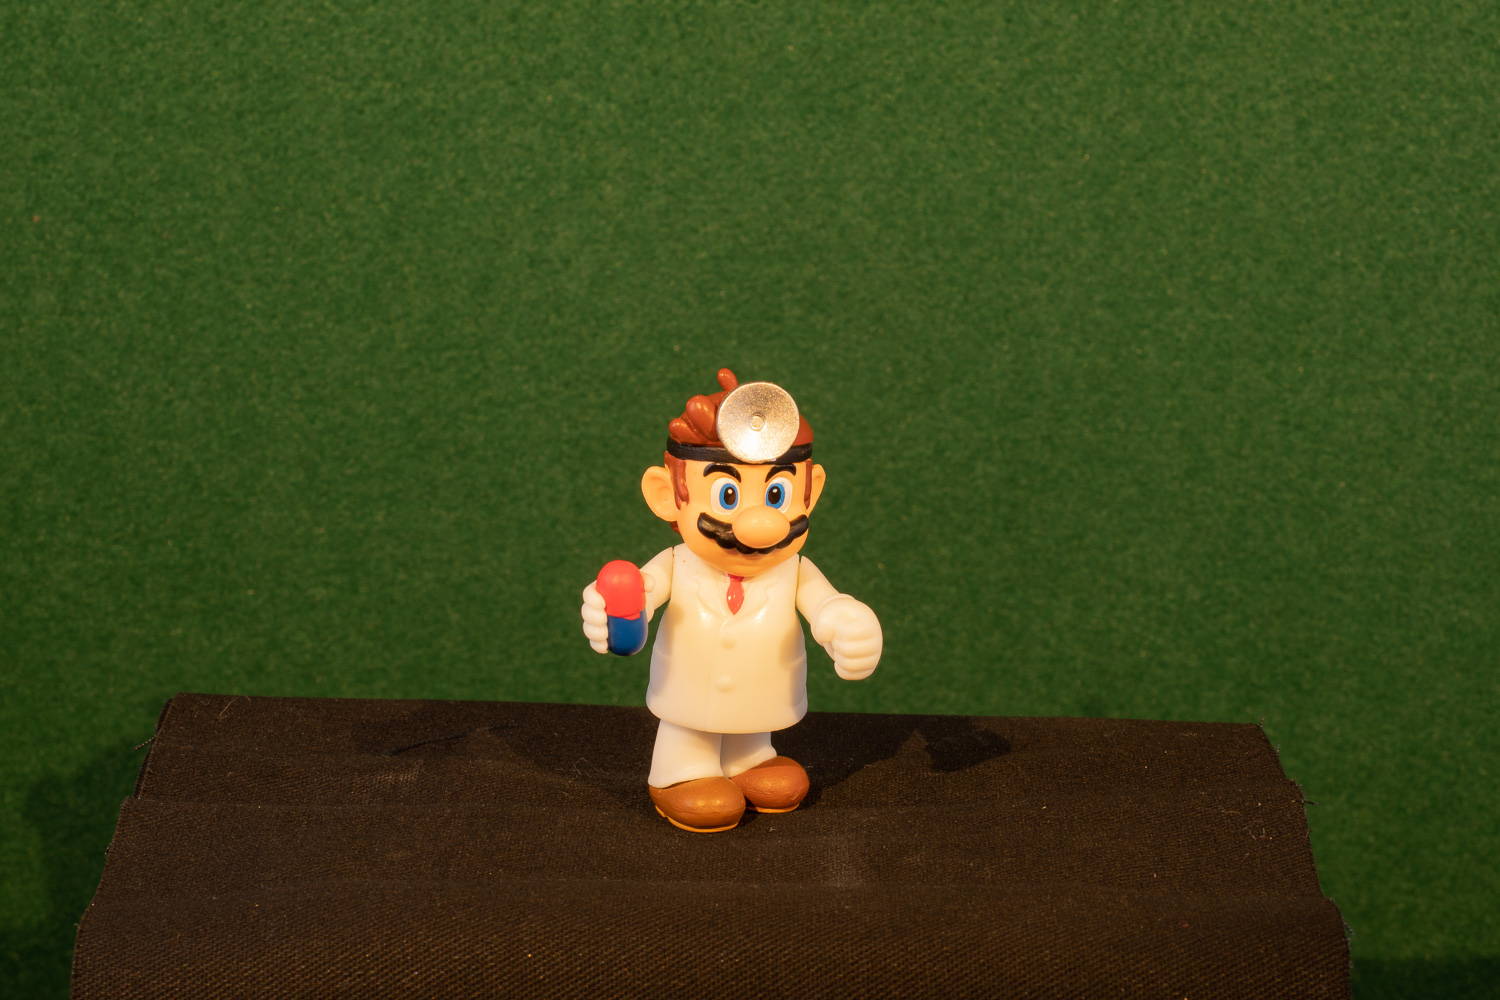
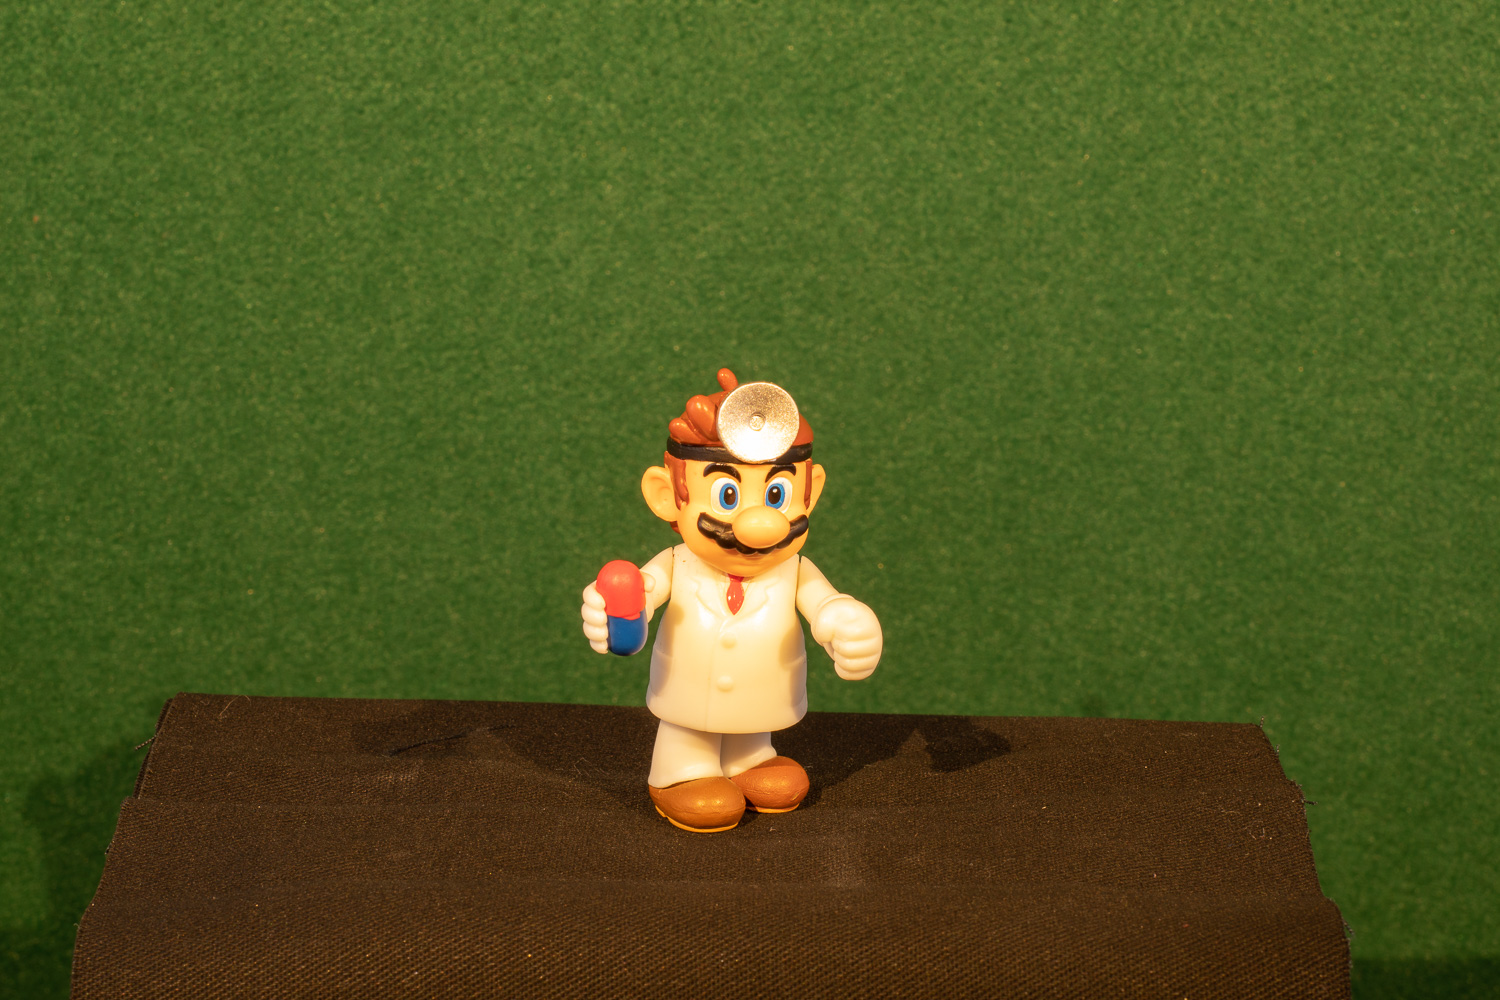
Here is another series of images where the flash power and shutter speed are held constant (at 1/32 power and 1/250th of a second, respectively) but the aperture of the lens is progressively opened up from f/18 to f/5.6.


As Dr. D. demonstrates, the wider the aperture, the more reflected light, from both the speedlight and the ambient background lighting, makes it to the sensor. From a practical standpoint, the aperture is one of the parameters that we can change to vary the lighting of our subject in macro flash photography. Don’t forget that the aperture also controls the image’s depth of field. With wider apertures we get more light to the sensor, but the depth of field becomes much shallower, eventually to the point that only a tiny sliver of our subject may be in sharp focus. This is one more tradeoff that we need to consider when setting up a shot.
What about the power of the flash output?
This is a setting that that is best determined by trial and error. Super-closeup photography of tiny subjects usually does not require a great deal of flash power. But when dealing with low powers and short distances the inverse square law becomes rather important. This universal physical law applies to all electromagnetic radiation, including visible light, and states that as the distance between light source and subject increases, the light intensity drops by a factor that is inversely proportional to the factor describing the change in distance. Mathematically, this means that if we increase the distance by a factor of 2 (the same as saying “double the distance”) we will see the light intensity at the subject drop by a factor of 1/4 (one over two squared). In the context of photography, this means that as you double the distance from flash to subject, you reduce the brightness of your subject by 75% (or to one quarter, or 25%, of its brightness before the light was moved). If, say, we move our camera/flash from 4 inches away from a spider to 12 inches we have increased the distance by a factor of 3 and, in so doing, we have have decreased the intensity of the light shining on the spider to one ninth (one divided by 3 squared), or around 10%, the brightness before moving the flash. This law really does become intuitive very quickly when shooting macro photography with flash.
OK… how about this instead… moving the flash, just a teeny bit, makes a huge difference in how bright the image will be.
Let’s take 5…
**************************
A word about speedlights
You may have noticed that I use inexpensive speedlight clones instead of proprietary Nikon Speedlights. I can get away using a $65 Godox or Yongnuo flash (instead of a $600 Nikon SB500 or an $800 R1C1) because, when shooting macro, I am using low power and manual flash control. A significant portion of your investment in a Nikon Speedlight goes to the circuitry and software that supports features like iTTL and the Creative Lighting System. I’d rather save the extra $535 and put it in my piggy bank (which I will be smashing open on the same day that the new 150mm f/2.8 macro lens from Irix is released). I have more capable flash systems that I use when I need to light larger subjects in bigger spaces (indoor studio stuff, outdoor portraits, and so on), but I don’t need them for the kind of shooting we are talking about here.
*******************************
It just so happens that the numbers work out to give us a convenient shortcut to figuring out flash intensity. To compensate for doubling the distance between flash and subject, either increase the flash power by two stops (from 1/32 to 1/8, for example) or open up the aperture by two stops (f/16 to f/8, for example). Easy, right?

This is the look my pet jumping spider gives me when he wants me to stop talking. A vacant, glassy-eyed stare.
Before I start shooting, I check to make sure the first five settings (#1-#5, above) are in the camera. Then I set the shutter speed to 1/250th of a second (the maximum sync speed of my camera) and set the flash to 1/64th power (deep in the woods or late in the evening I may start at 1/32). Then, depending on what I am going to be shooting, I will adjust the aperture to give the desired depth of field. A good starting point is f/11, but even at this stopped down aperture the depth of field is going to be very shallow. I will then take a test shot, at MFD, of a twig, leaf, or blade of grass. I open the image on the camera and go to full magnification (you can preset this into your camera by going to the “preview” menu) to check my focus and depth of field. I will also make sure that the flash is providing enough light to work with by examining the histogram from my test shots. If f/11 is too dark, but I like the depth of field, I will bump up the flash power by 1/3 or 2/3 EV (exposure value), and shoot another test picture. If the lighting is fine but I need more depth of field, I will stop down the aperture by one stop and increase the flash power by a stop. This is not a complicated process, once you have the fundamentals down. Practice, practice, practice!
In summary, to set exposure:
#6 Set aperture to f/11
#7 Set shutter speed to 1/250 (or whatever your camera’s maximum sync speed is
#8 Set your flash power to 1/64
#9 Take as many test shots as needed to get the depth of field (aperture), subject lighting (flash power and/or aperture) and ambient lighting (shutter speed) right where you want them, and then…
#10 Go take some awesome pictures!
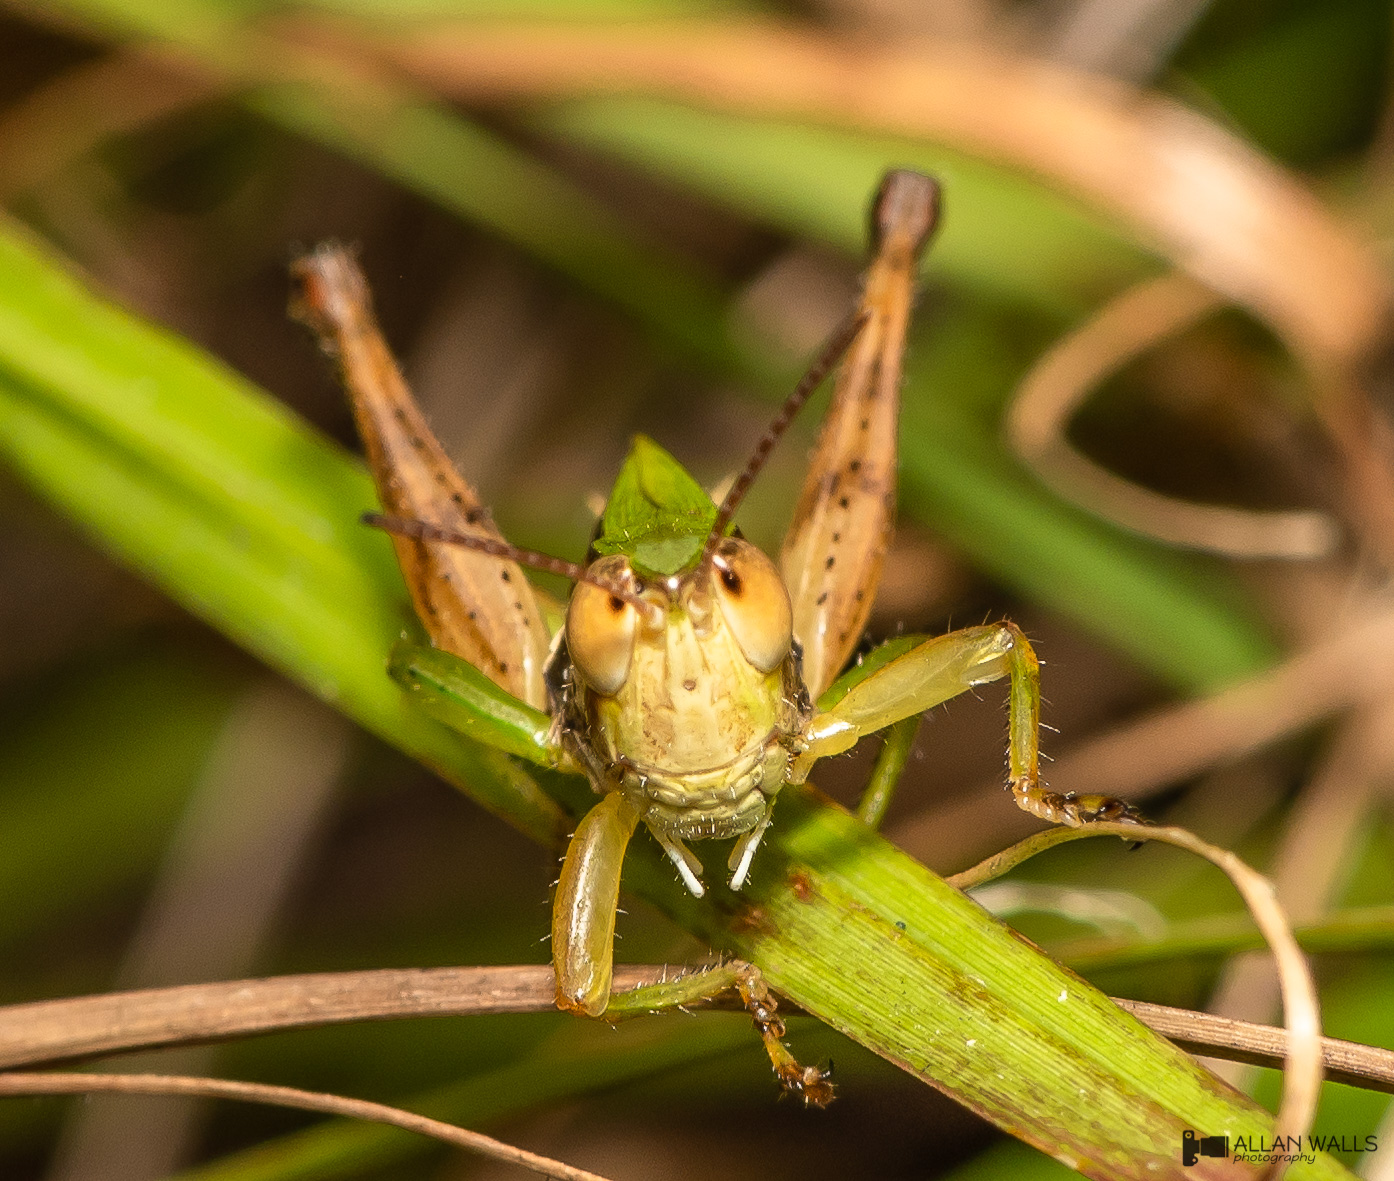
Phew…. I know… It’s a lot… but when all this becomes second nature, you will be amazed by how much your photography will improve. When you can focus on the grasshopper, instead of the Nikon, your pictures will prove me right.
If I missed anything that you want to know, or if there is anything I need to clarify, leave a message below. I always appreciate your feedback!
Next time I’m just going to post a bunch of cool pictures with no physics or mathematics.