

Photon Painting - a hot project for cold days
/A few months ago I read an interesting article in a British photography magazine. It was all about light-painting and it passed on a wealth of useful information. It was mostly about cool outdoor projects involving dark nights, flashlights, and long exposures. They talked about how to light-paint trees and houses and how to capture crazy images by getting the kids to dash across the lawn waving a lit sparkler (I think you might get thrown in jail for child endangerment if you tried that over here). At the end of the piece there was a short segment where the author described hanging a flashlight from the ceiling of a darkened room while capturing long exposure shots of the looping light.
It didn’t sound terribly exciting. But it gave me an idea…

An early attempt at programmable LED painting
The idea was to paint with multiple moving lights of varying colors using LEDs, motors, and a micro controller or two. But before I get into the details, a little background is in order.

Lights in motion
I am absolutely fascinated by technology. It literally blows my mind that human engineers can design and build machines with the staggering complexity of a camera, a watch, or a car - let alone the Large Hadron Collider or the International Space Station. I remember taking apart my dad’s Agfa 8mm cine camera when I was about 9 years old. I was amazed by the complexity of the little machine, with its hundreds of tiny parts, all working together, in perfect harmony. Trying to put it back together, I soon realized that the prized Agfa’s working days were over and the harmony of its inner workings, but a fond memory. As it turned out, the harmonious inner workings of our household were also a thing of the past, once the old man saw what I had done.
Taking complicated machines apart has been a guilty pleasure of mine ever since that day. But I’m getting ahead of myself. This story starts a few months back.
Very basic but oddly satisfying
I have always had a fascination for high speed photography. I remember, as a lad, looking at images of bullets ripping into blocks of gelatin, obliterating wine glasses, and vaporizing melons. But I had no idea how this seemingly impossible timing could be achieved. Later, after I understood the physics of the feat, I was eager to give it a try. But lacking several key pieces of equipment, most notably a camera or a gun, my experimentation would have to wait. Several decades passed, during which time I accumulated a decent collection of cameras (but still no guns), but the whole high speed photography thing didn’t cross my mind again. Until, that is, I saw my first water droplet collision photographs.
Simple but elegant pattern for prototype #1
I purchased a rudimentary solenoid-based drop generator but was too cheap to spring for a system with an integrated flash/camera trigger. At the time, I couldn’t justify the expense of purchasing a triggering system just to get a few shots of colliding water drops, exploding balloons or shattering dinner plates. Instead, and at considerably greater ultimate expense (as all my DIY projects turn out to be), I decided to build one myself. Knowing virtually nothing about engineering or electronics, I had a lot to learn. I bought a couple of cheap Arduino-type development boards from China and set about learning how to program the mysterious things. Talk about a steep learning curve! At some point along the way I must have seen an inspiring YouTube video about salvaging electronic components from old devices and before long I was dismantling all kinds of machines to harvest their inner goodies. I did eventually complete the high speed triggering system. In fact, I built dozens of them, experimenting with different sensors, micro-controllers, and programs. But the most valuable thing to come out of all this work (and expense) was a new set of skills, crude and unsophisticated as they were.
The shutter was open for only a couple of seconds here
As anyone who has ever messed around with micro-controllers will tell you, learning how to control an LED is one of the first steps towards understanding how these elegant devices work. And so, inspired by the countless brave pre-schoolers who had gone before, I called on my newly acquired engineering chops to see if I could force these fascinating little lights to do my bidding. This was when it occurred to me that a couple of flashing LEDs could make for a much more interesting “light paintbrush” than could a simple dangling flashlight.
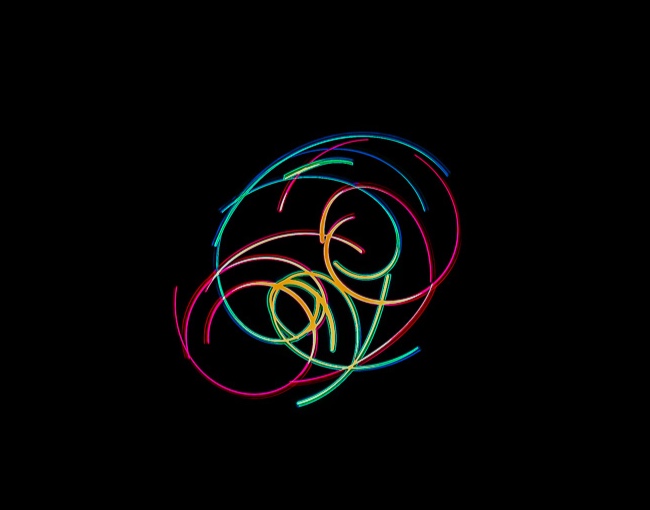
Basic Photoshop ability is all you need to create a new color palette for your images
By the way… I don’t mean to give the impression that I was the first to come up with this idea. On the contrary, I recognize that I may actually be the last person to have “discovered” how to create these interesting patterns with a few LEDs, controllers, motors, and the like. But at the time when I first decided to try this, I had not seen anything like it so, to me, it felt like an original idea.

A faster, tighter spin
My first prototype was about as basic as they come. I used the parts from a USB cooling fan, a couple of fixed wavelength LEDs, a 555 timer chip, a fishing swivel, and some other bits and pieces to build the simple device you see here. The timer was used to pulse current through the first LED, and then the other. It was nice and heavy, so once I had it spinning and swinging back and forth, it would stay in motion long enough to get some decent images.
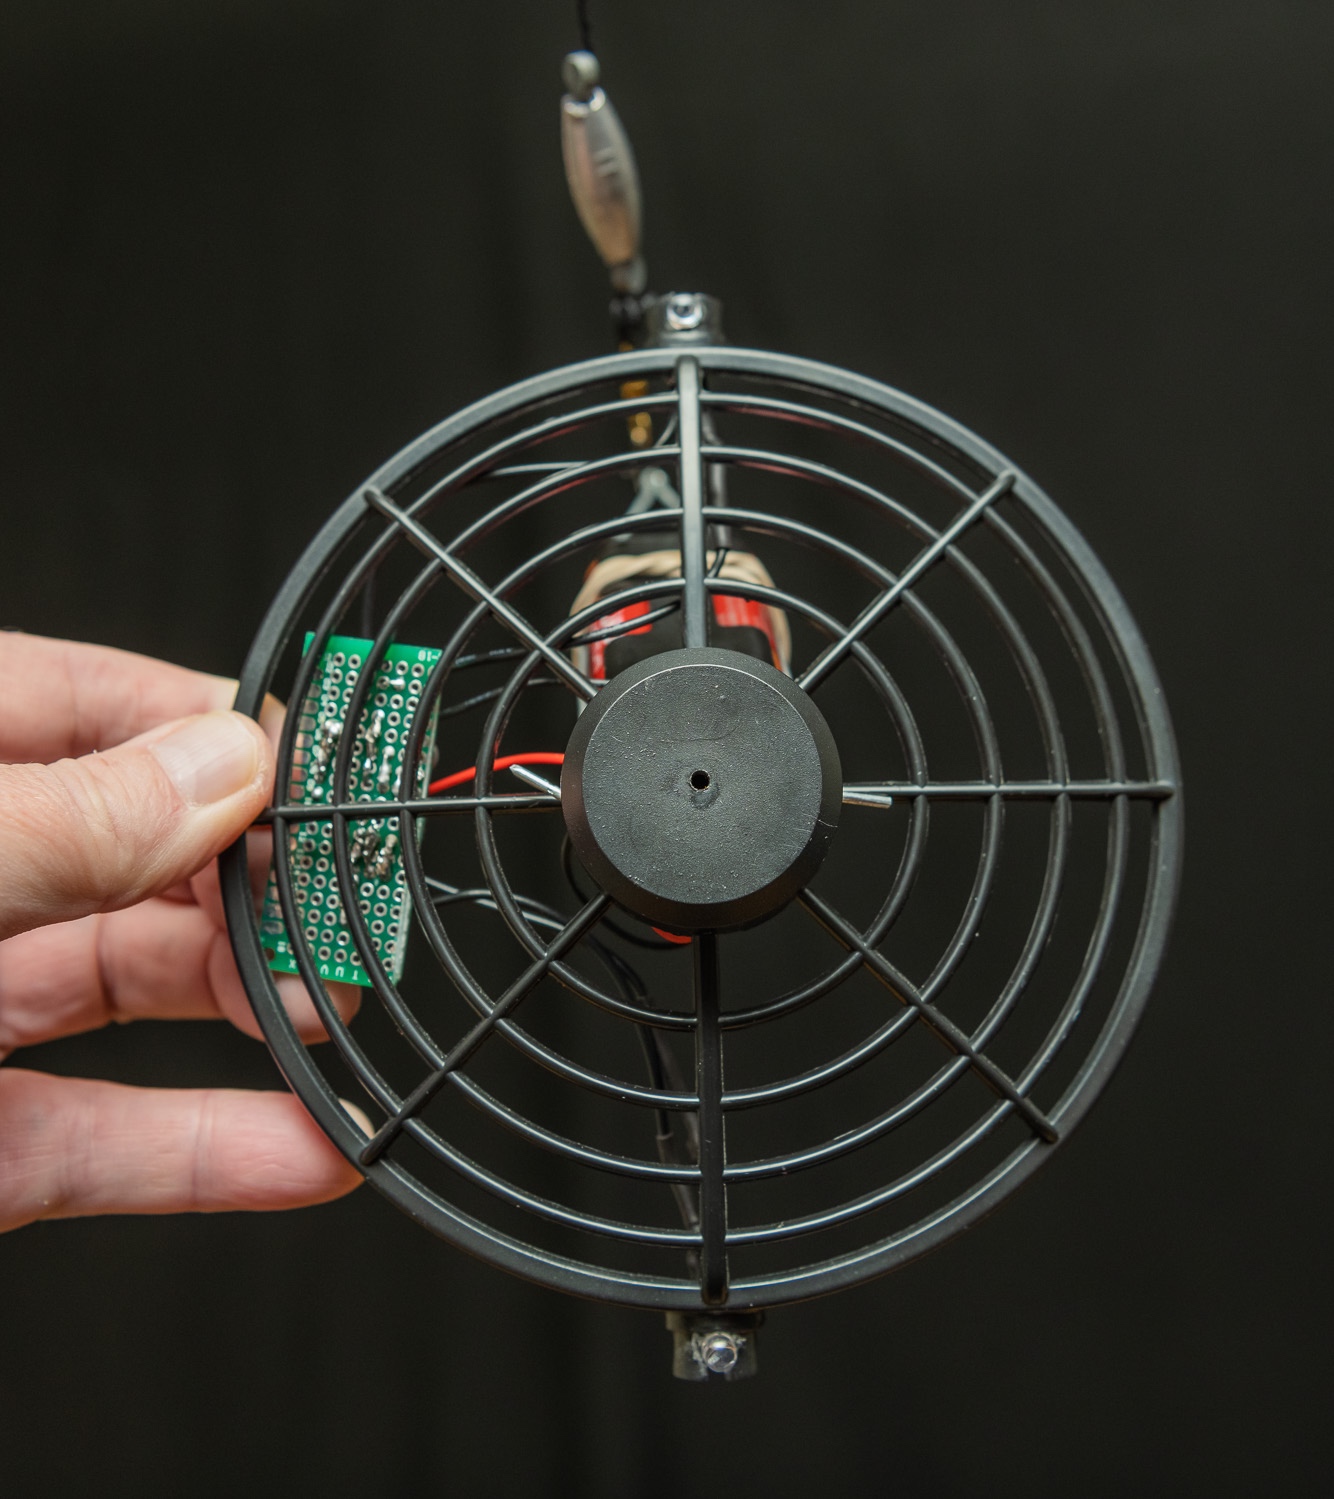
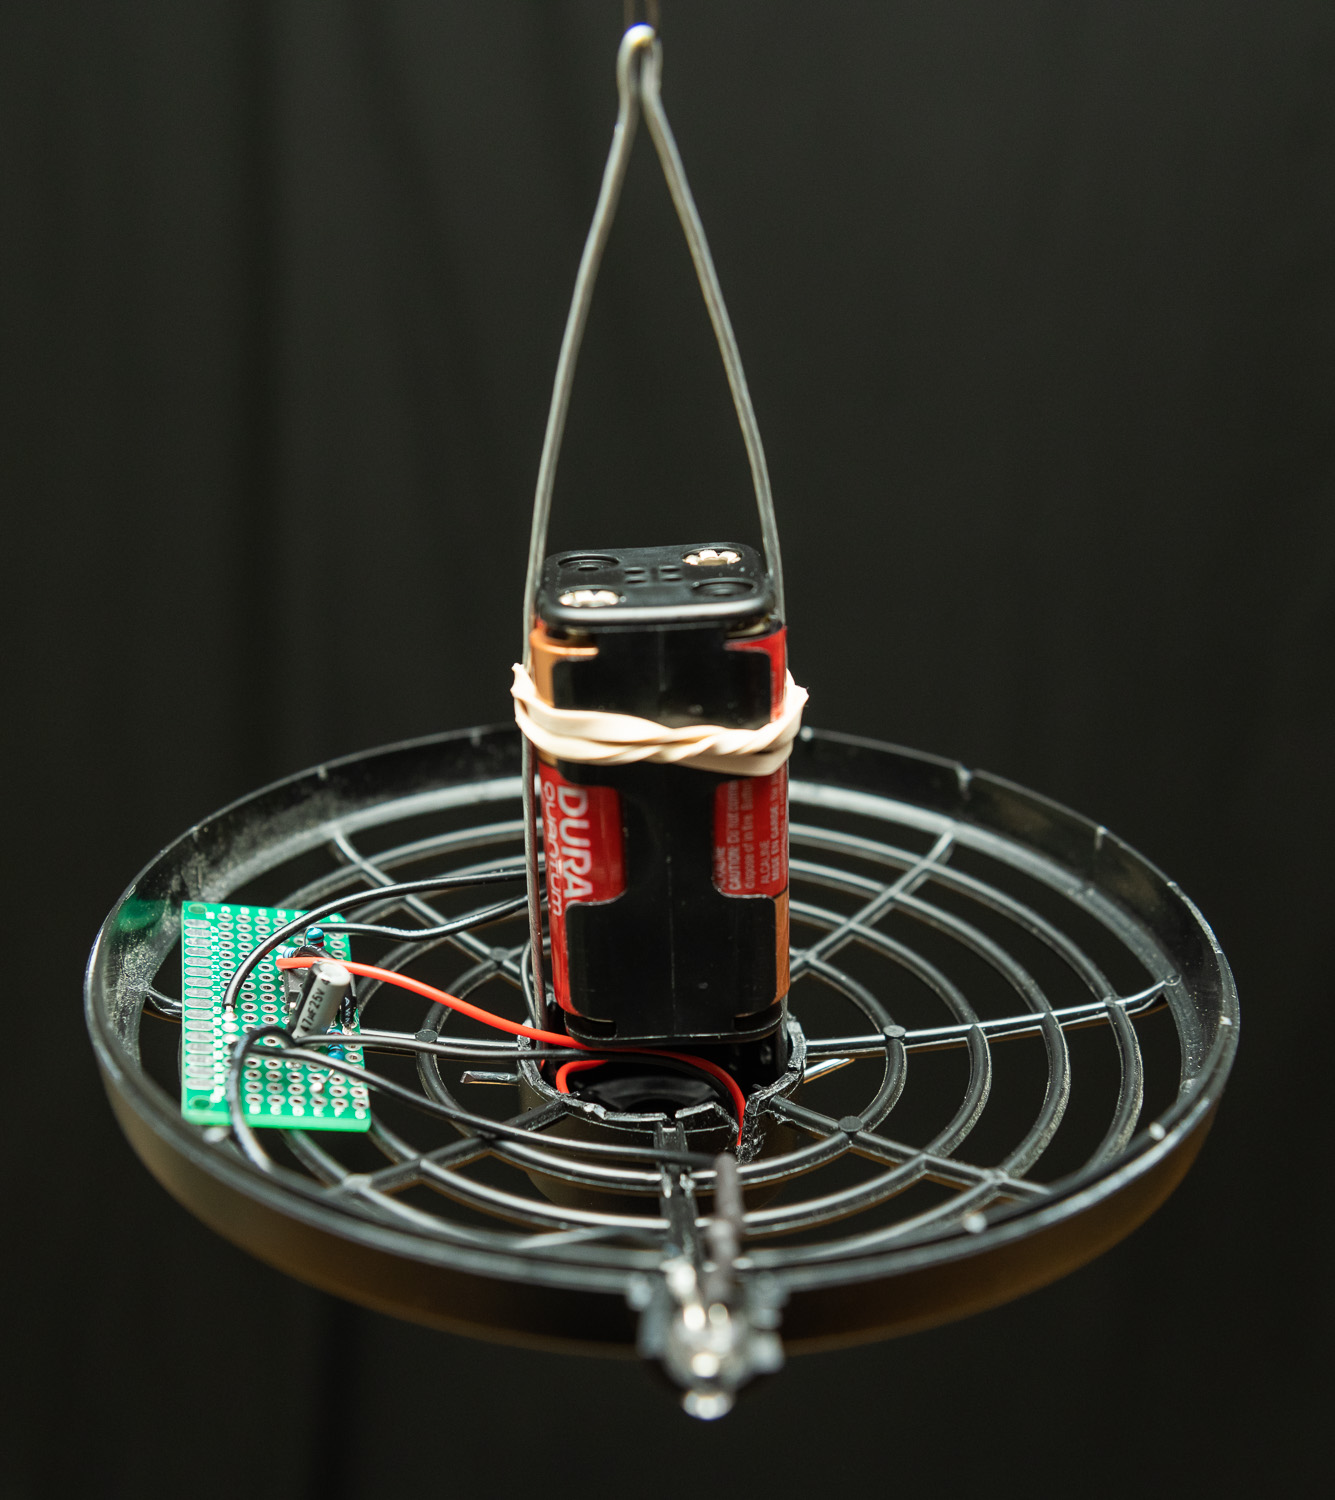
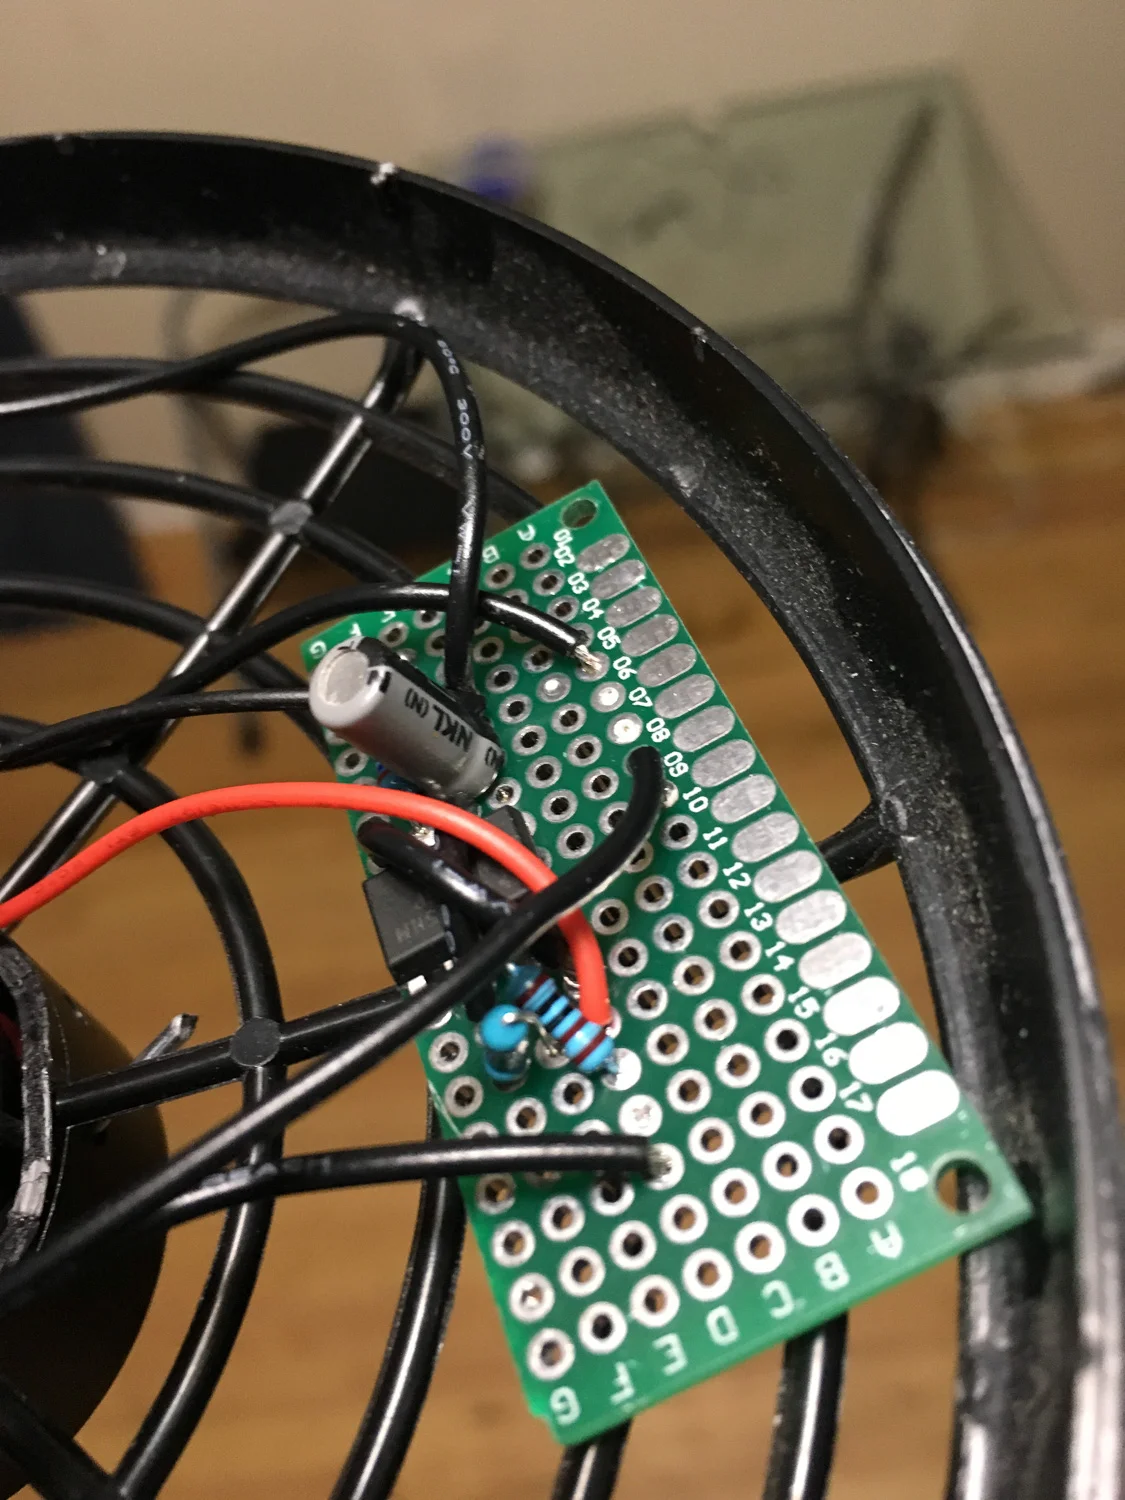
The fan housing used for the platform is black. This is pretty important as I didn’t want anything that might reflect the light from the LED and act as a secondary light source. The 555 timer is partially hidden under the wiring. The 6V battery pack was adequate to drive the LEDs and gave plenty of mass to help maintain the platform’s momentum.
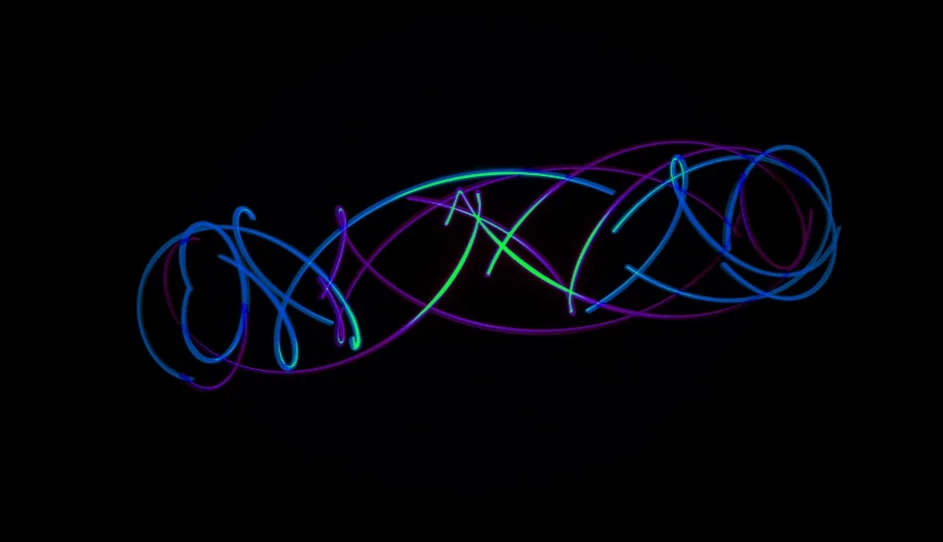
Prototype #2 was a bit more interesting and included a DC motor, with its own power supply, mounted inside a piece of PVC piping, which in turn was suspended from the ceiling. I also added several additional LEDs and programmed the Arduino to light each in sequence. The patterns were more intricate but I didn’t care for the randomness of the loops.
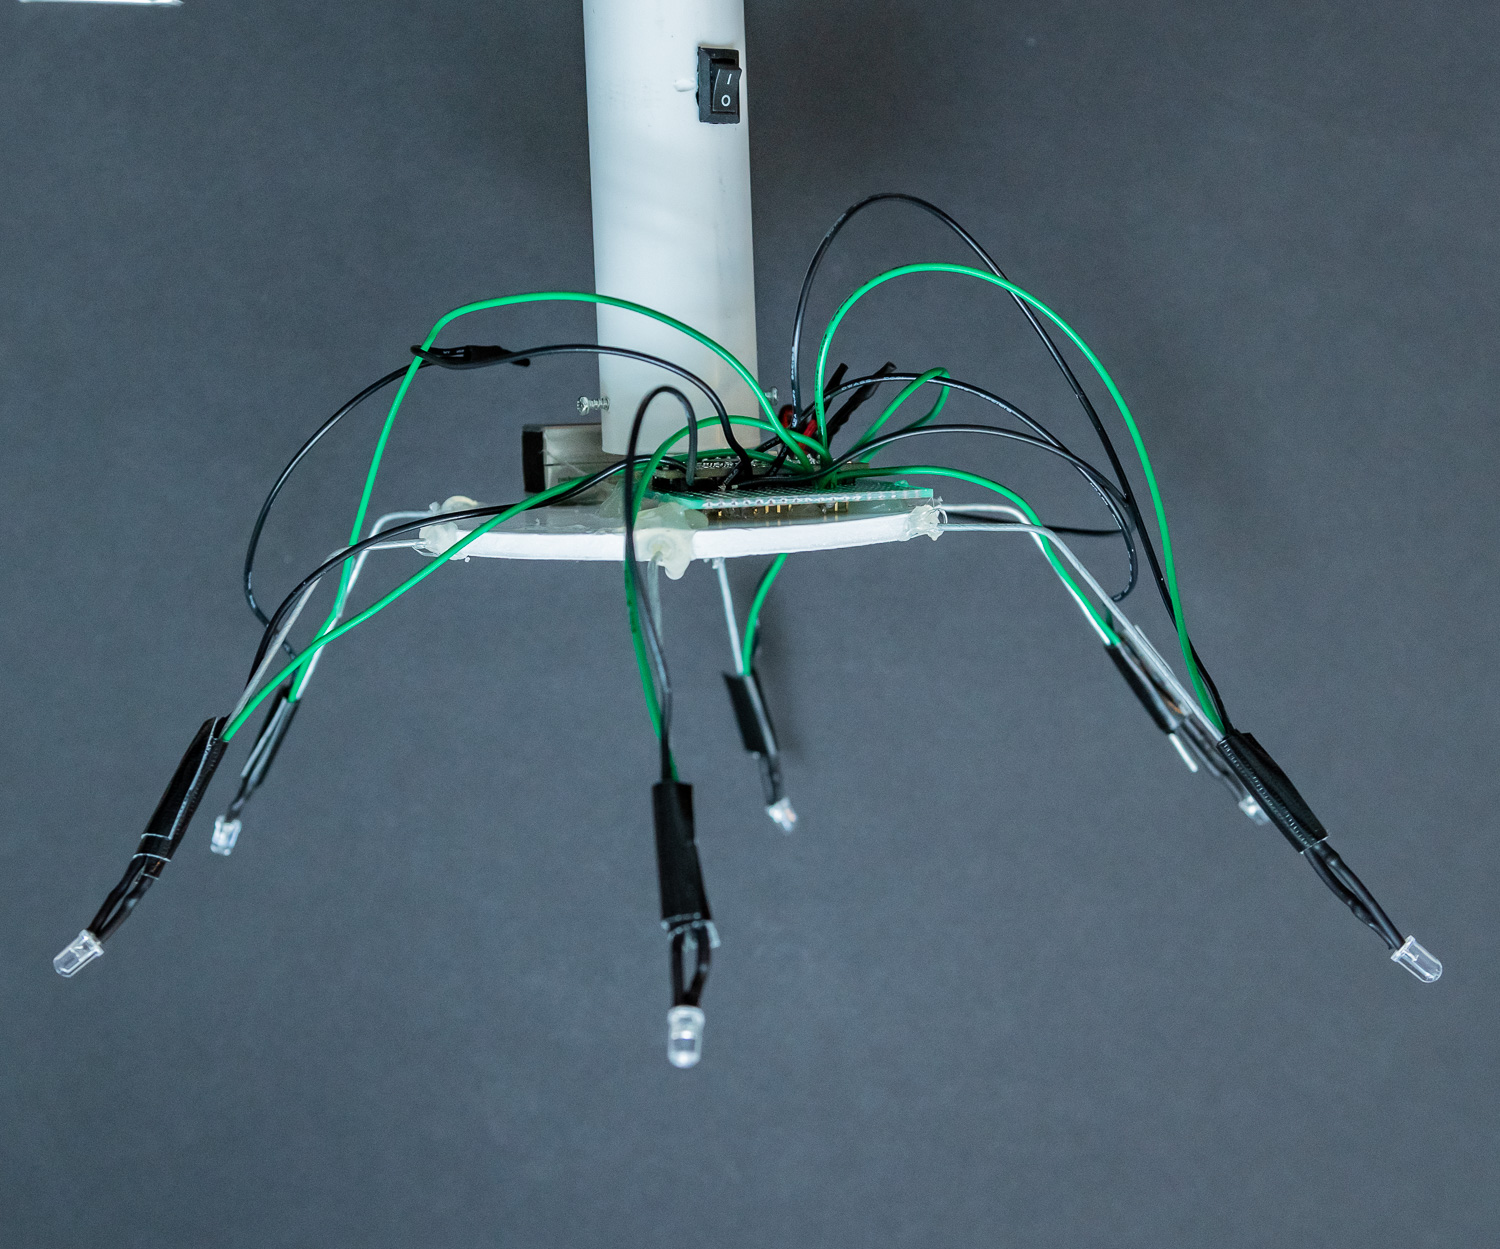
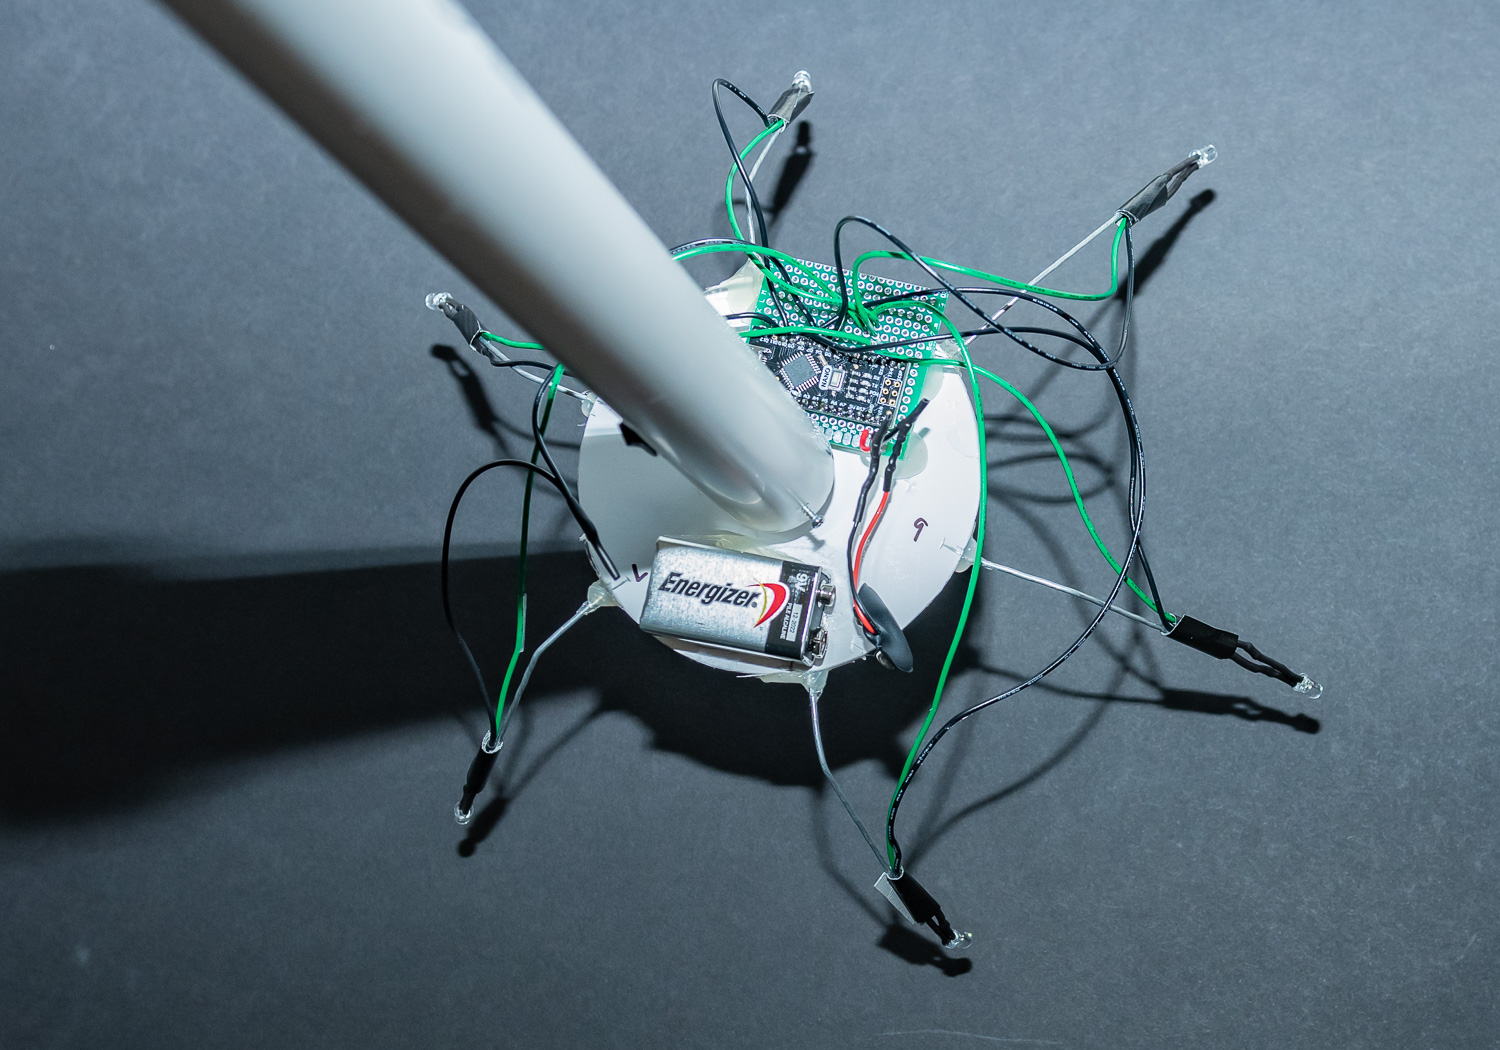
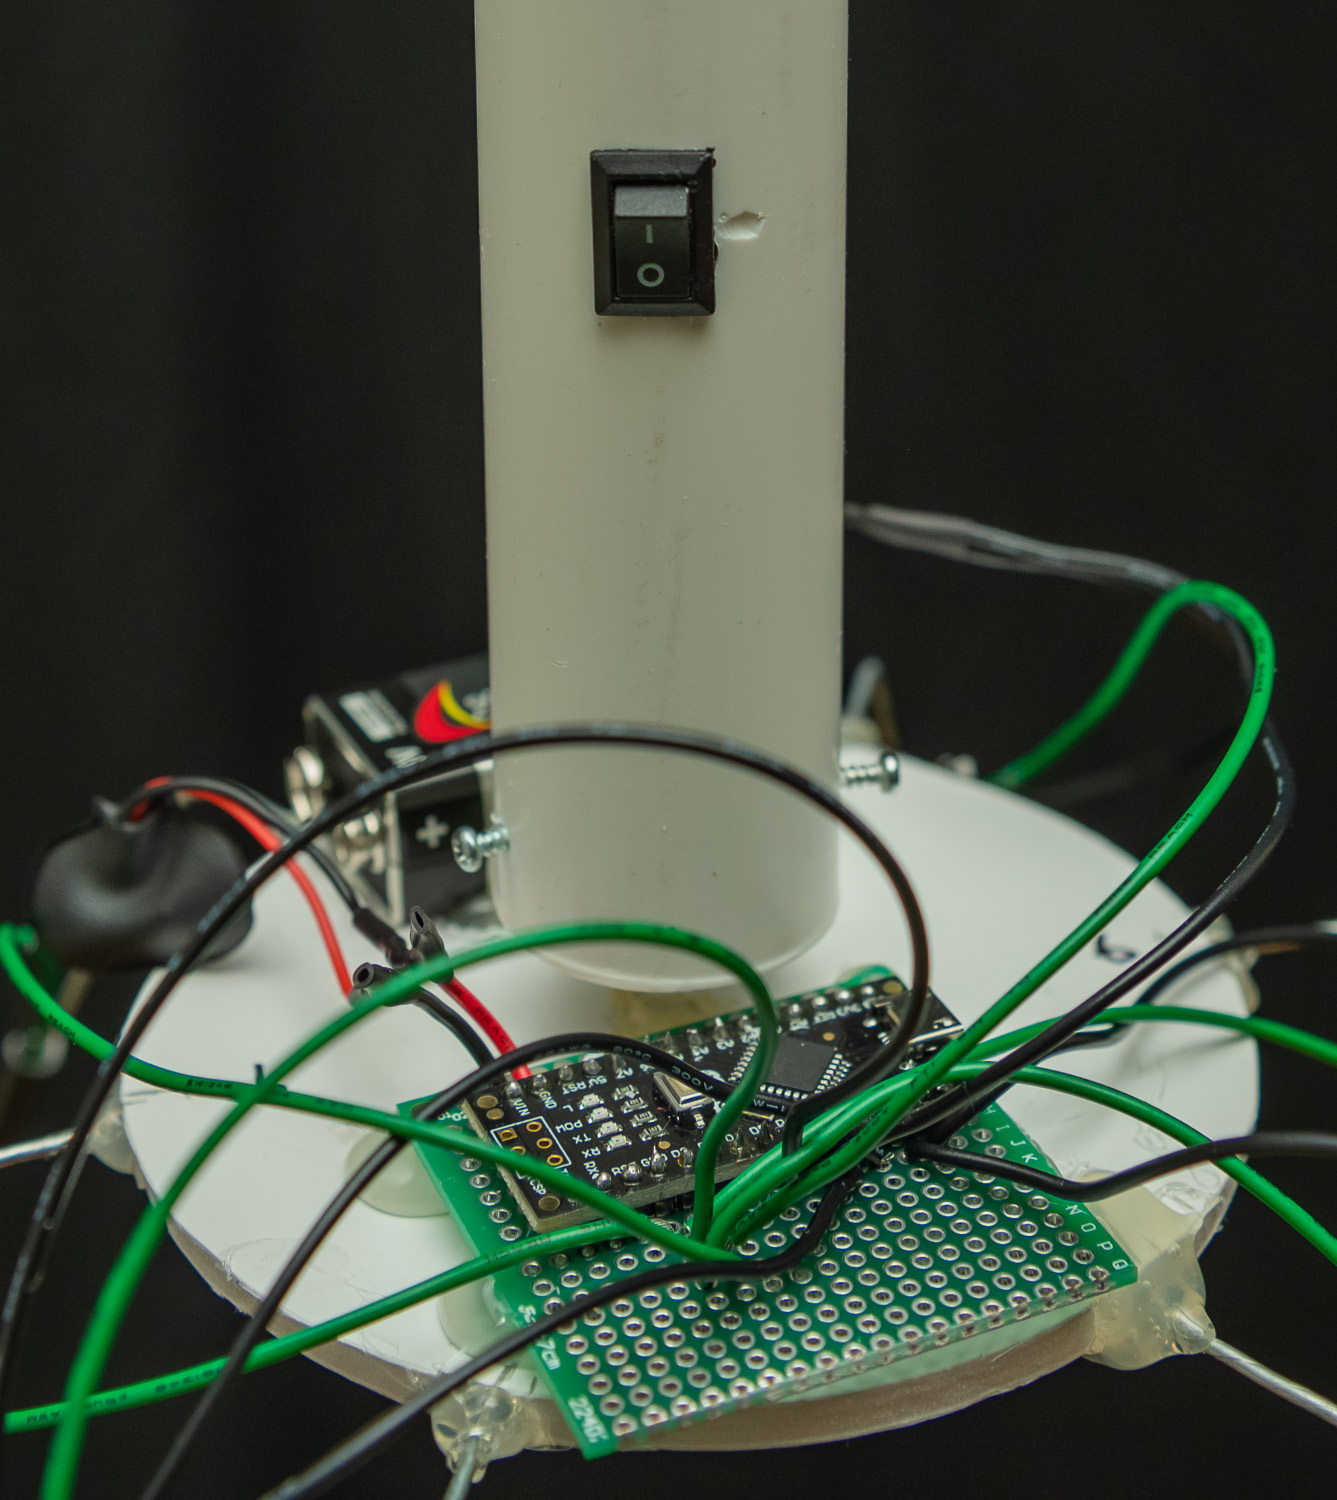
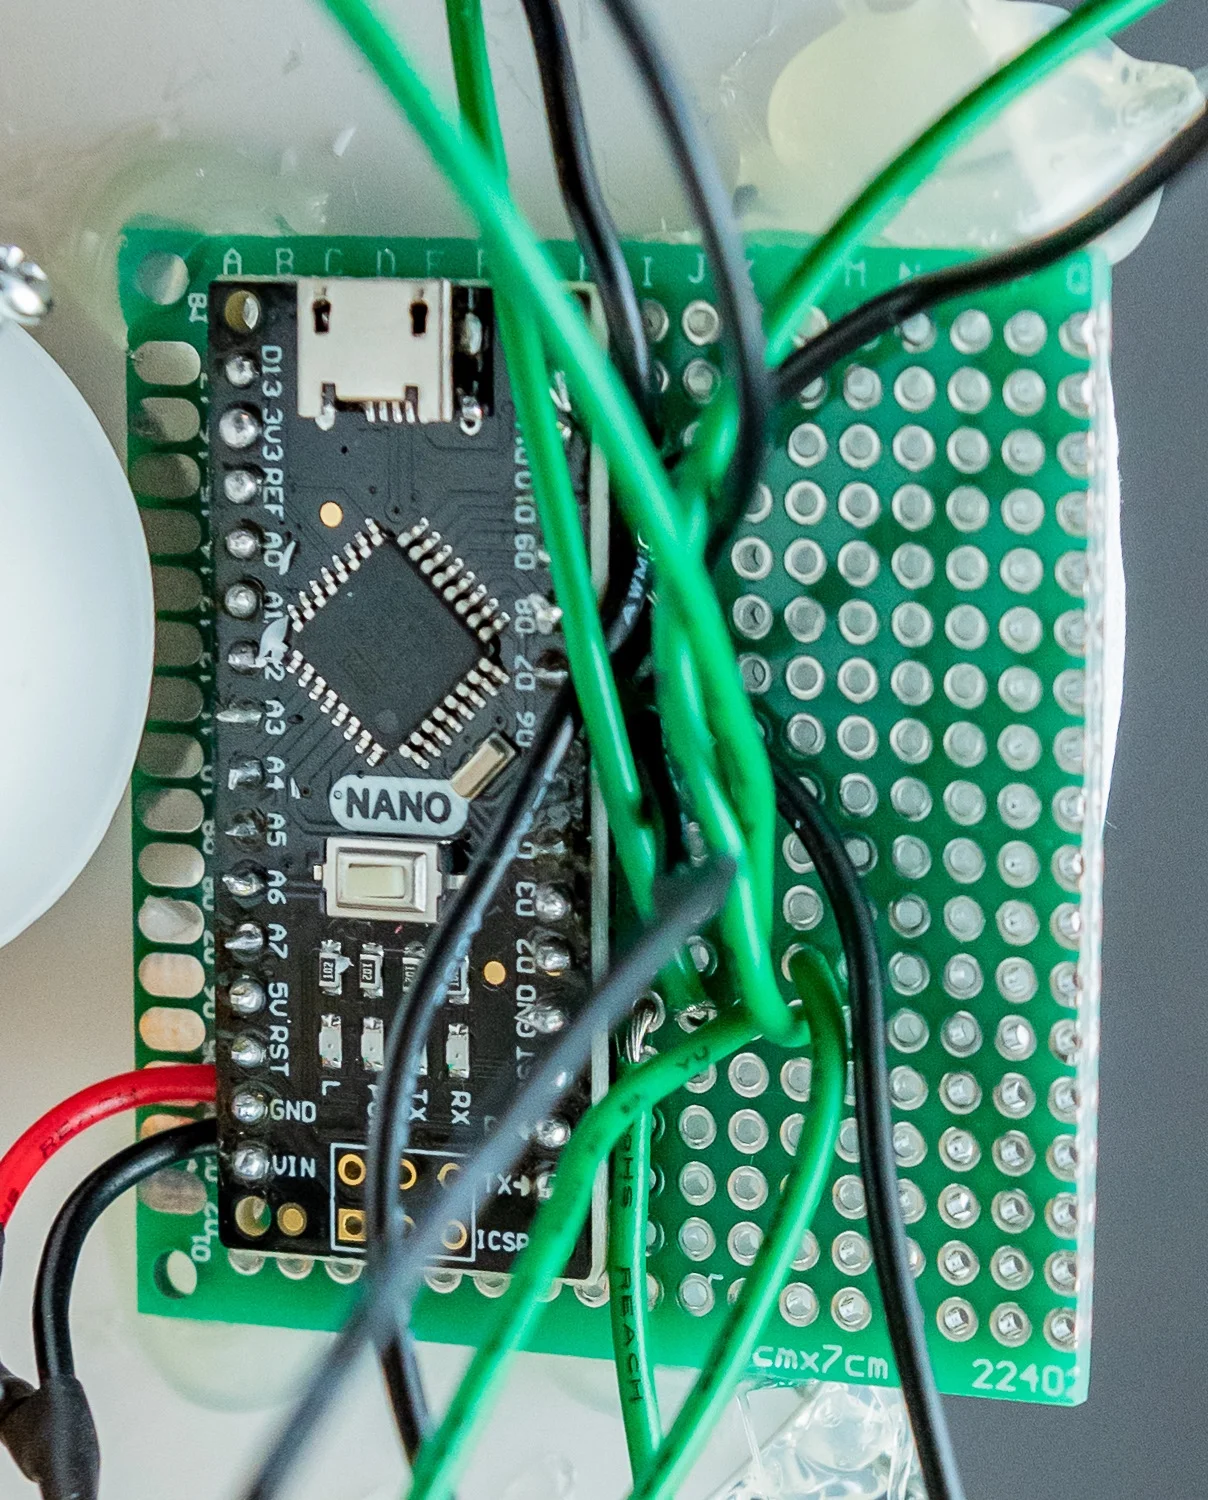
In the second LED platform, shown above, you can see where the motor used to rotate the lights has been hidden inside the PVC pipe, along with its own battery. The switch is visible and lies directly over the motor. I wish I had used a lighter gauge wire. The whole thing was a bulky mess by the time it was all put together.
More lights, more movement
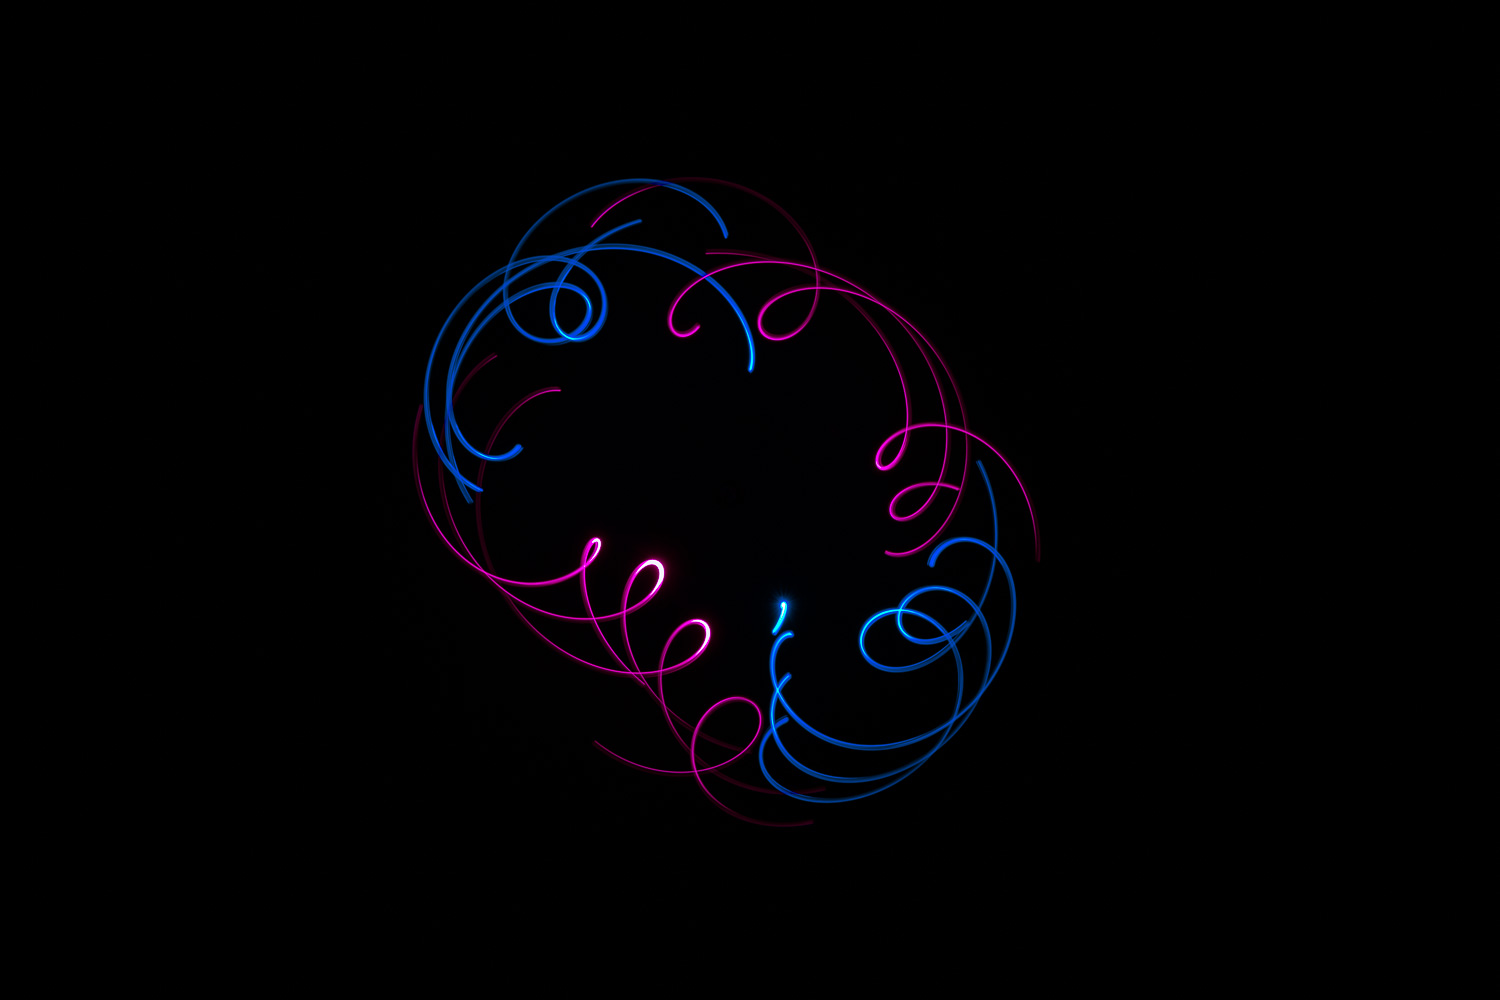
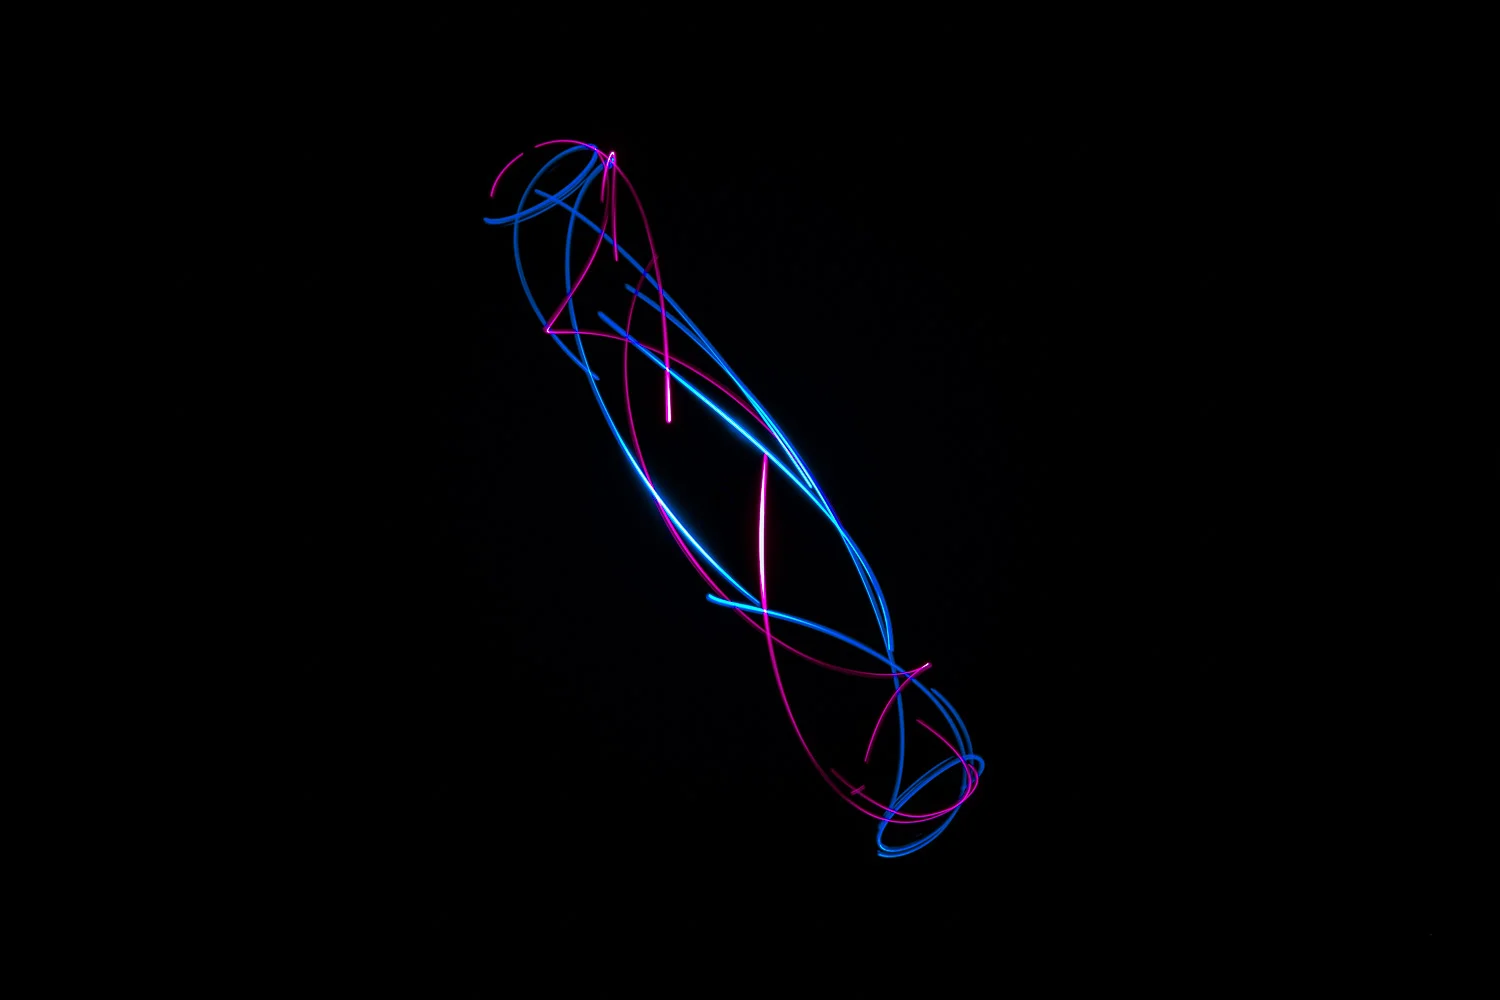
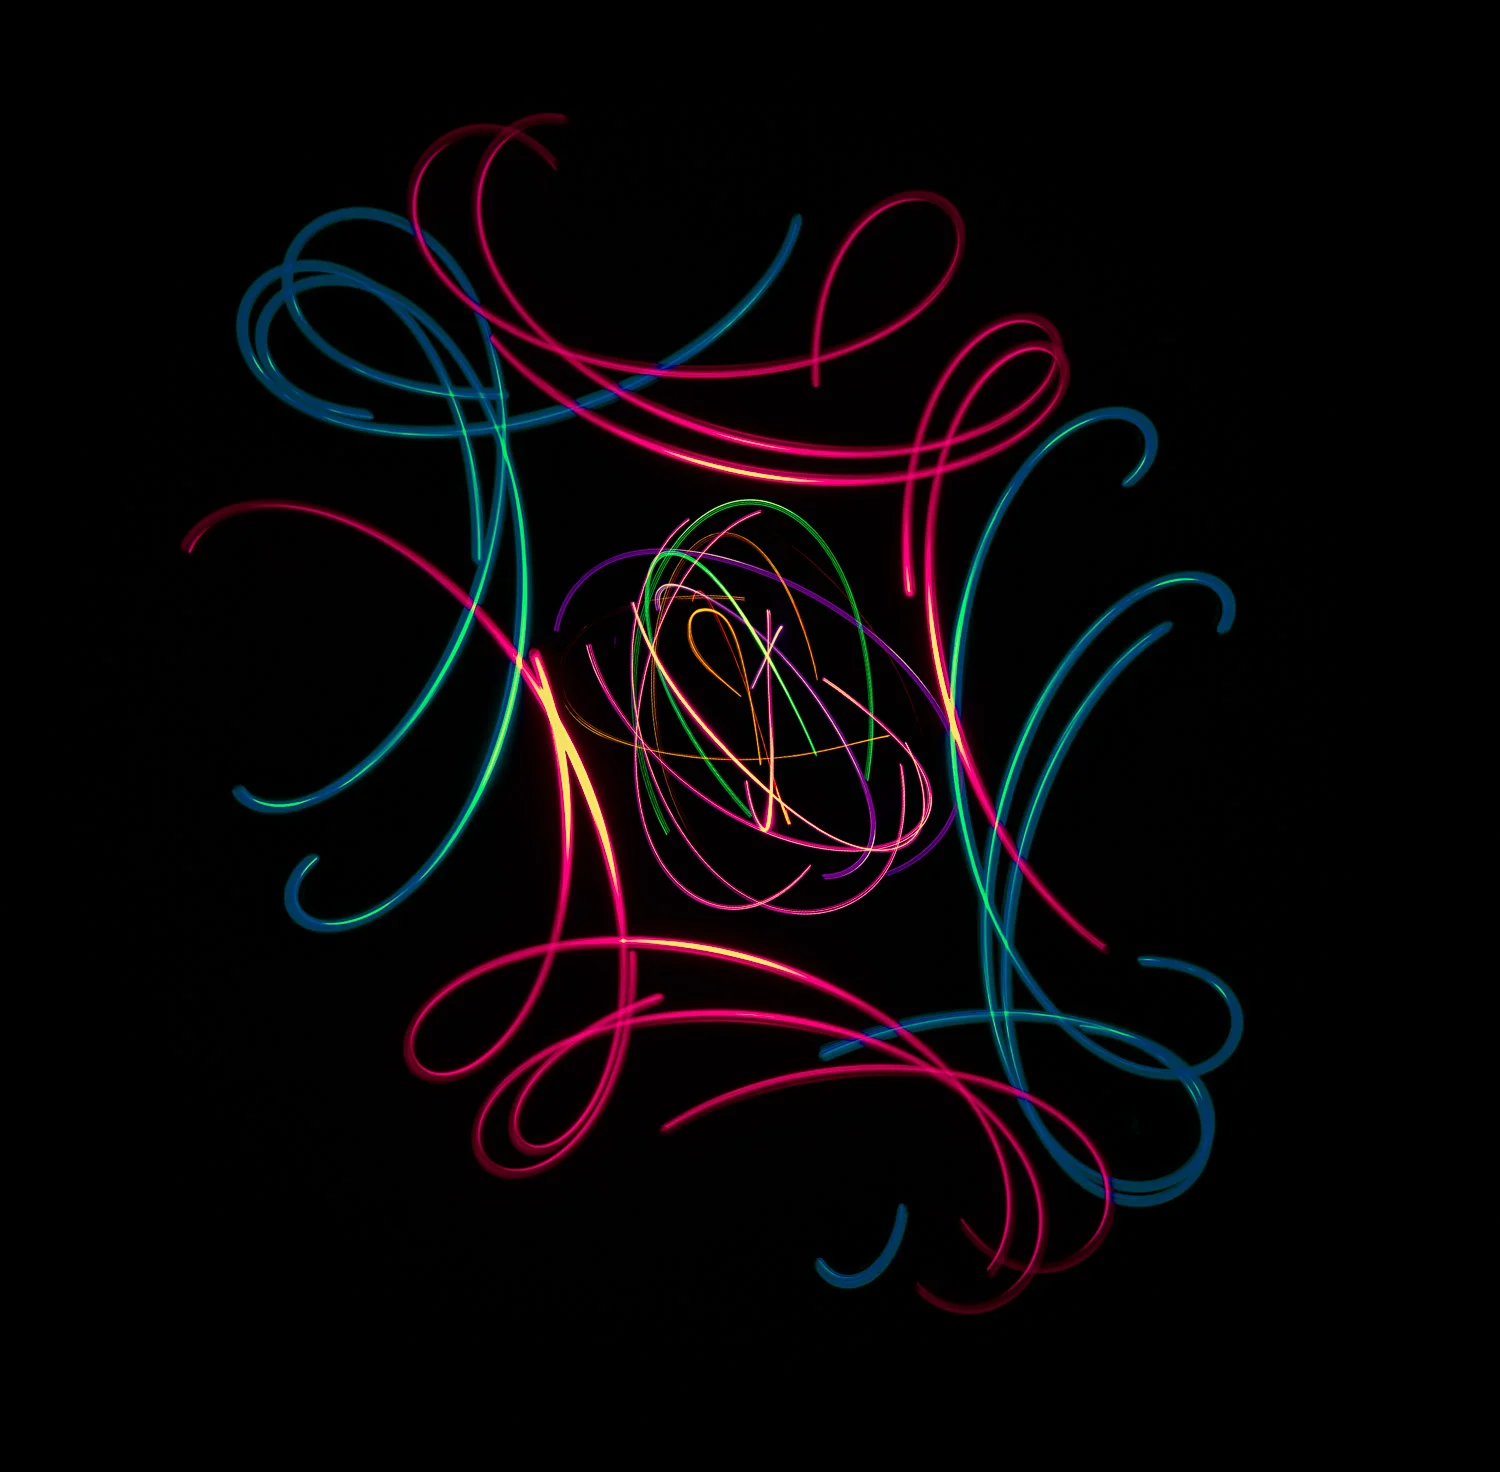
I should say a word or two about the camera setup. The light platforms were each suspended from a light fixture on the ceiling. The camera, in this case a Nikon D7500, was positioned directly under the light and pointing straight up. To allow for plenty of motion, the images were captured at a focal length of about 12mm. The room was absolutely dark and I used a variety of shutter speeds, ranging between 3 and 15 seconds. Obviously, the longer the shutter remains open, the more complicated the patterns become.

An added LED gives this central glow to the images
The next version will be a major improvement. Doing away with the fixed frequency diodes, I am switching to individually addressable RGB LEDs (WS2812B) so that I can change the color and intensity of each LED and vary the pulse patterns. I’m also in the process of finding a way to control the motion of the platform so that it turns in a repeating, predictable pattern. The idea here is to do away with the random motion and close the individual loops of light. To accomplish this, I will be using an additional DC motor, geared down for a slower speed and more torque, to rotate a primary gantry from which the light platform will eccentrically suspended. The light platform will also be motor-driven but will rotate in the opposite direction.
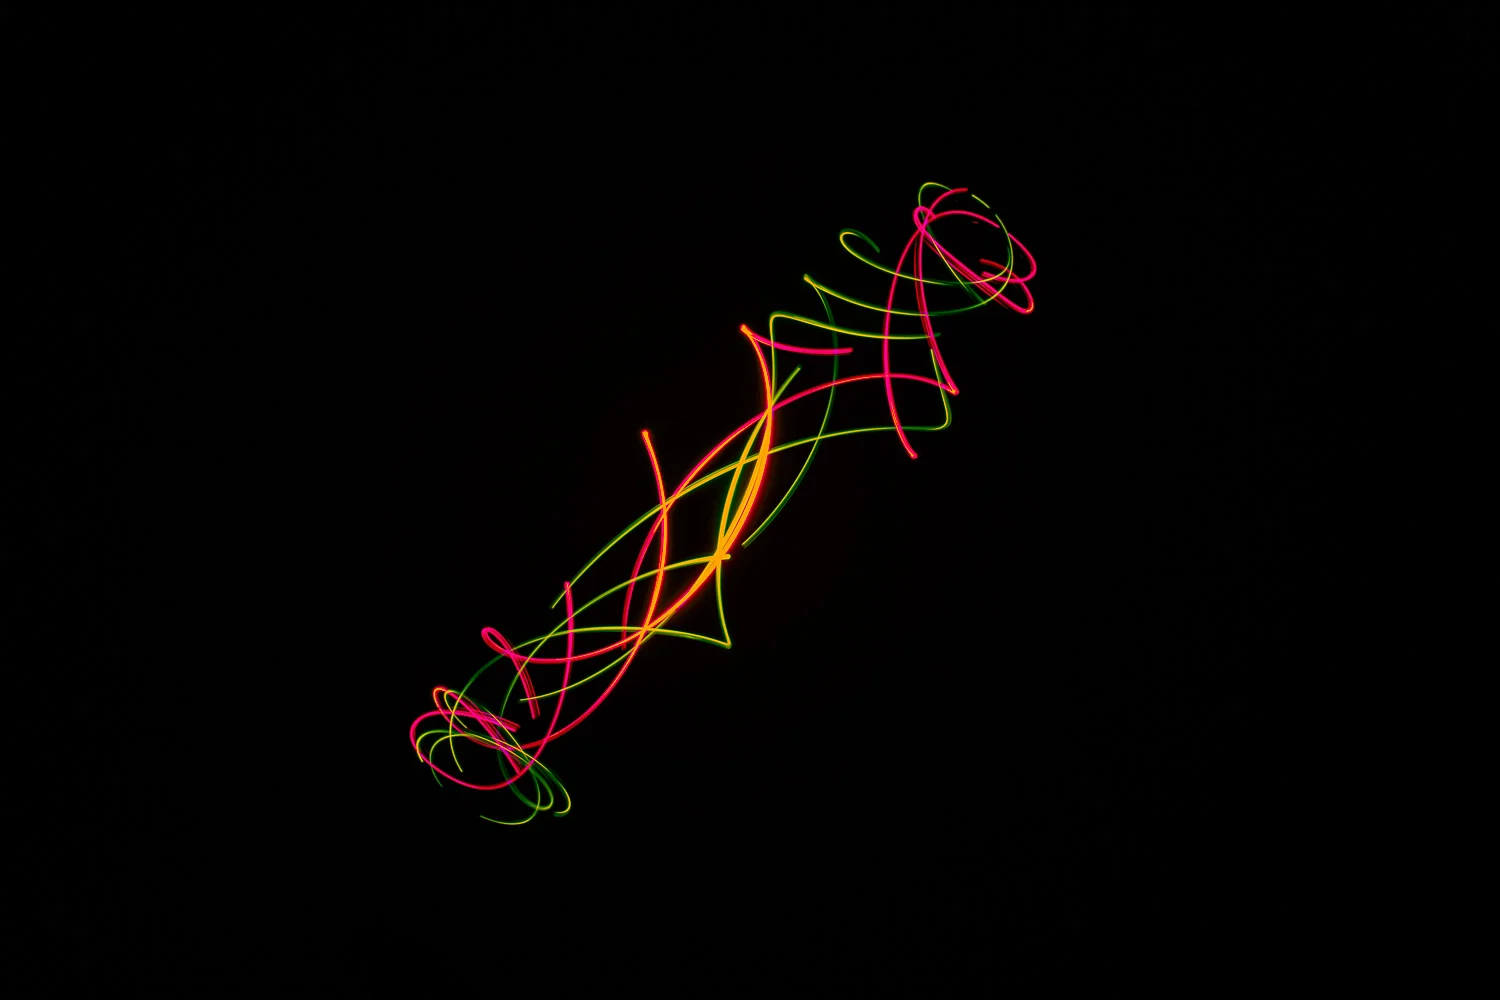
One of my favorites!
I hope to have the next and most complicated contraption ready to take for a spin in the next week or two. As soon as I get a good batch of images I will post them as a followup to this piece.
Thanks for dropping by and I hope you found this interesting. If you have any questions about how to set up your own LED painting system, let me know in the comments. I’ll be happy to share any details that I didn’t get to here. Better yet, if you have any thoughts about how to improve the device, or the photography, let me know by leaving a comment below.
2019 is just around the corner and there are already several exciting new projects in the works. Let me know if there is something you would like to see addressed in a future post - I’m always happy to get your suggestions.
Until next time - keep shooting!